

F**k it, We're Learning Ansible! : Installation/Configuration
Doing my best to pick up the popular DevOps configuration management and automation tool, Ansible!


One of the many DevOps/Infrastructure-as-Code (IaC) tools that I’ve been trying to get round to learning for forever is Ansible. Figured there’s no time like the present, so I found a fantastic A Cloud Guru course called Ansible Quick Start, which I am using to get myself started here.
Other fantastic resources I’ve been (and will be) using include NetApp’s fantastic article about utilising Ansible for configuration management as well as this fantastic article from the AWS blog about using Ansible specifically in conjunction with AWS.
Other than that, same hardware and software setup as usual - so let’s get cracking!
What is Ansible?
Ansible is a tool that IT/DevOps professionals use to automate application deployment, update their infrastructure, provision out their resources out in the cloud and manage the configurations of dozens or even hundreds of servers at once!
It’s pretty cool!
Put simply though, you’d use Ansible to do the job of one system administrator on not just one server at a time, but dozens or even hundreds of servers/devices at the same time, automatically.
How does Ansible work? (briefly)
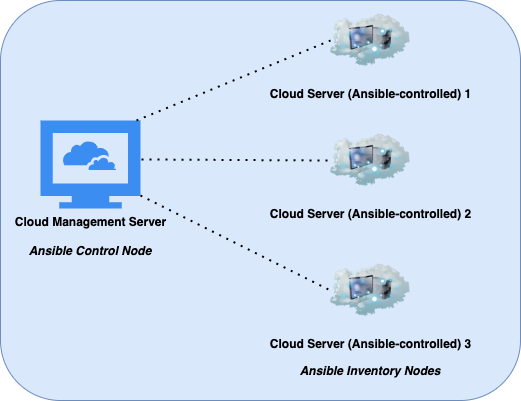
Ansible works on having a control node that issues out the commands and executes those commands on inventory nodes, which don’t need to have Ansible installed on them at all!
There can be more than one control node, which is useful for disaster recovery purposes. Also, at the time of writing I do not believe that you can have a Windows OS for your control node, so it does indeed have to be some sort of Linux distribution that you utilise to run Ansible from.
Ansible works on what we call an agentless infrastructure - meaning that the nodes being administered through Ansible have no software or daemons running on them once the command or playbook is finished executing.
This is in contrast to something like an antivirus solution where every protected device would have an antivirus software agent constantly running on it, consuming processing power etc.
Ansible requires Python and pip (a package manager) to be installed on all control nodes (as well as Ansible itself), but no extra dependencies whatsoever are required for the inventory nodes.
Inventory nodes get managed by Ansible over an SSH connection and each configuration event (whether ad-hoc through a single command or as part of a larger set of commands in an Ansible playbook) is referred to as an Ansible task.
For everything else you’re going to want to know about Ansible, there’s MasterCard. I joke, I joke - check out this Break In Case Of Consultancy article on Ansible.
Getting Started - Installing Ansible on a CentOS 7 Practice Server
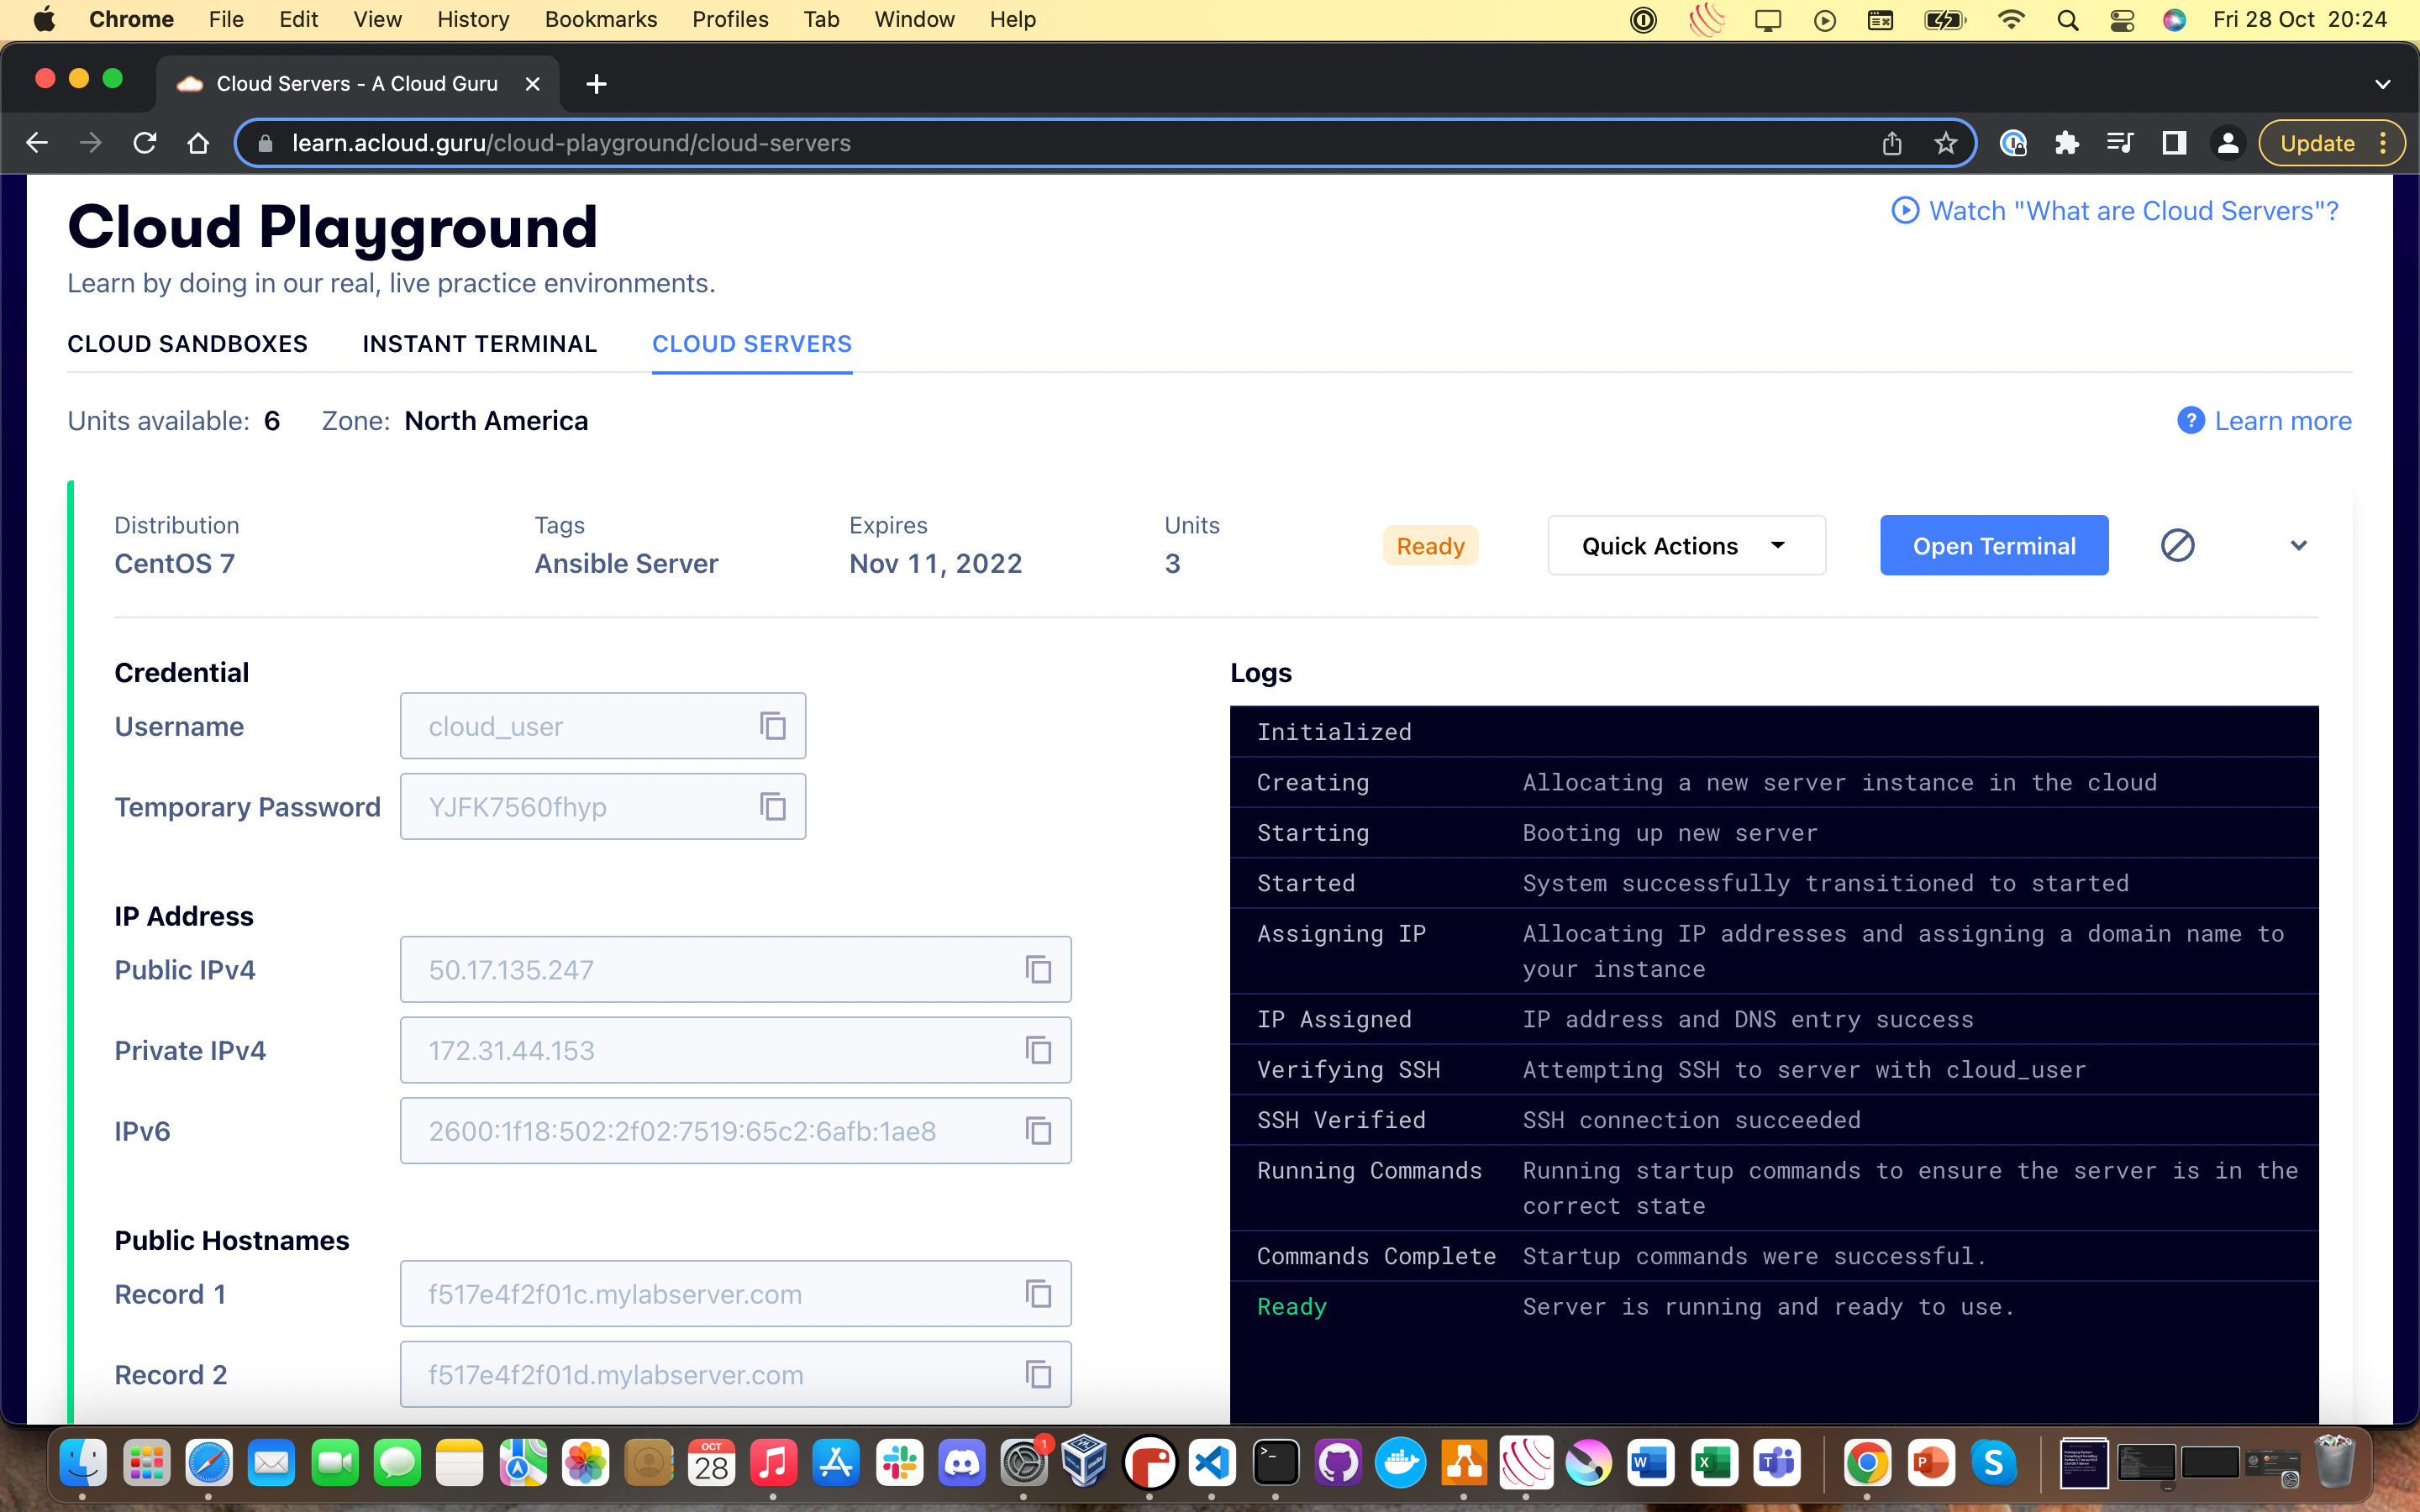
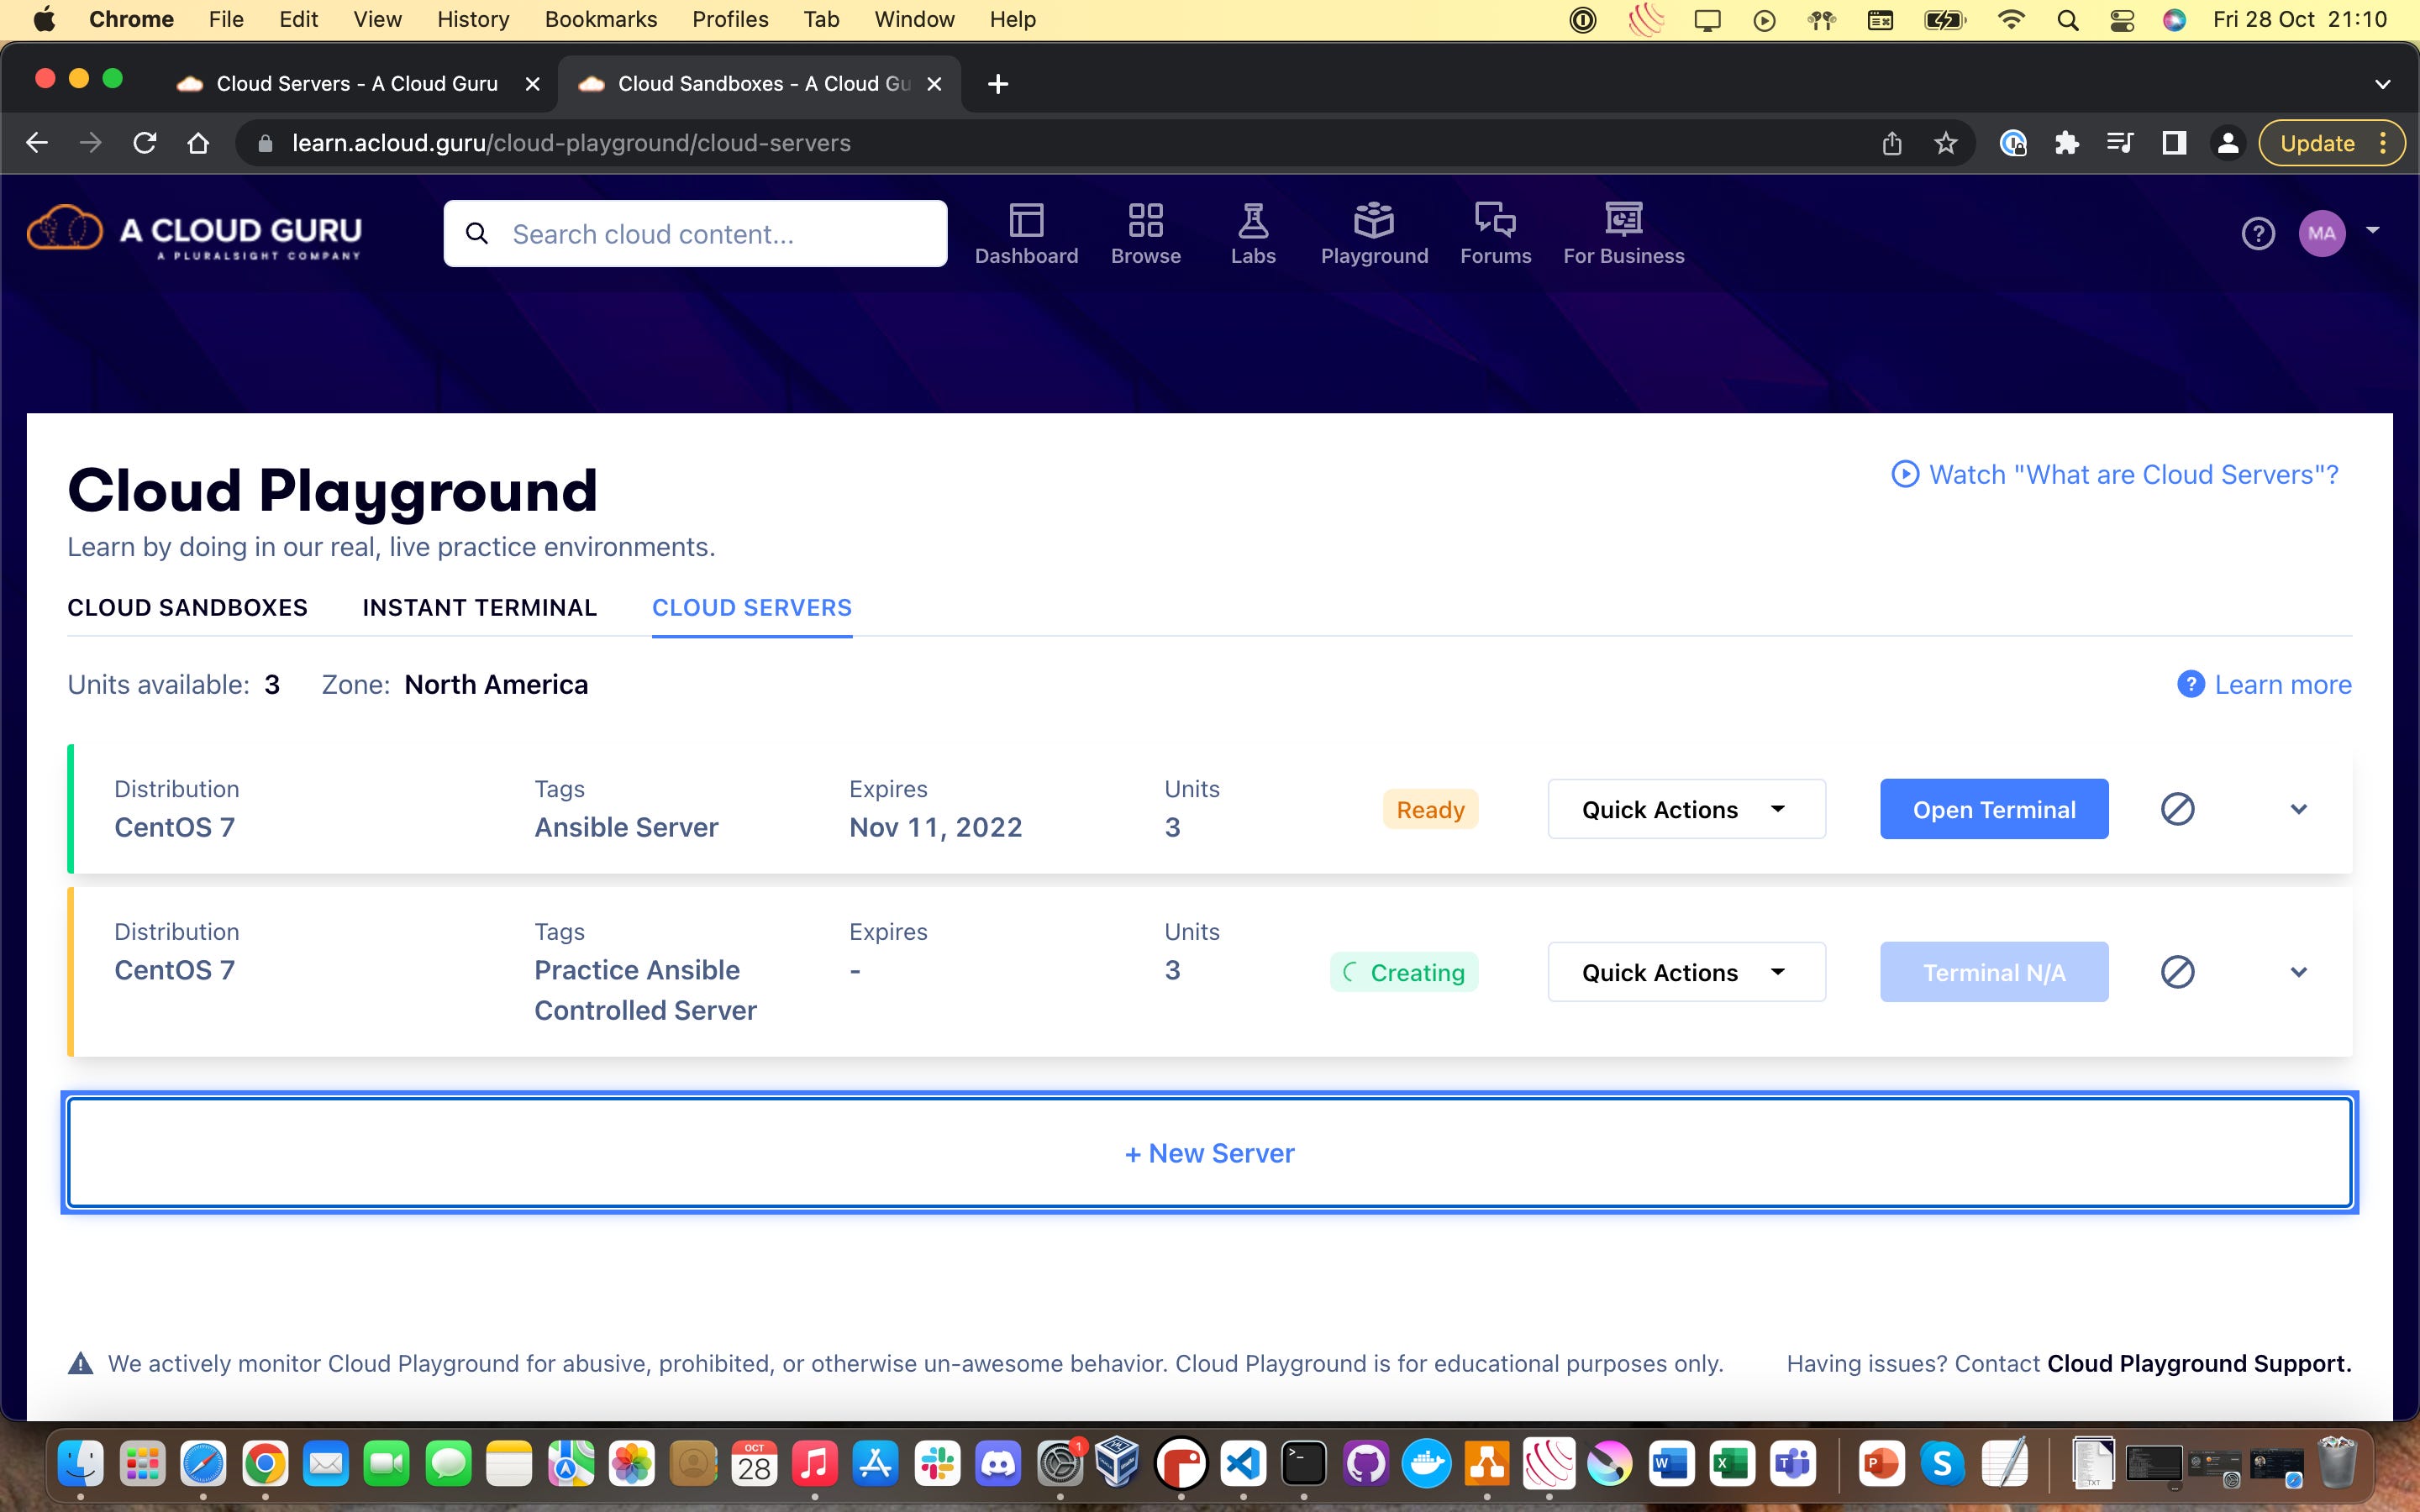
For most of these walkthroughs, I’m going to be utilising the A Cloud Guru Cloud Playgrounds to provision the resources to practice new tools.
The big reason for this is because I already paid for a Personal Plus subscription to ACG and I intend to get my money’s worth, but also because it’s really easy to just get up and running.
You’ll need the ability to spin up at least three CentOS (or any free Linux distribution, really) boxes to properly do this walkthrough. If you need some help getting started, I walked through setting up a test/practice server in AWS and in ACG’s Cloud Playground in this article.
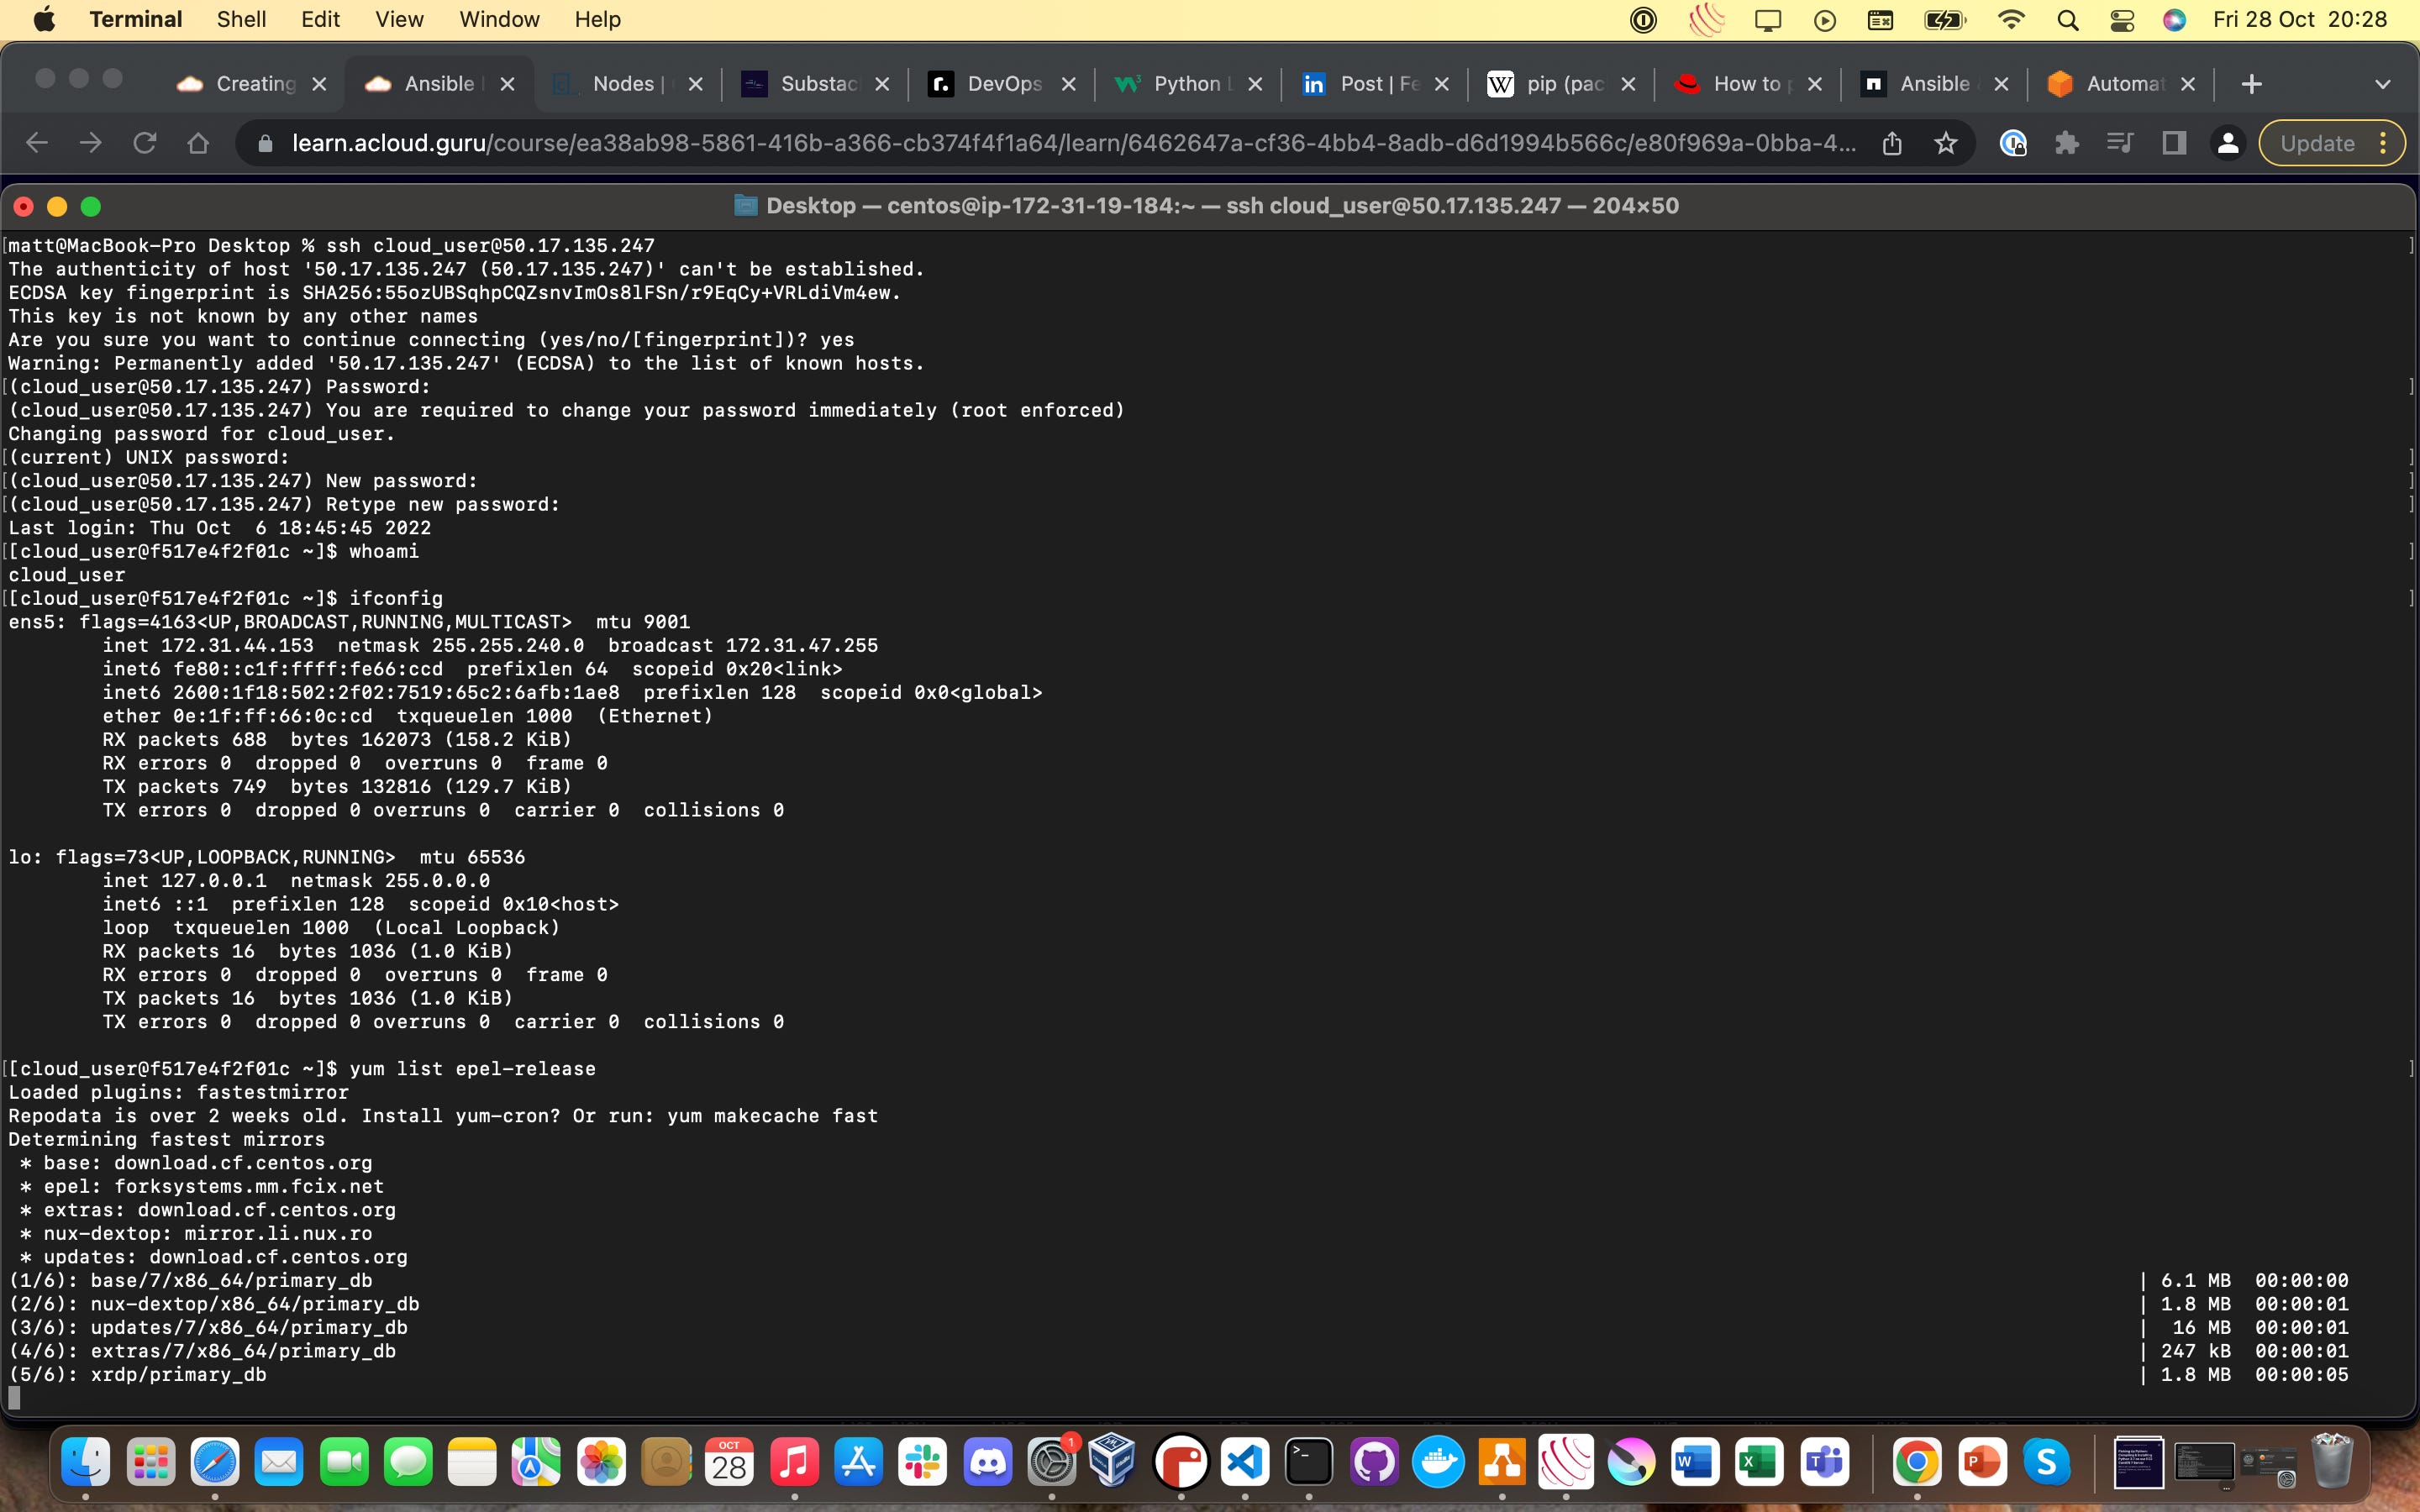
Once you’ve got your server up and running, go ahead and SSH into it like you can see in the screenshot below (this server no longer exists, so there’s no point noting down the specific details!)
Now you’re logged in, you’re going to want to install a repository of extra packages called EPEL (Extra packages for Enterprise Linux) using the following command:
yum list epel-release
If you got it right, your screen should start looking something like this:
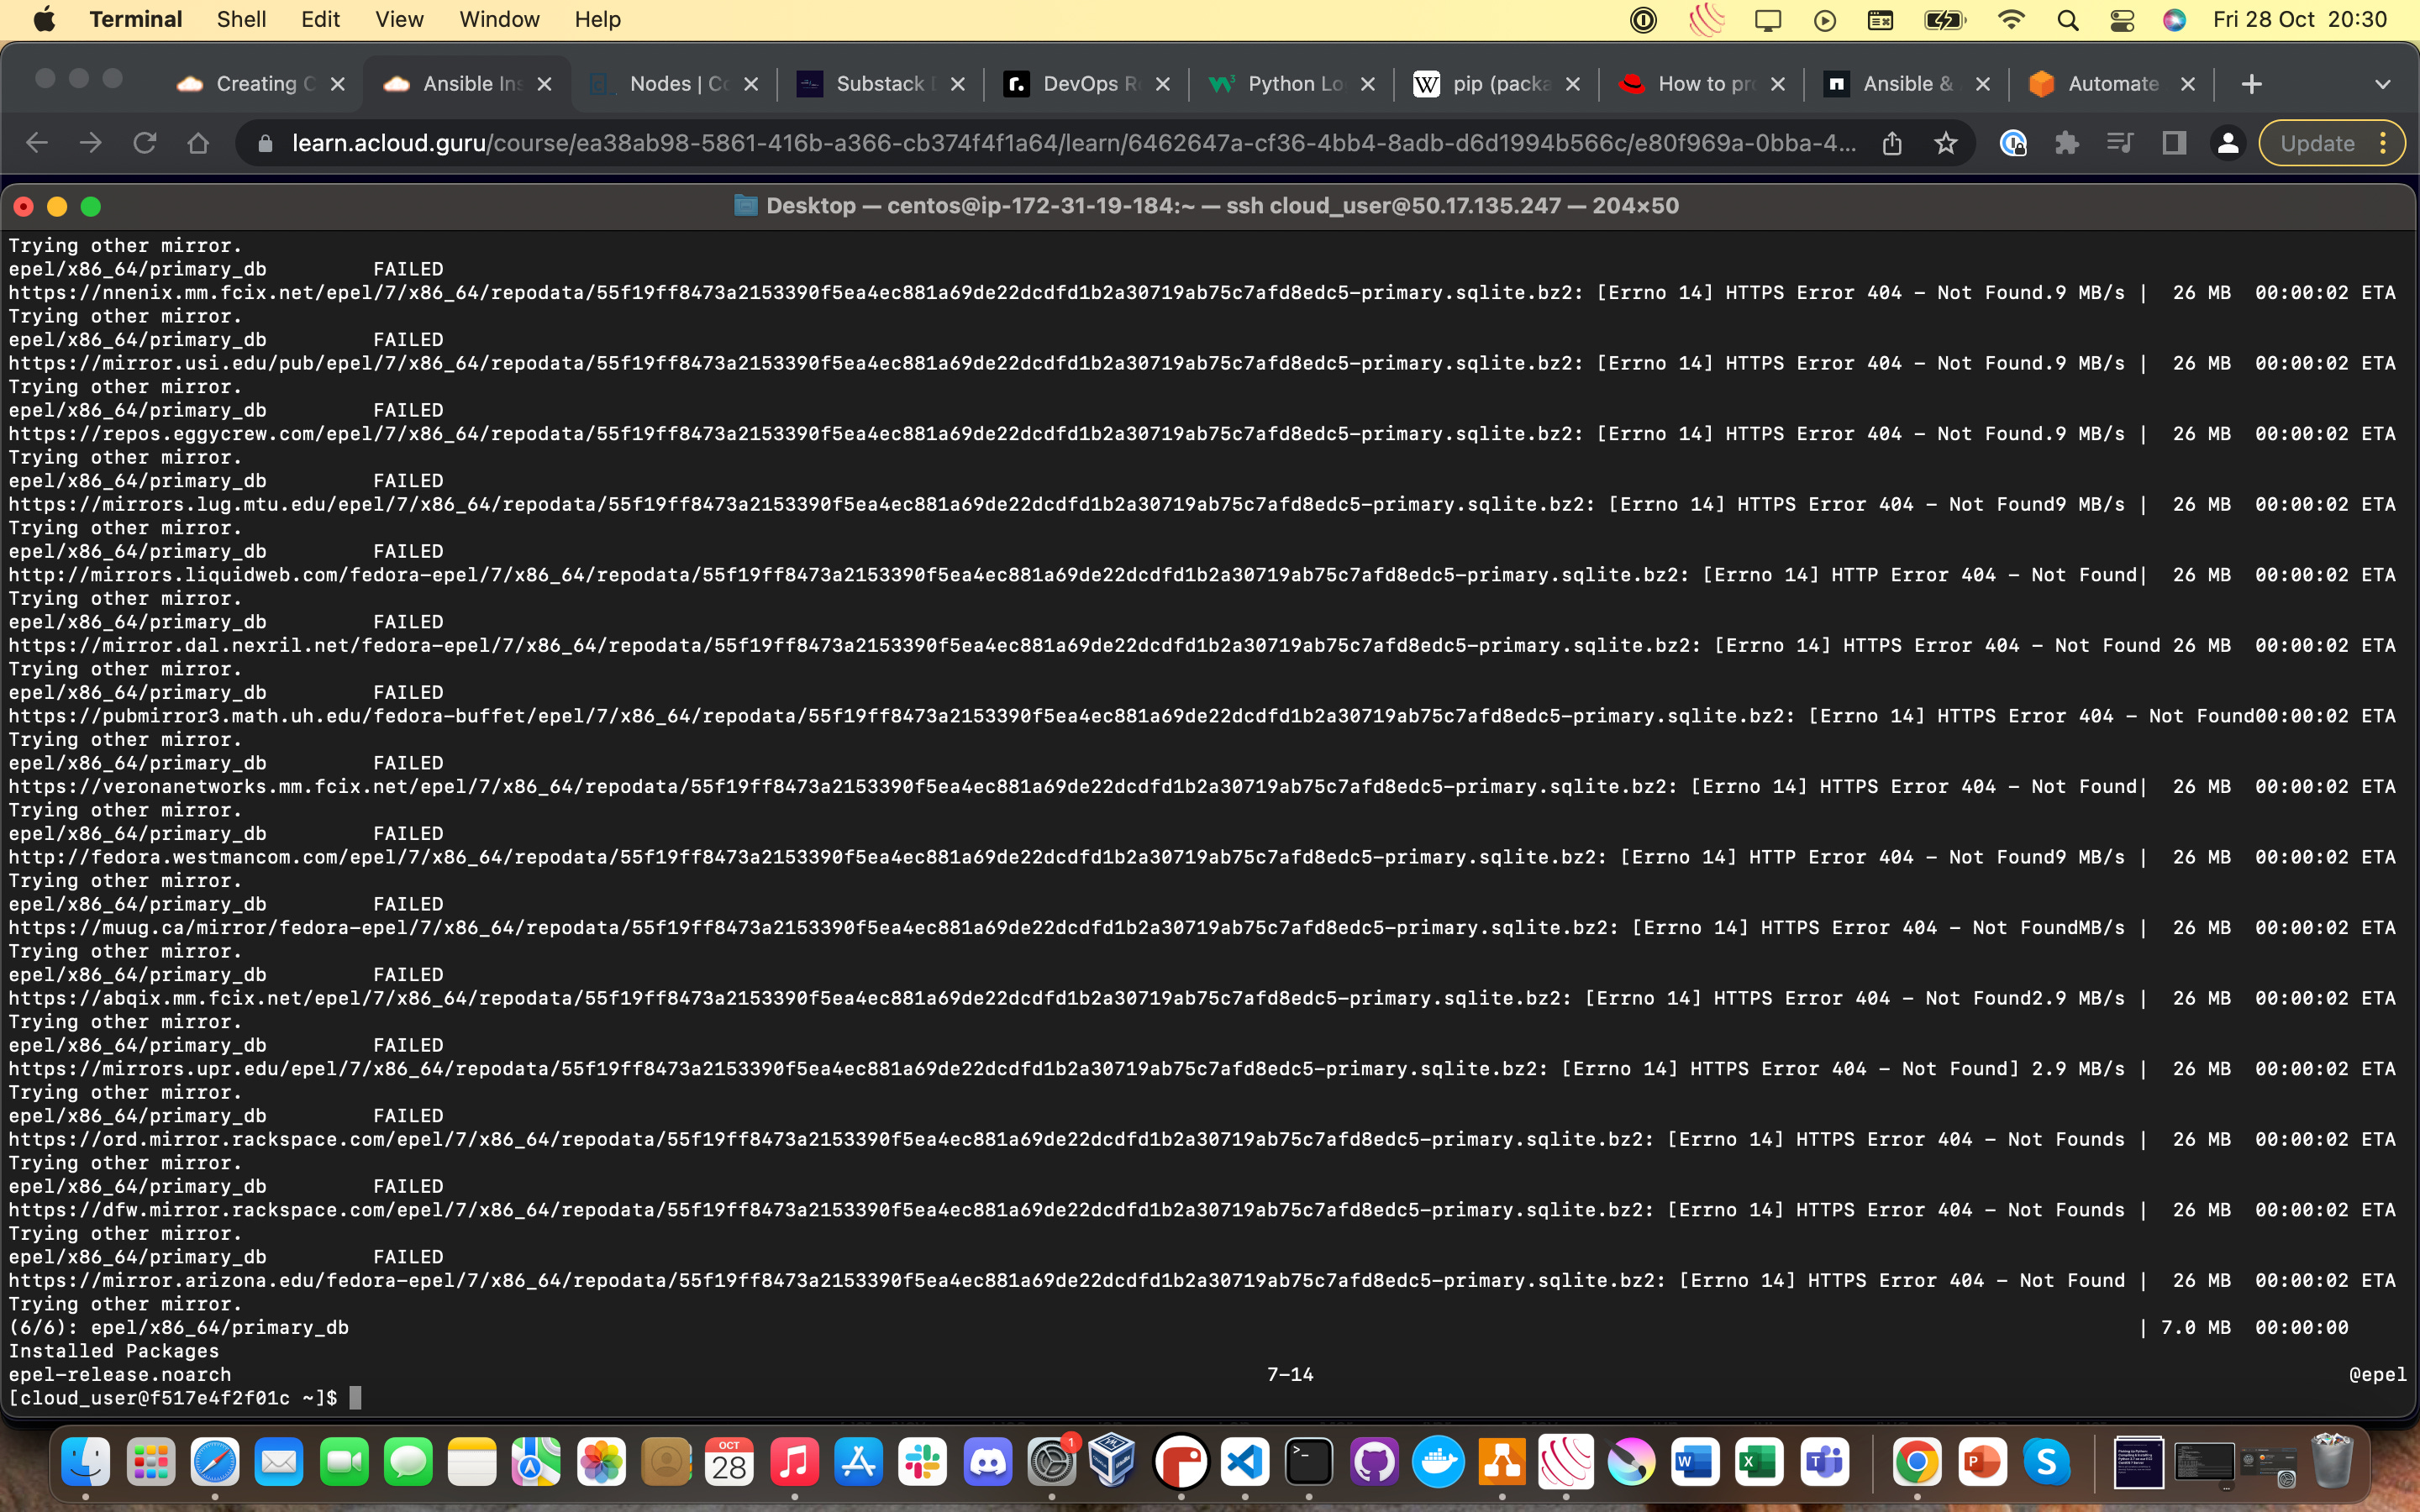
You’re done with this step when you get handed your terminal back and you’re able to type things out again.
Now, we’re actually going to install Ansible itself, using the following command in your terminal:
sudo yum install ansible
We’re also going to install Git for source control, using the following command in your terminal:
sudo yum install git
Now that’s done, let’s look at two of the files that we’re going to be using to get Ansible up and running.
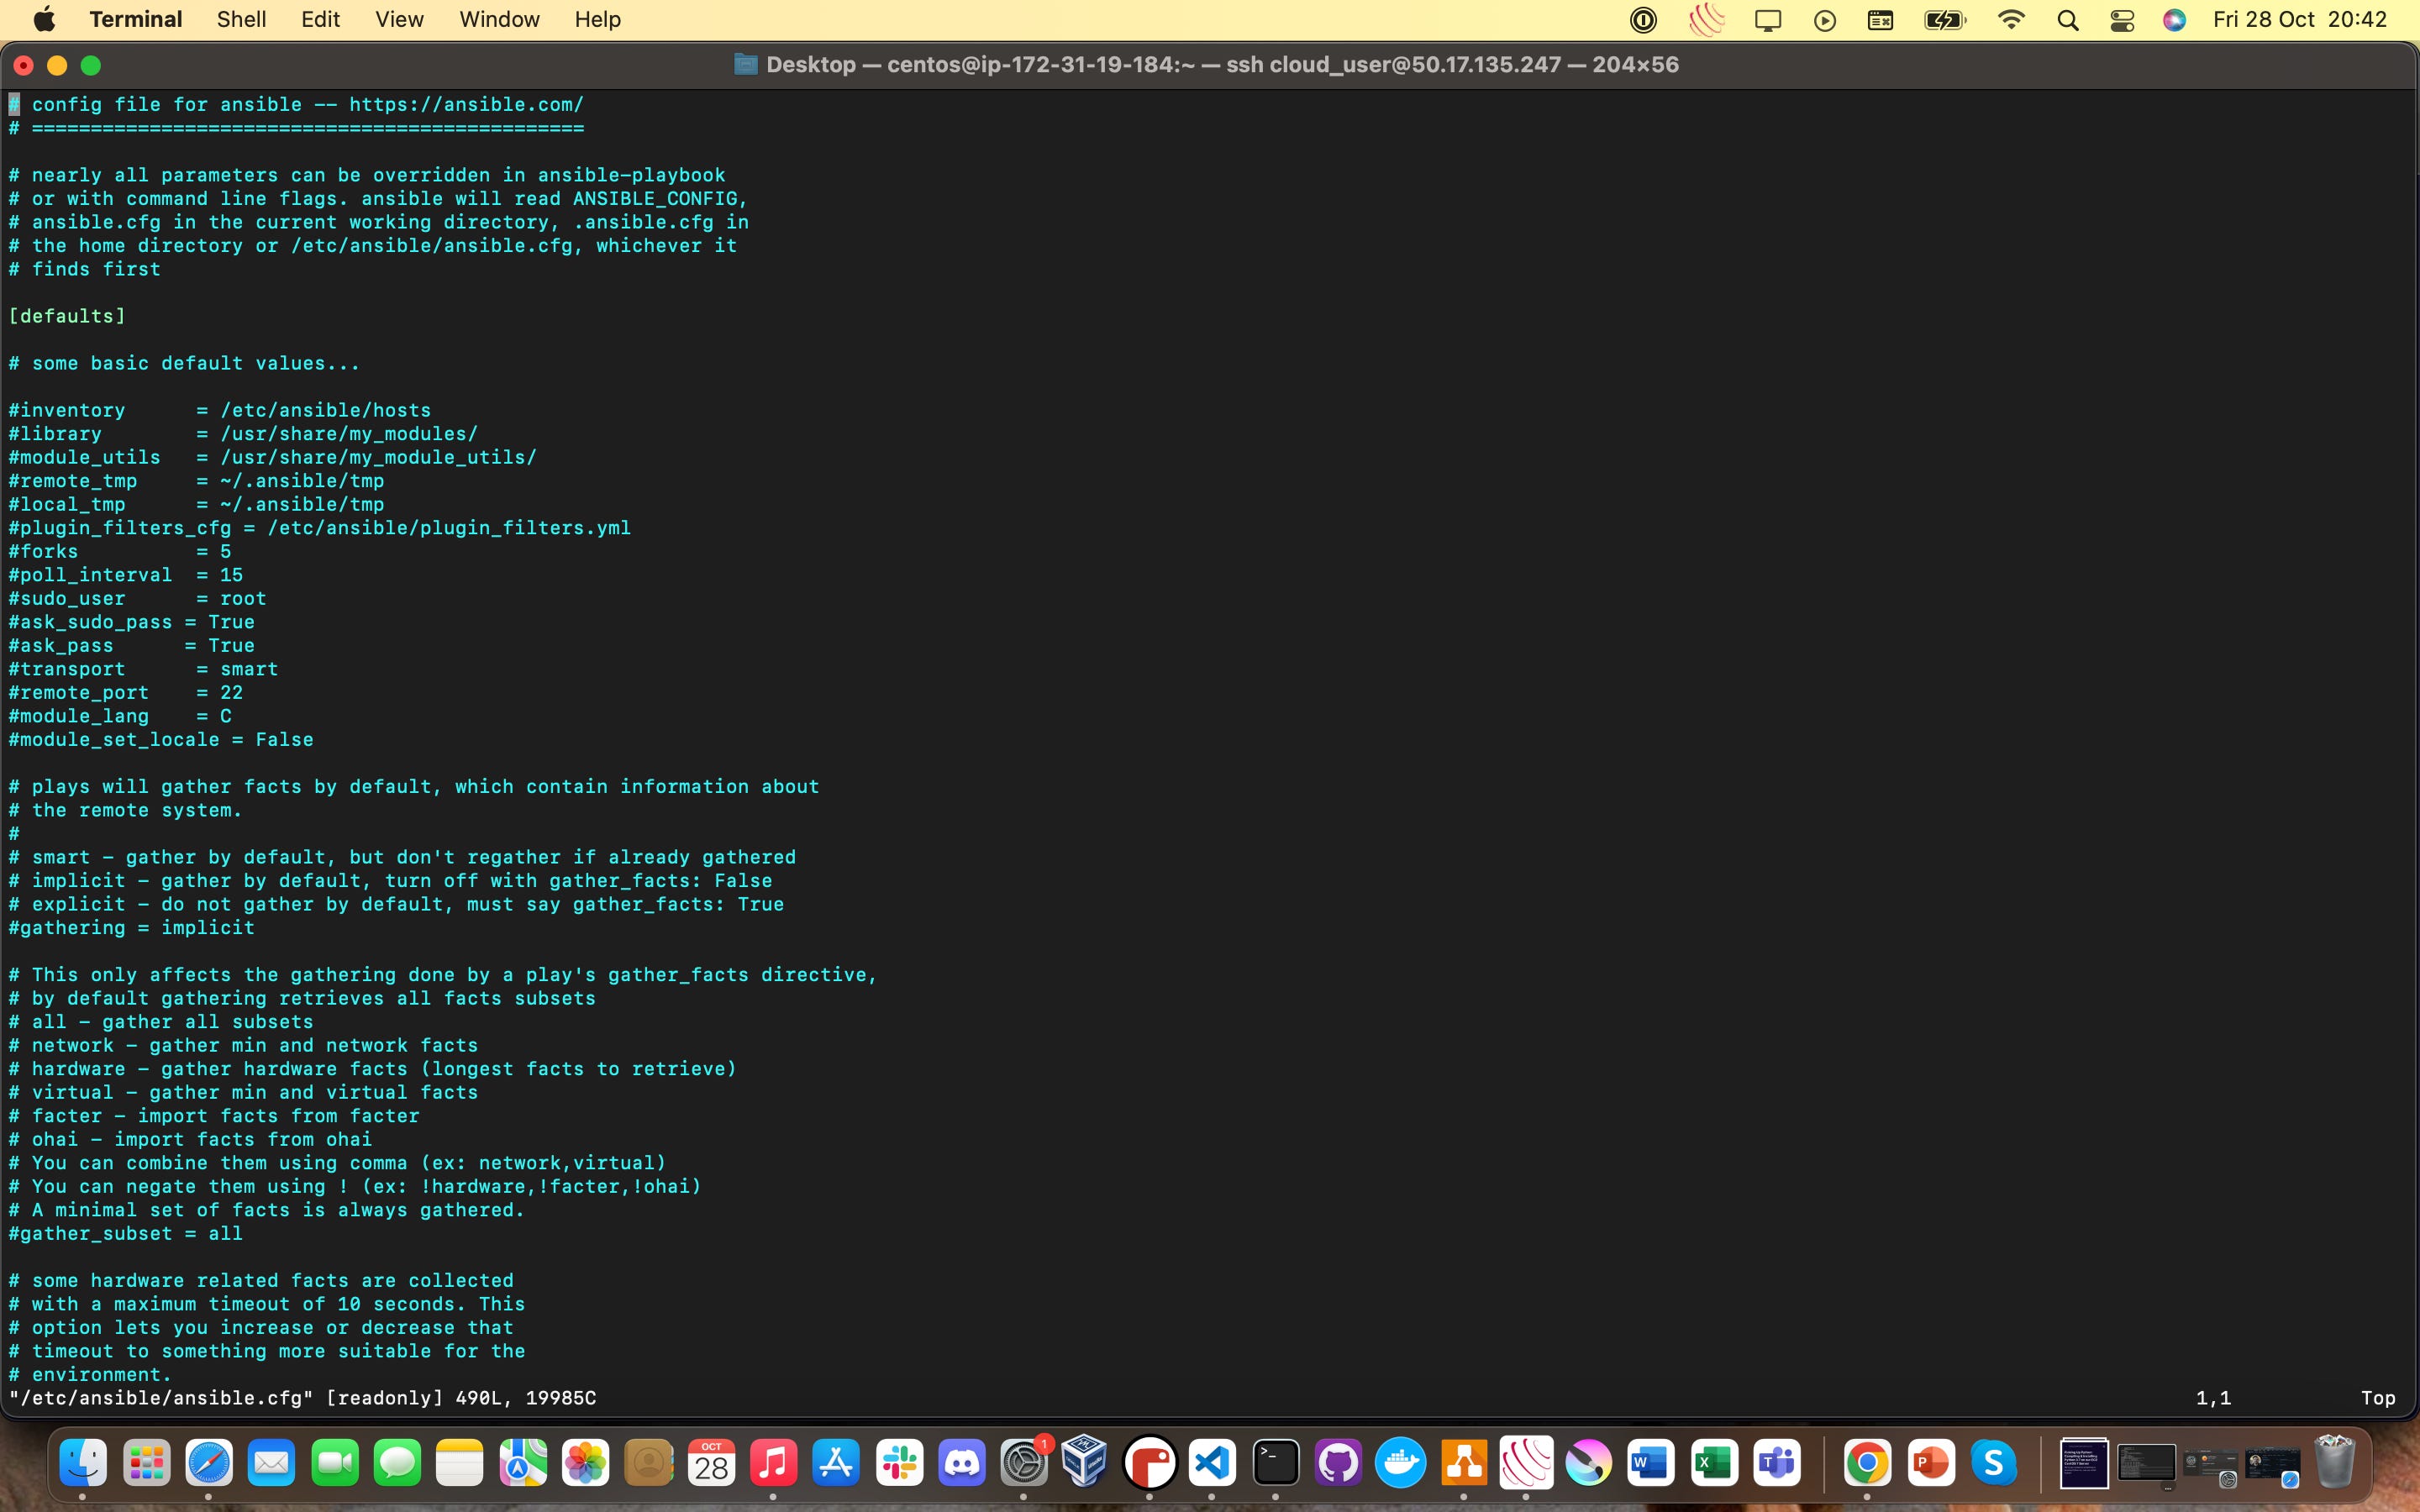
The first one is ansible.cfg, the central configuration file and where all of the interesting settings are for Ansible installations. You can find ansible.cfg at /etc/ansible/ansible.cfg and it should look something like this:
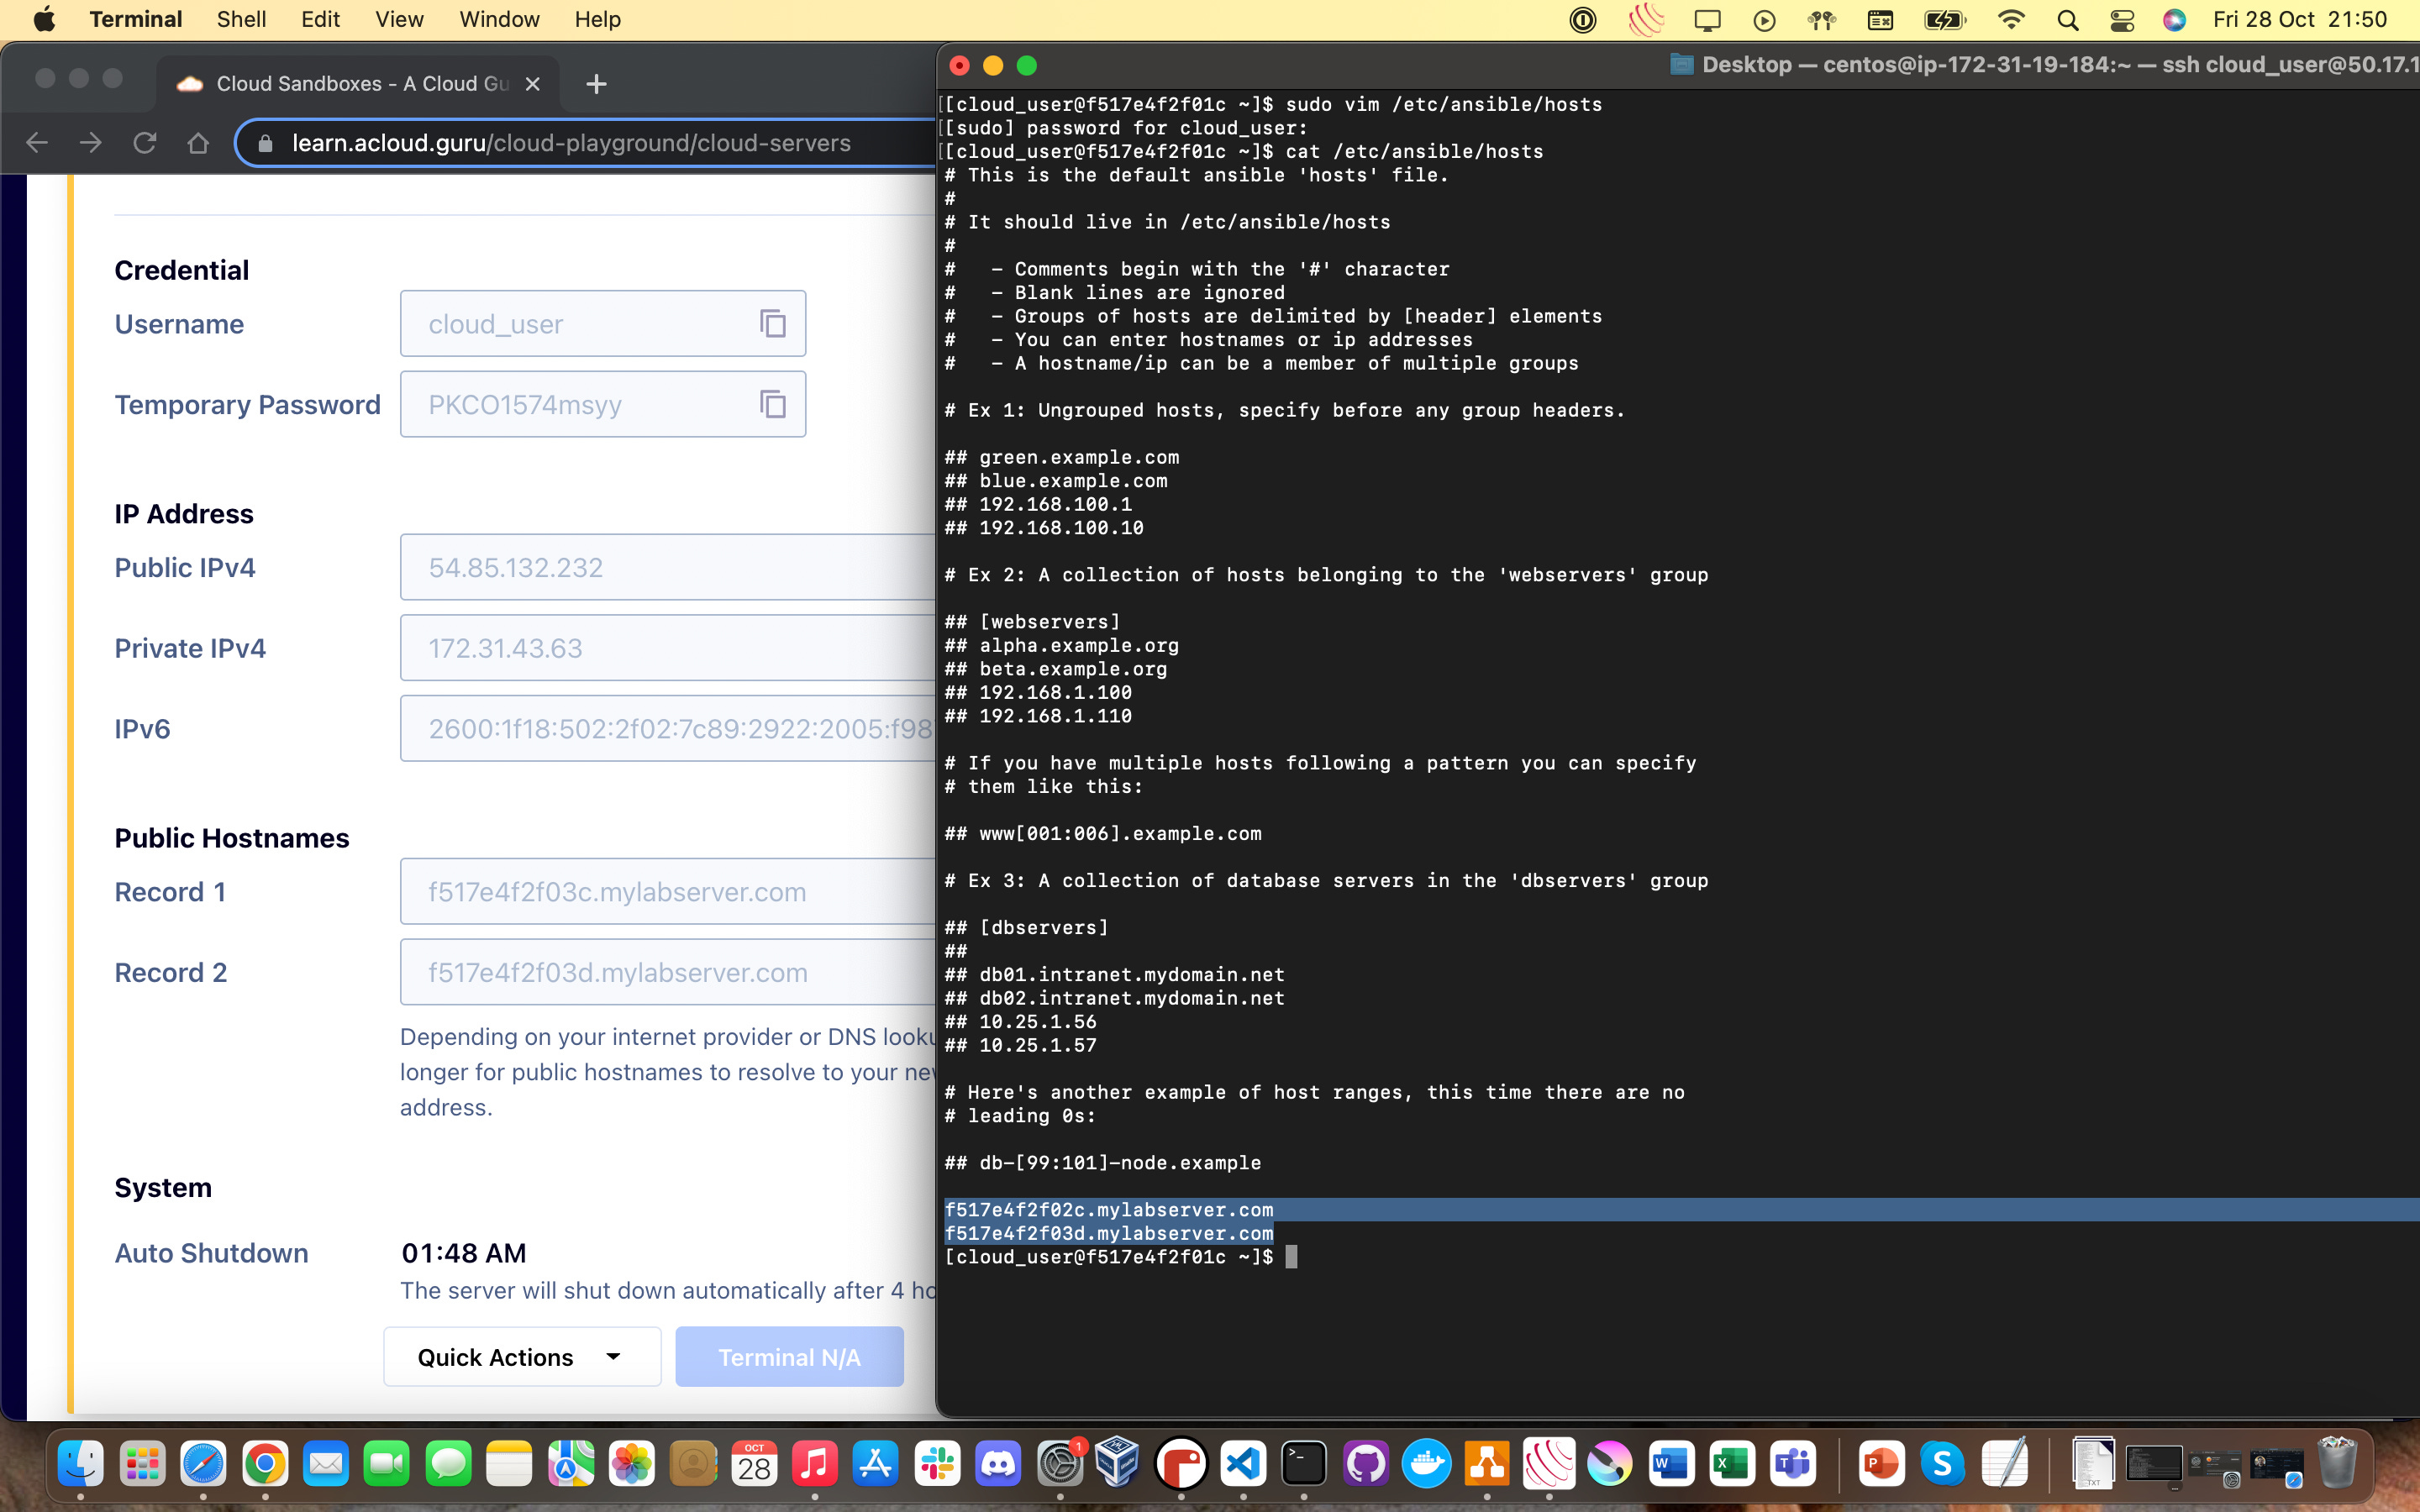
The second important file is the Ansible hosts file, the default inventory file for Ansible so it knows what different machines are, where they are and what aliases (if any) are being used. You can find the hosts file at /etc/ansible/hosts, and it should look something like this:
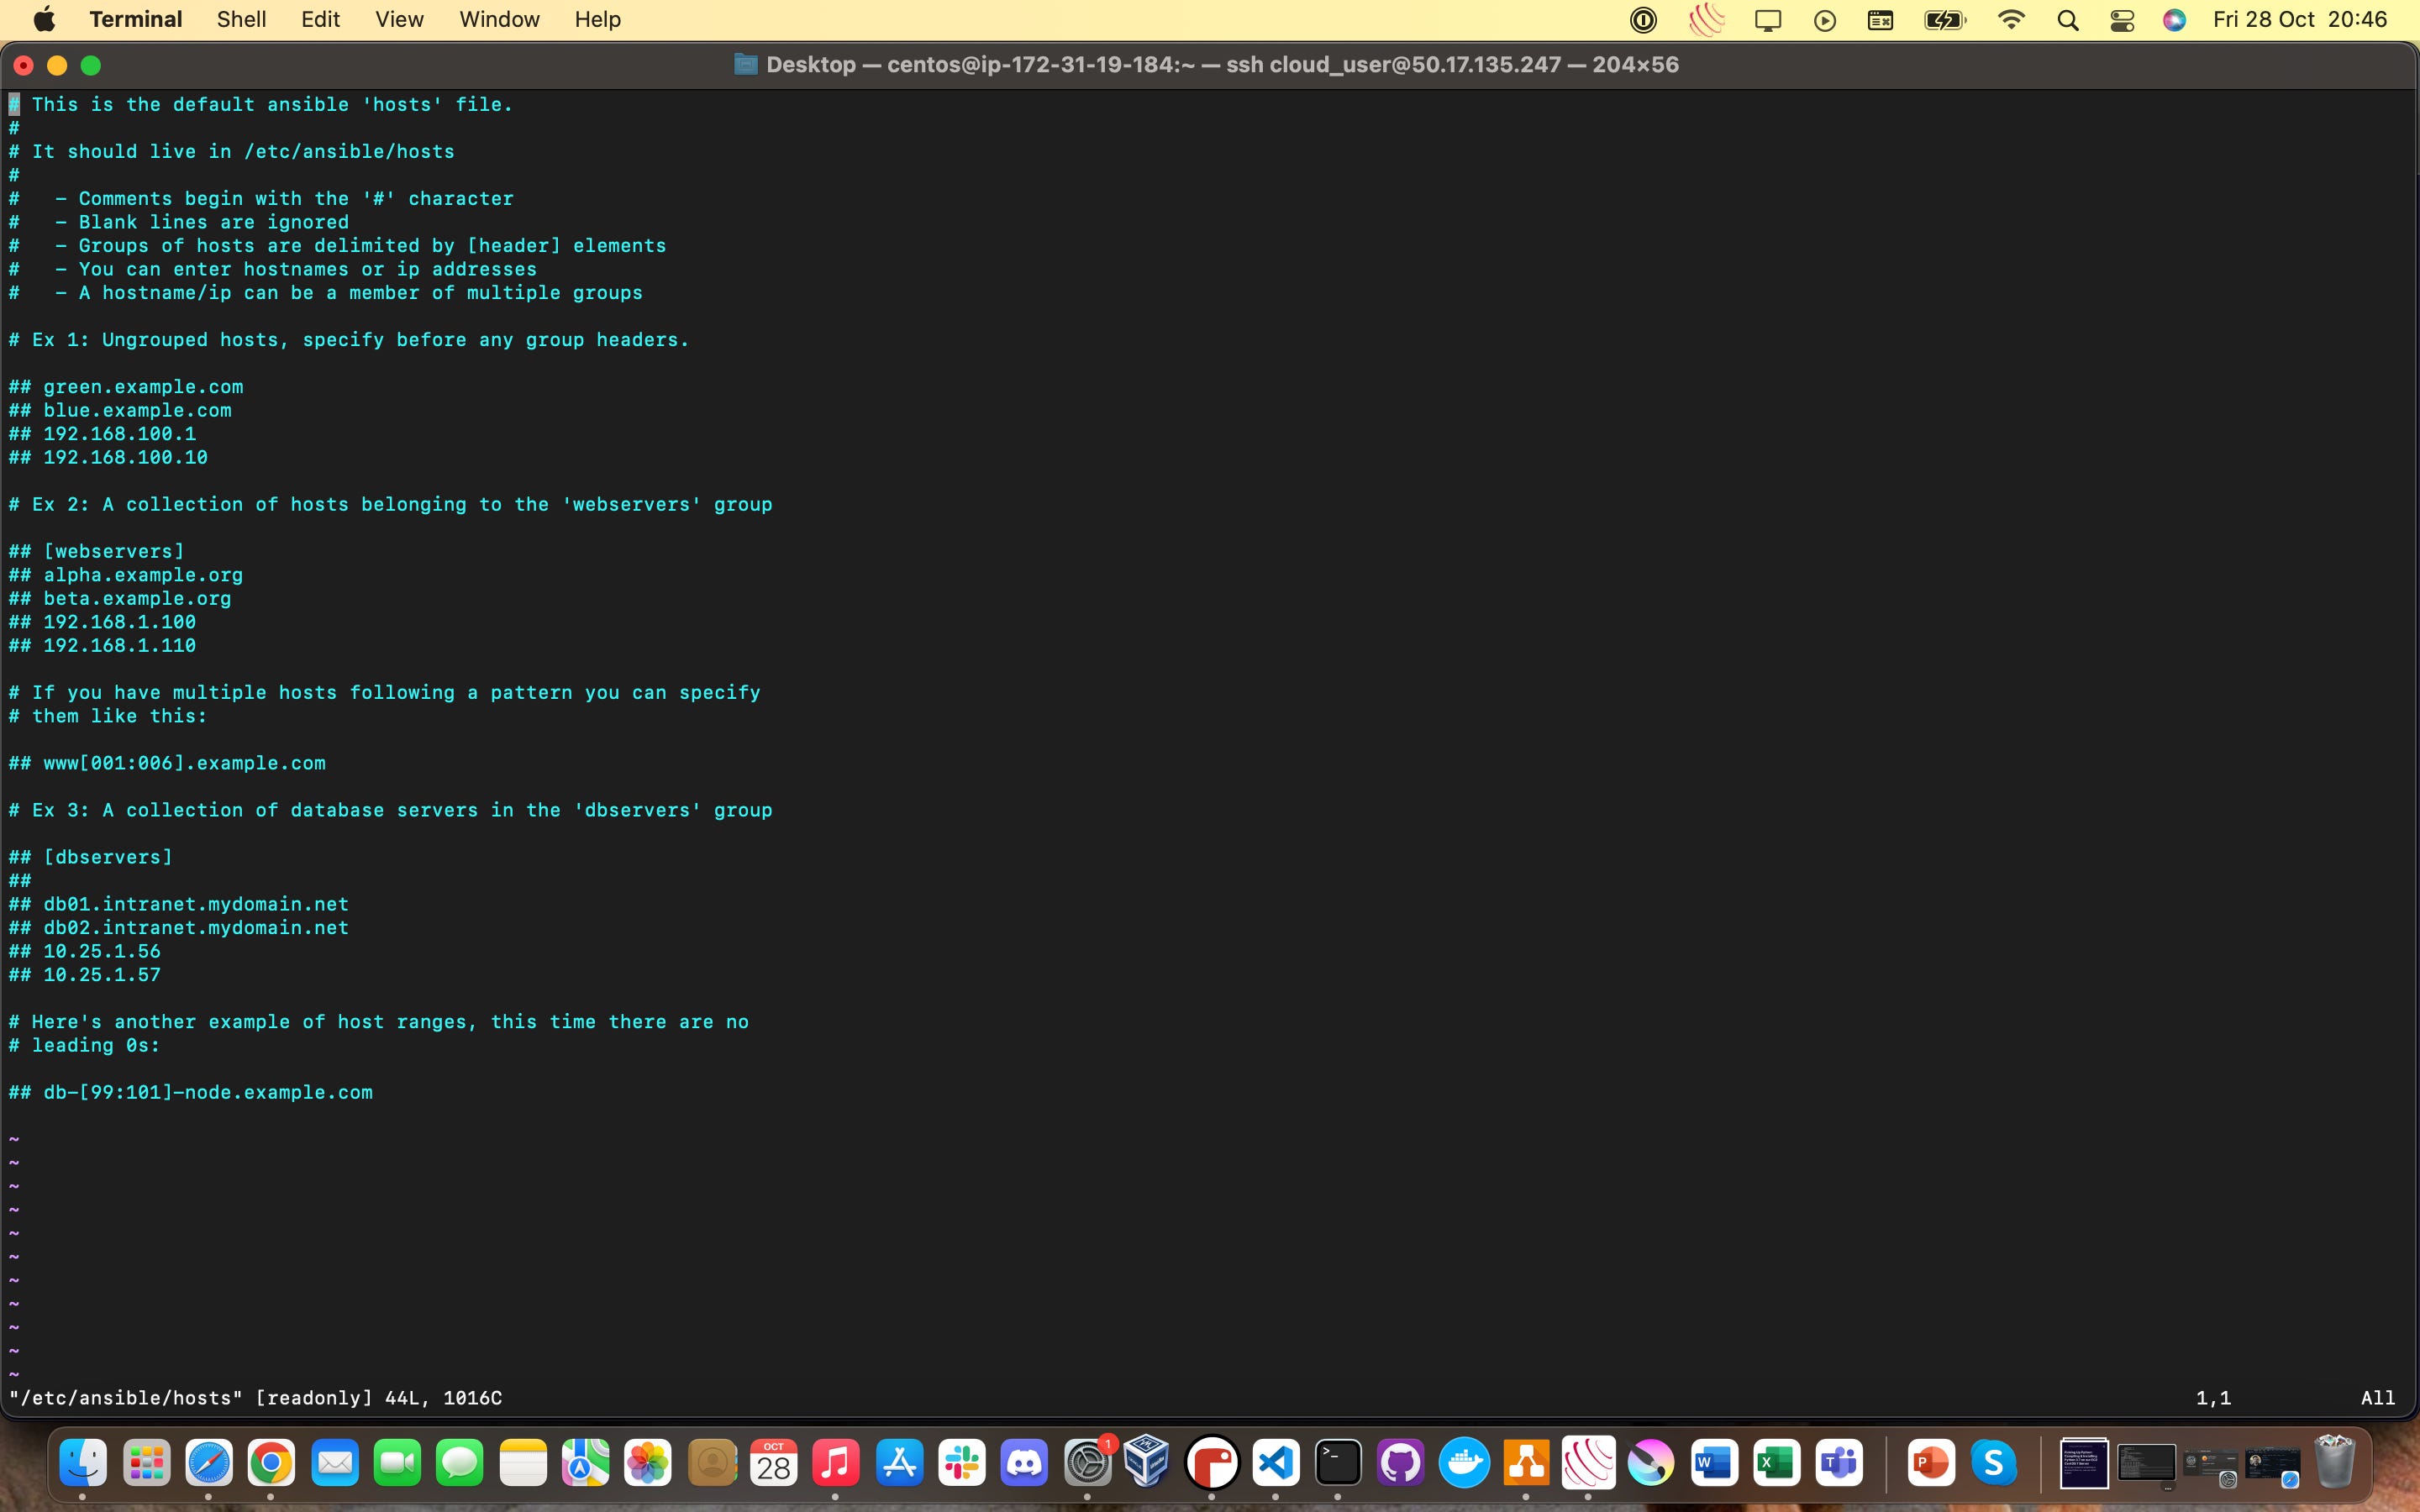
This is where your hosts are going to be that Ansible manages when you start running commands on multiple machines at once. Though, you can also just point Ansible commands ad-hoc at a single machine via the CLI, which we’ll do later on.
It’s at this point that you’ll want to spin up at least one extra Cloud Playground server with CentOS 7/some sort of free Linux running on it, as we’ll need something to practice using Ansible on.
Whilst you can just use password authentication and login every single time we run a command or a playbook with Ansible, doing that kinda defeats the point of learning Ansible in the first place.
So instead, we’re going to start configuring our Ansible-controlled inventory host to allow us to connect via SSH and run our commands in an efficient manner. Ideally what we want to do with Ansible is use a common user across all Ansible-controlled inventory servers, and then secure THOSE details.
To do this, what we’re gonna do next is create a pre-shared key to use for authentication across all our Ansible-controlled inventory servers, using two important commands:
ssh-keygenandssh-copy-idssh-keygenis what generates us a unique SSH key to use andssh-copy-idis what lets us send that SSH information to our hosts and instructs their installation of SSH to utilize it for authentication purposes.
ANSIBLE CONTROL NODE: It gets a little confusing from here, so I’m going to clearly designate which server you should be following the instruction on.
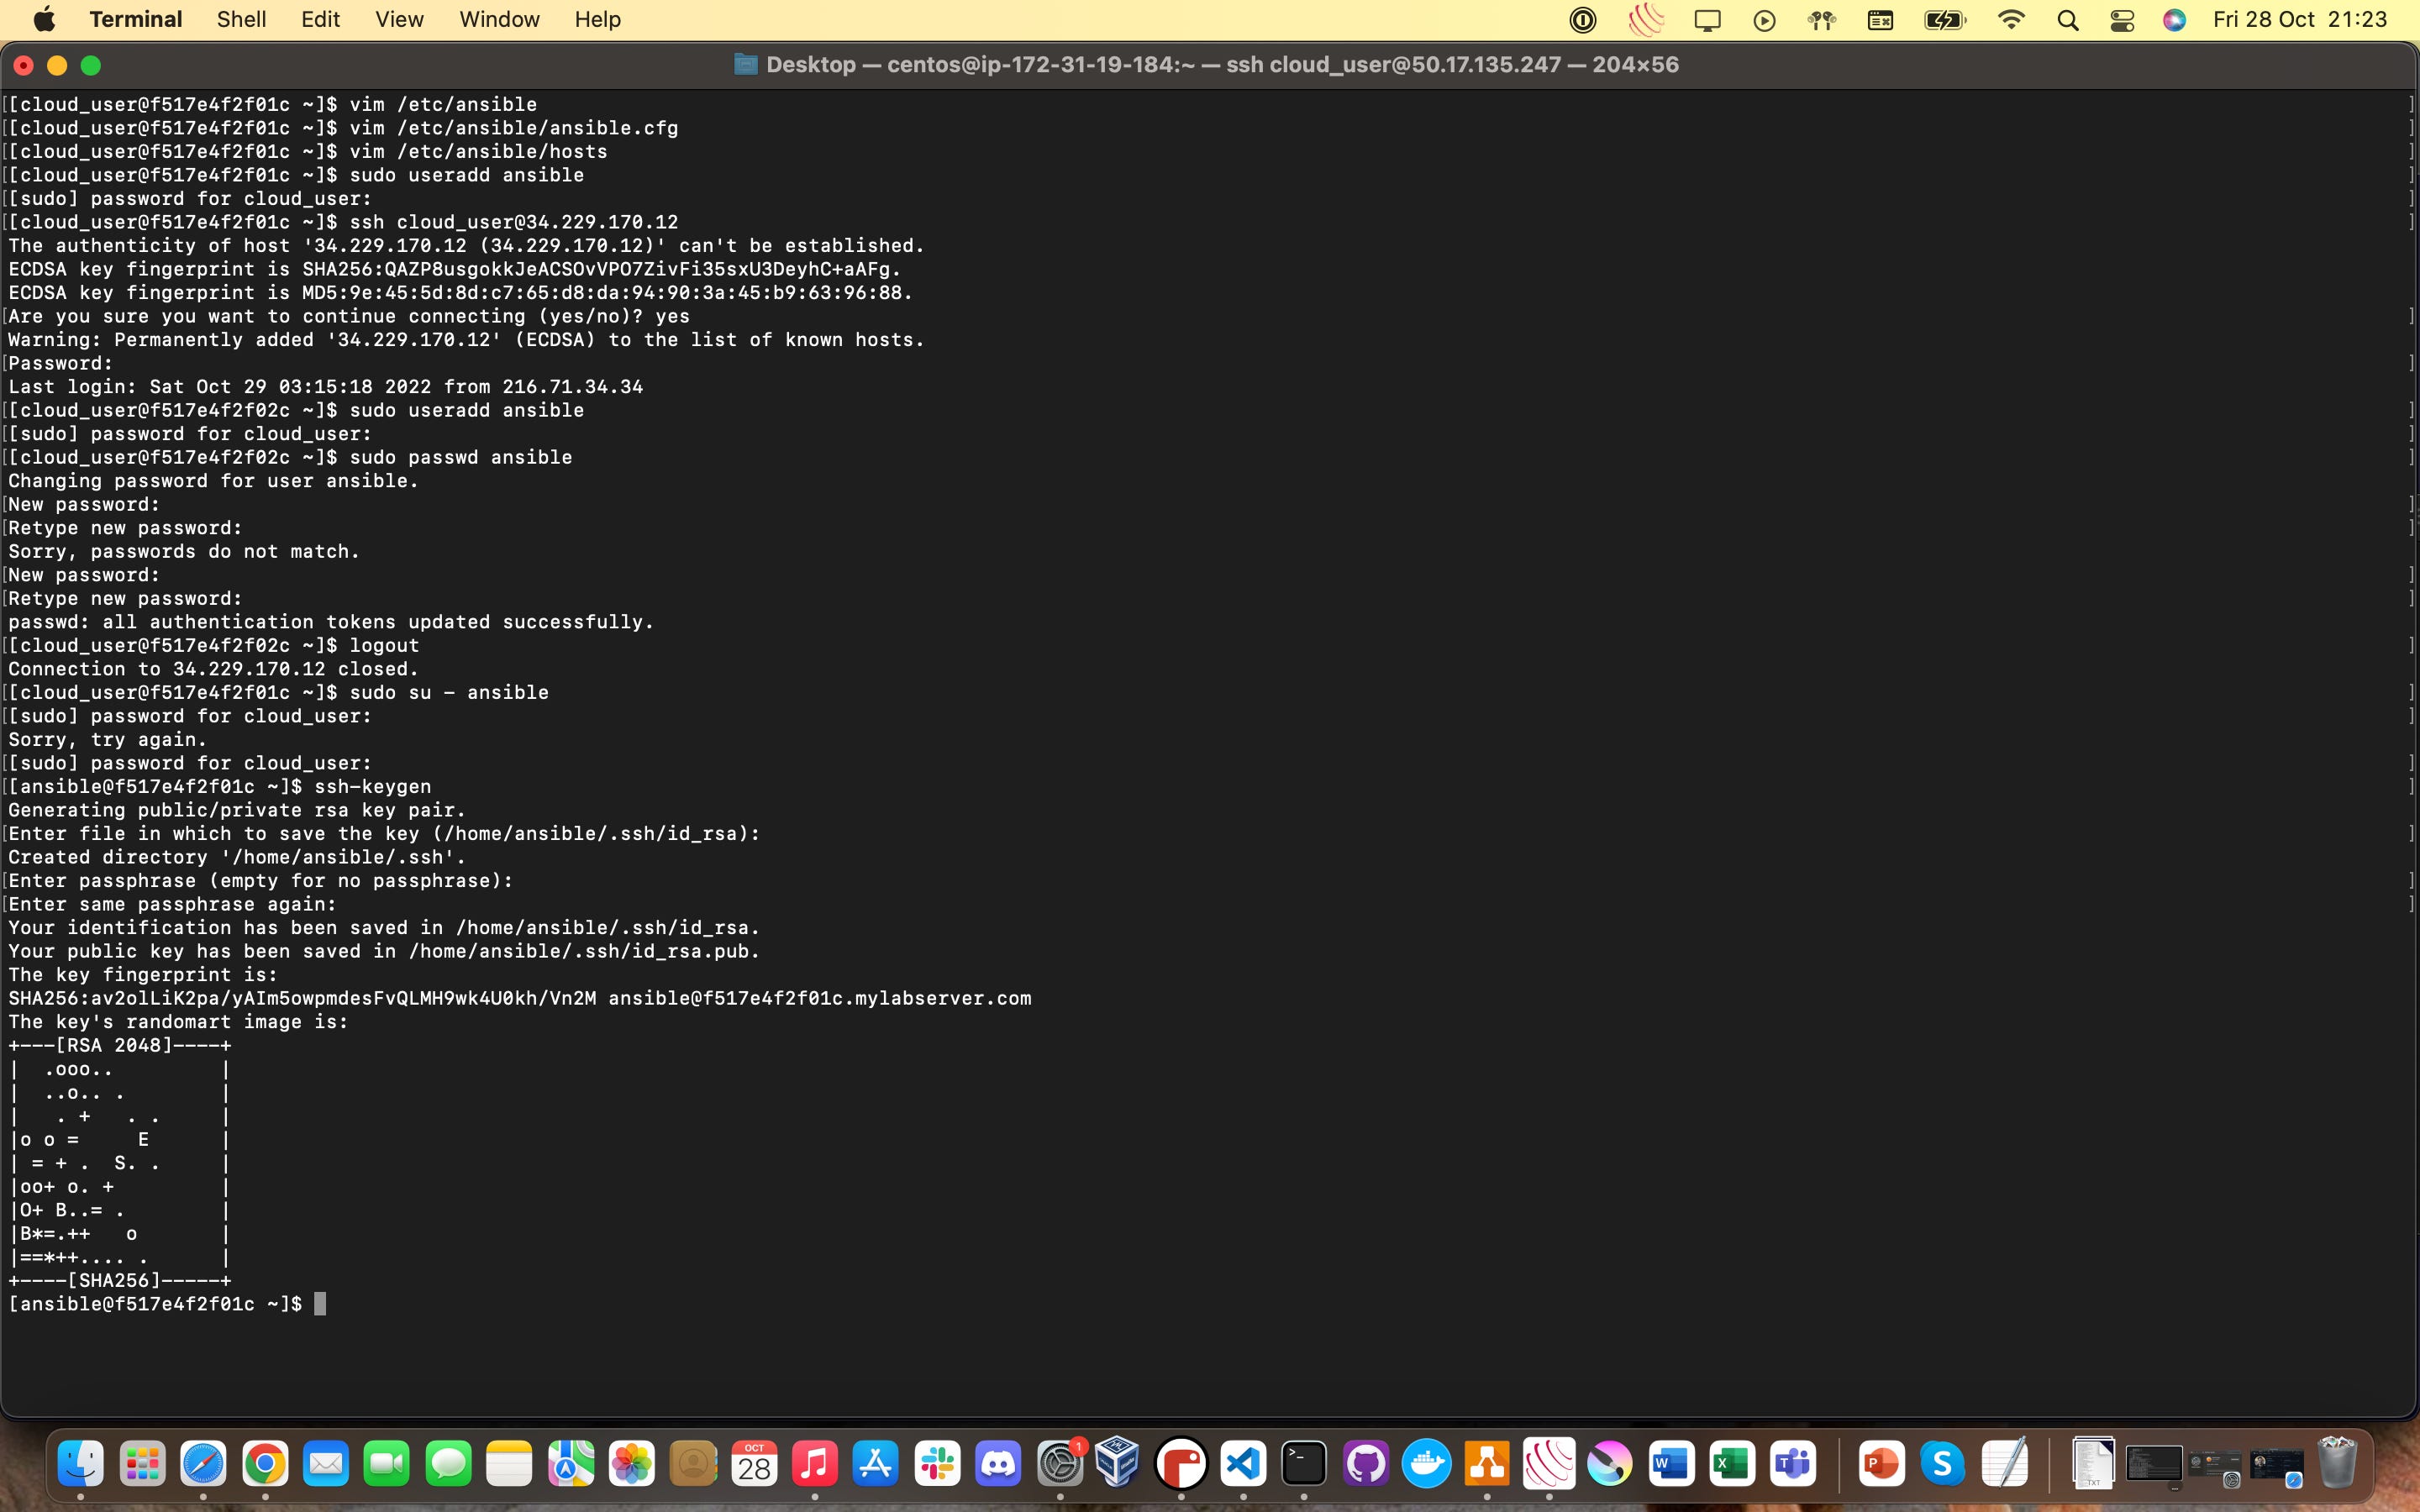
You are going to run the following commands to create a user ansible to send commands from, and set a password:
sudo useradd ansible
sudo passwd ansible
For the ease of this example, I made the sudo passwords and the ansible passwords the same for every server. For reasons that I hope are pretty obvious, DO NOT DO THIS IN REAL LIFE!
ANSIBLE CONTROL NODE: You now want to switch user to the ansible user you just set up, using the following command:
ssh-keygen
This will generate an SSH key pair for the ansible user and should look something like this on your screen:
ANSIBLE CONTROL NODE: What we’re going to do now is copy this keypair over to our Ansible-controlled inventory servers by using this following command. You’ll need to do this once for each node you want to do this for:
ssh-copy-id [IP address/public hostname of your inventory node]
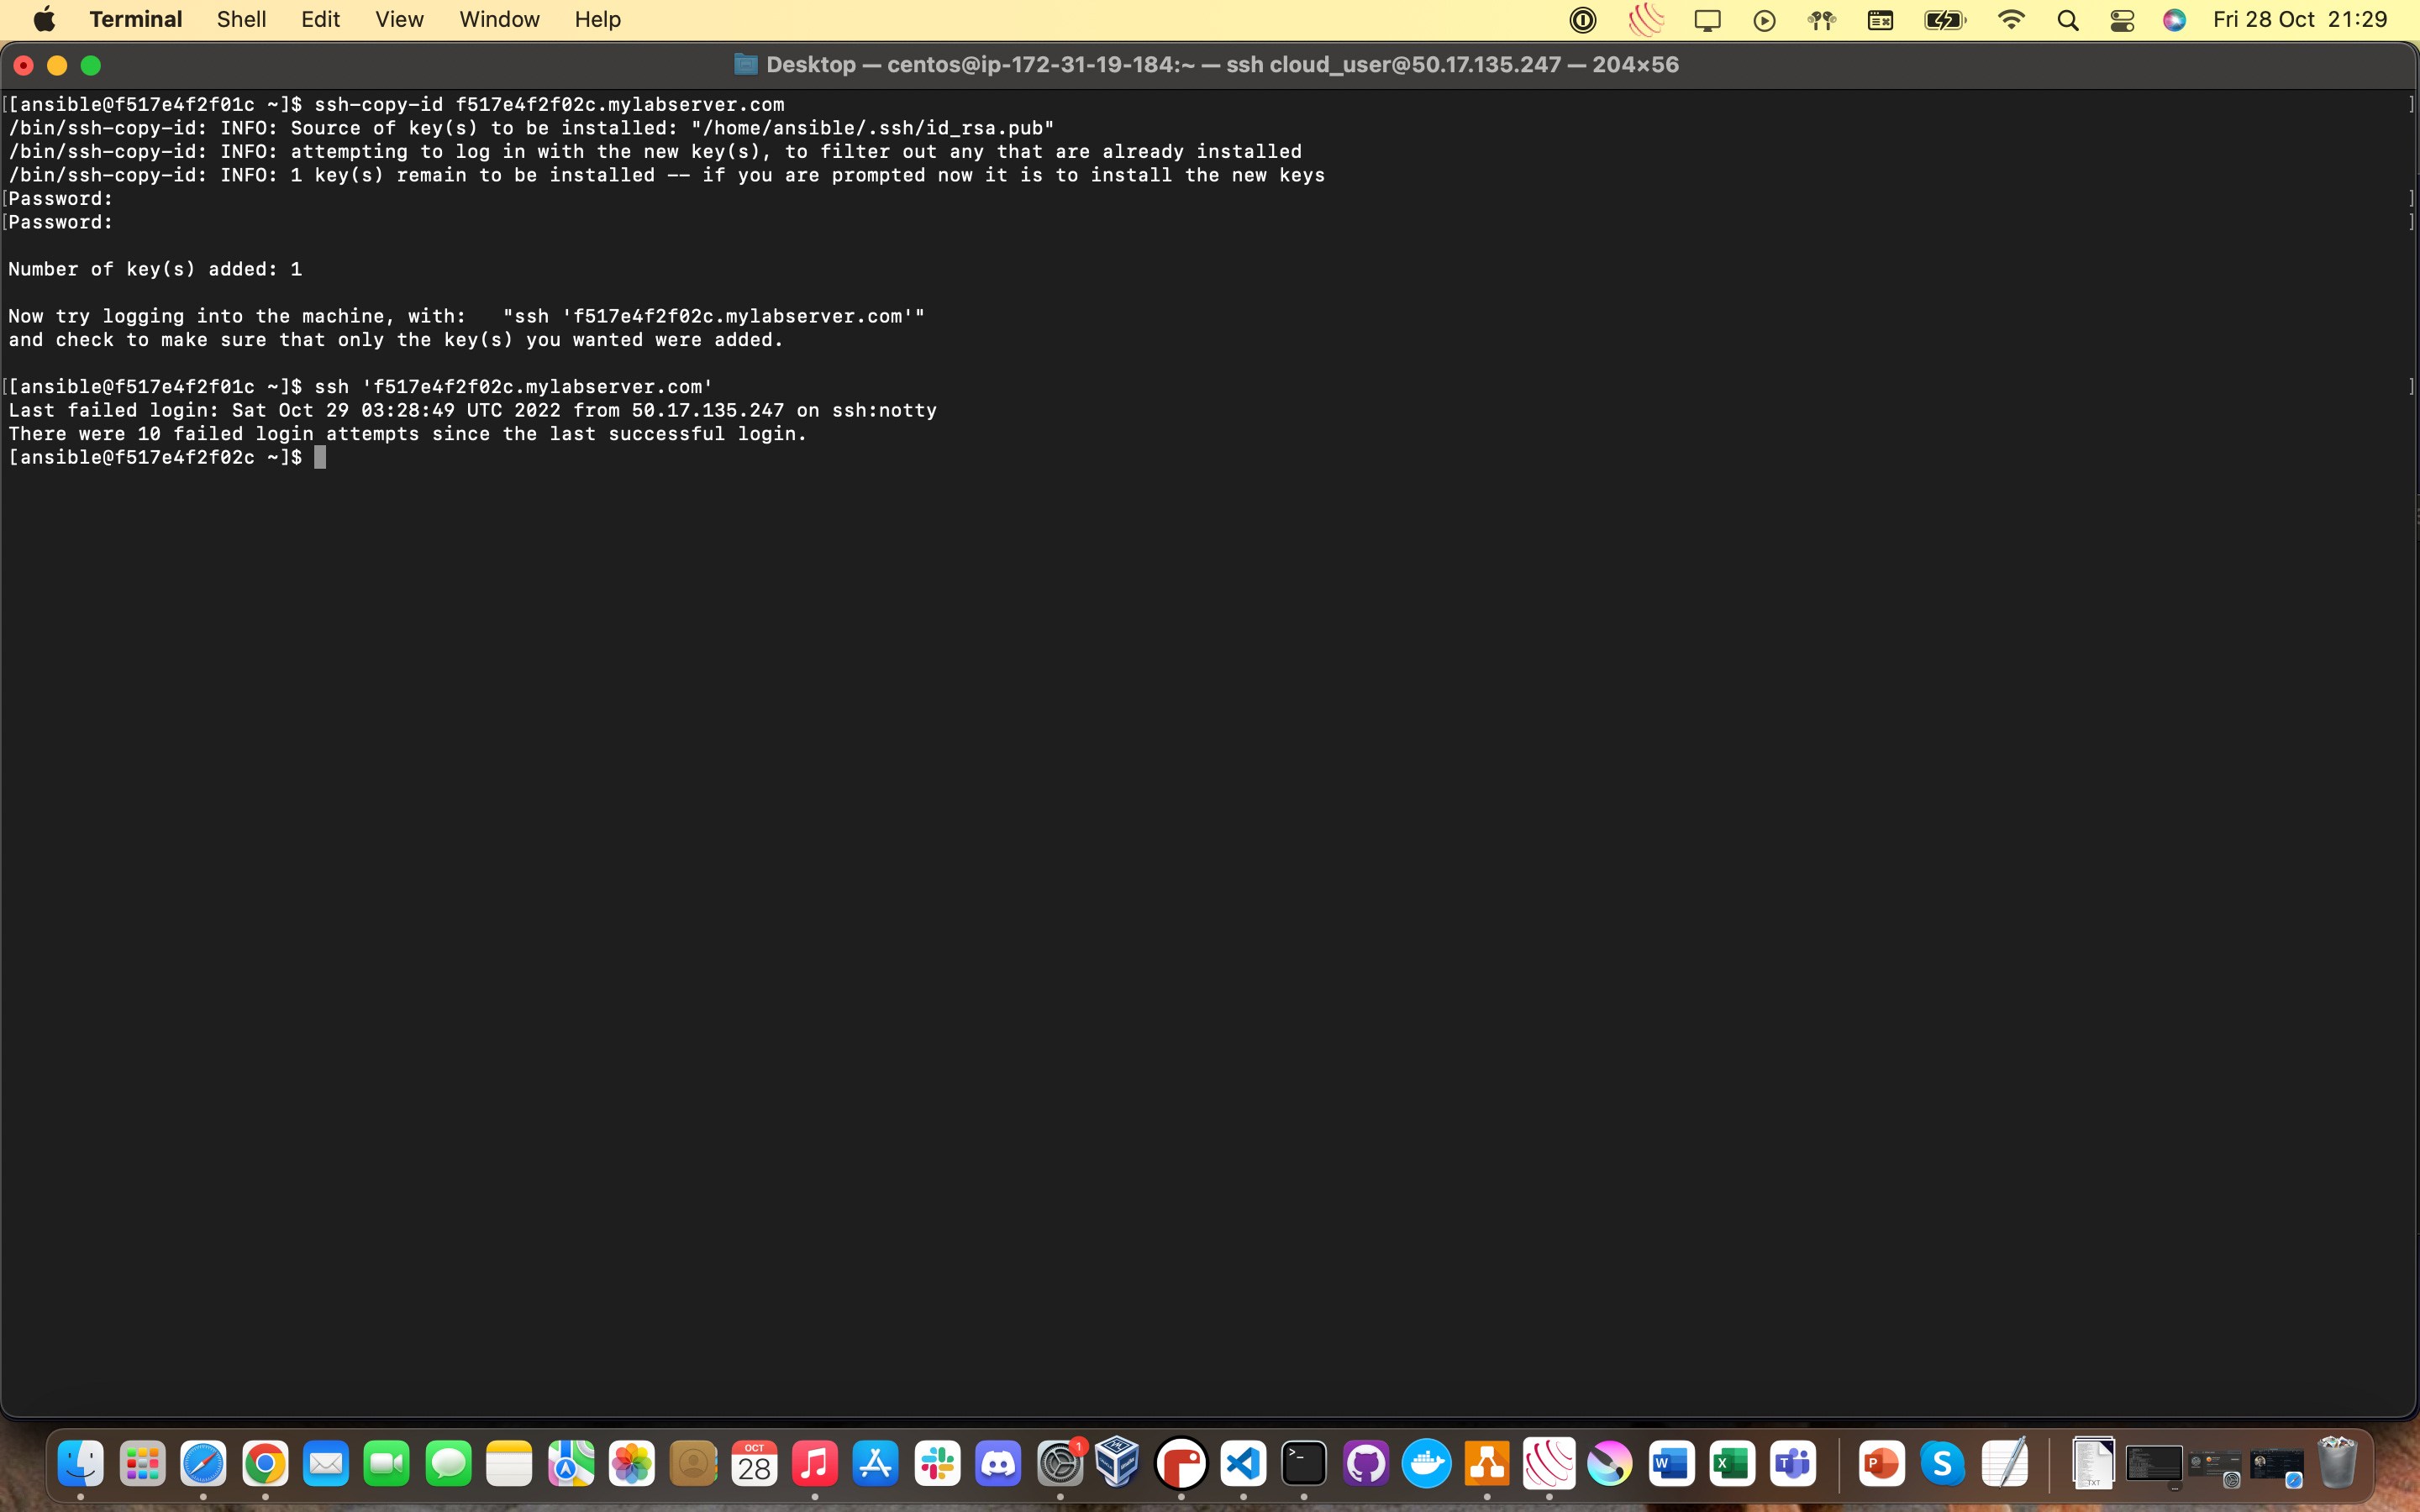
After each time, you’ll get prompted to test out the success of the command by SSH-ing without the user being specified (i.e as ansible on the control node) into the inventory server you just copied your SSH keypair to.
Notice how I didn’t get prompted for a password this time like I normally would have? This means the command worked!
ANSIBLE CONTROL NODE: Type
logoutinto the terminal to return to your Ansible control node. Next, you’re going to SSH into your Ansible inventory node (once for each one you’re going to use) as the standard cloud_user (or any user with root privileges if you’re not using A Cloud Guru to do this):
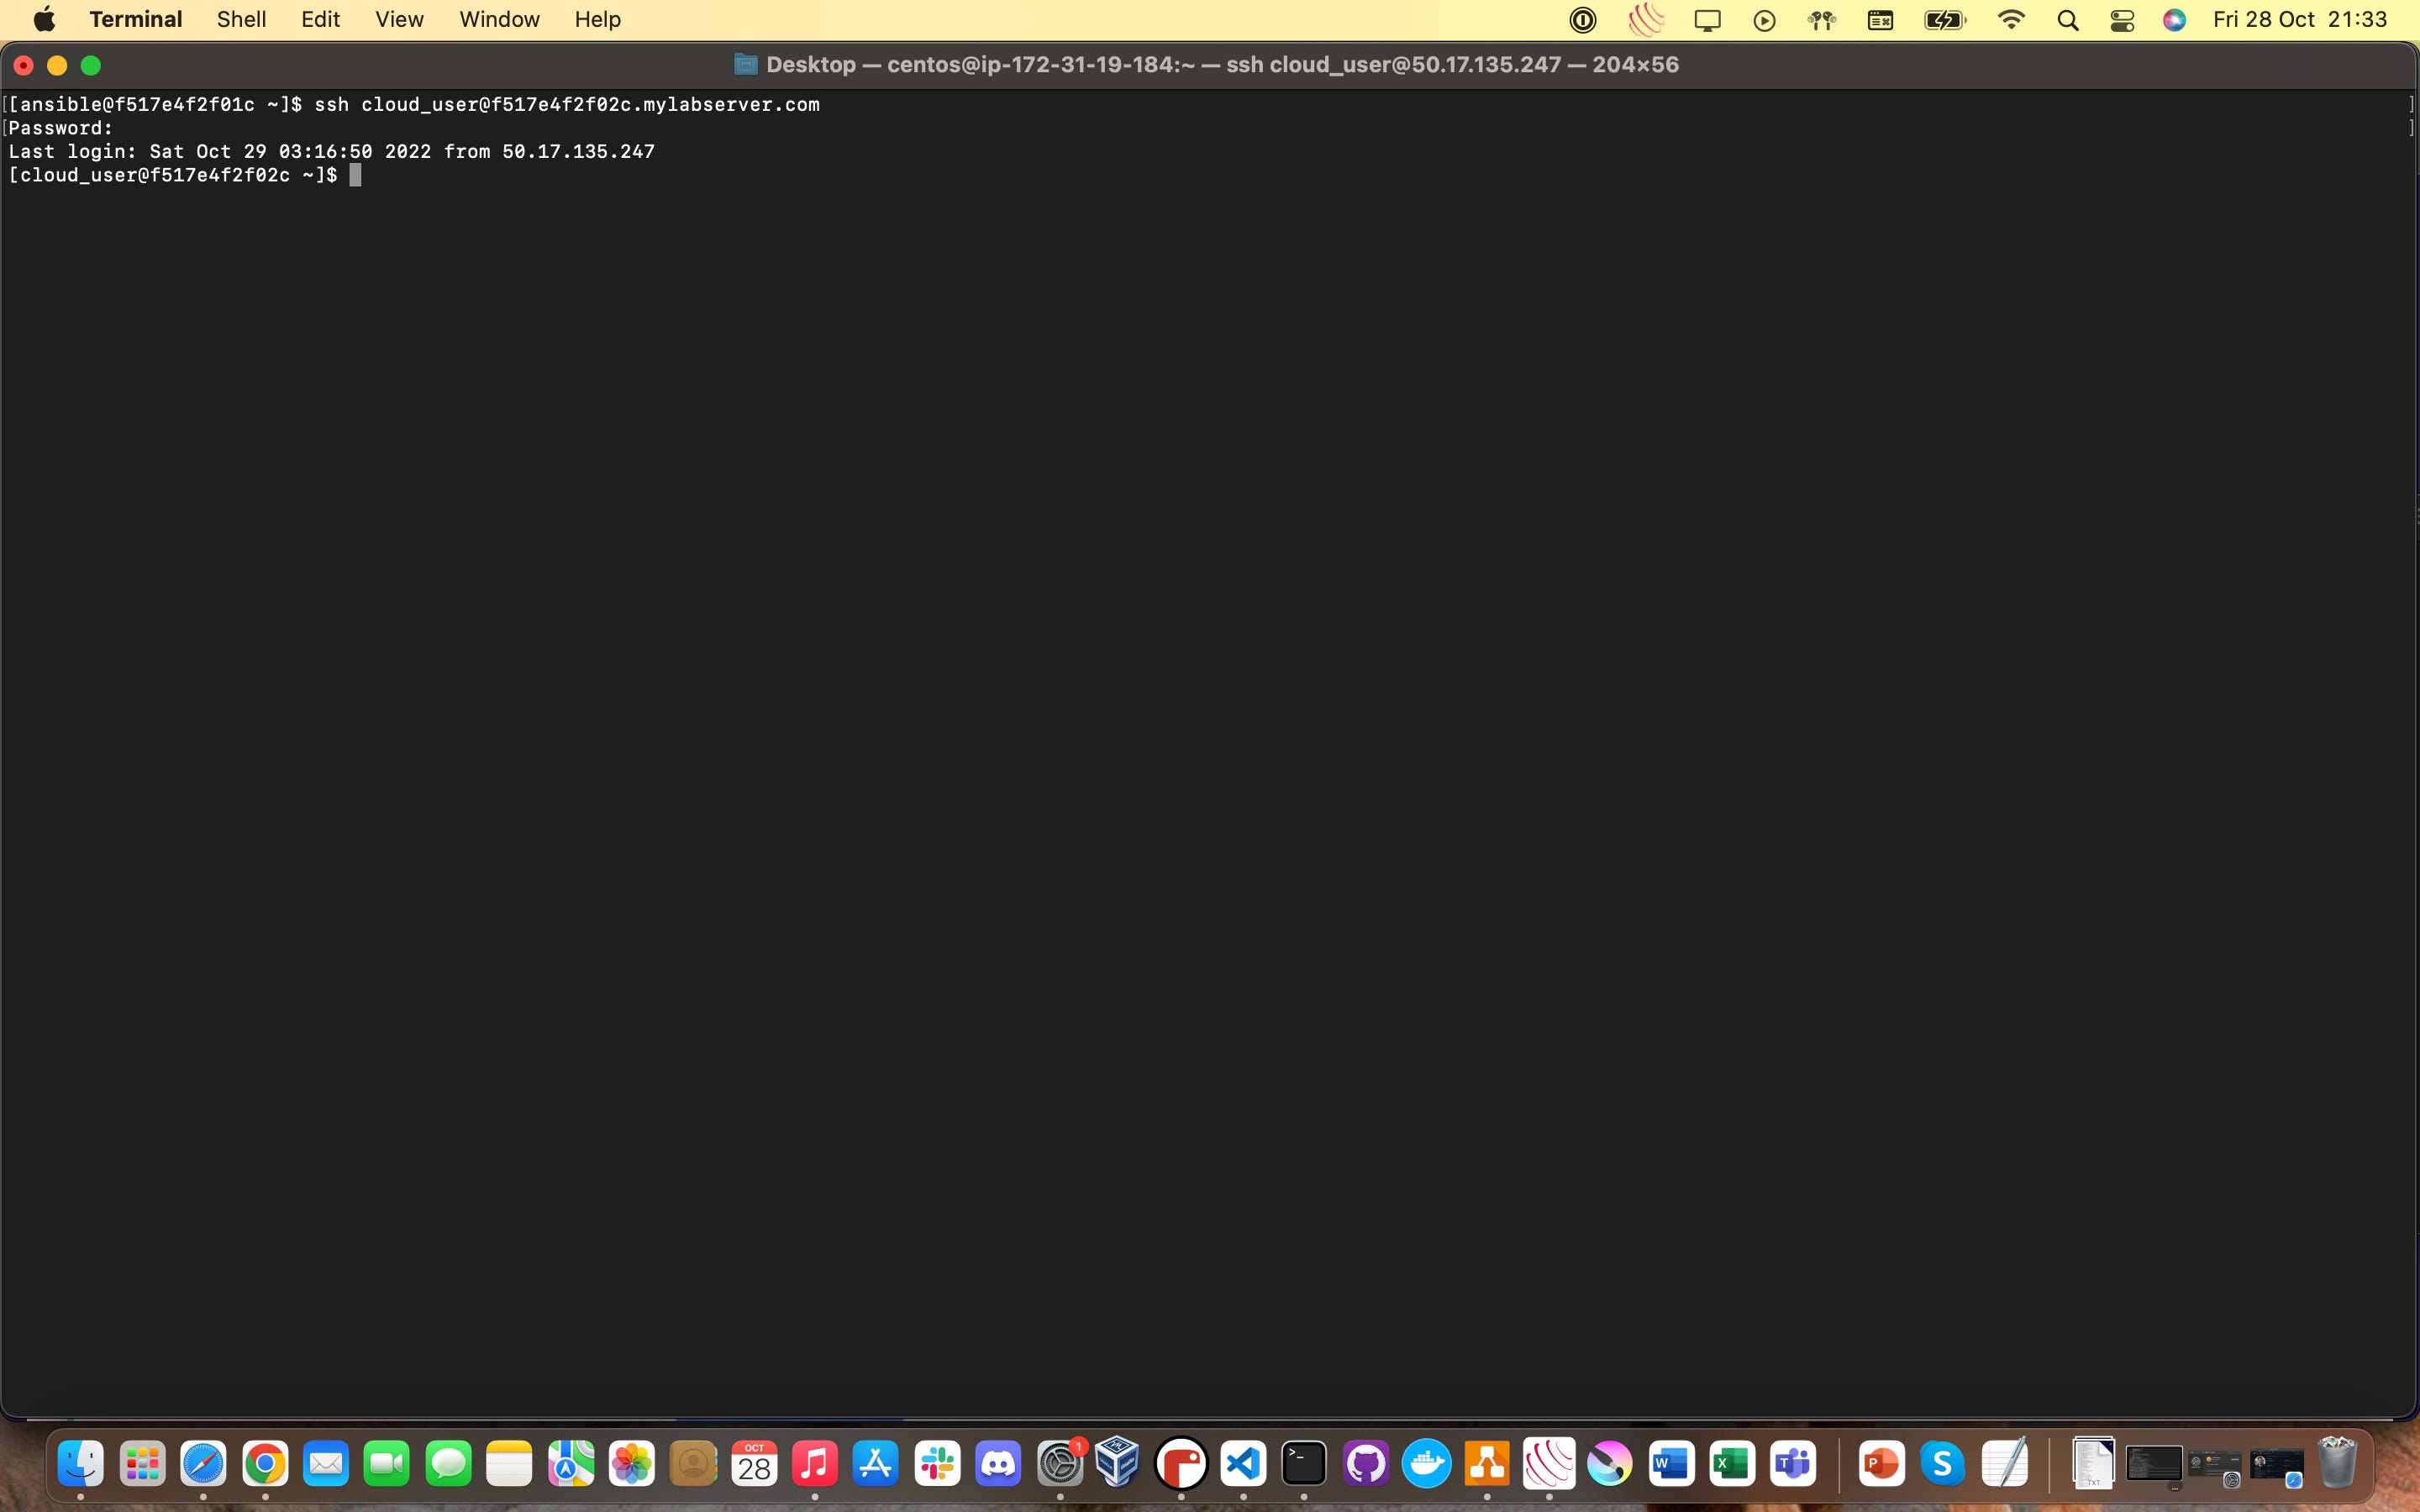
Notice how I did need a password this time?
This is because I SSH-ed in using cloud_user, NOT ansible to get onto my Ansible inventory node. None of the commands we’ve done here apply to cloud_user, only ansible - so I still need to authenticate like normal.
The reason we do this is because we need an account with root privileges to do the next step, which ansible does not!
ANSIBLE INVENTORY NODE: Now that we’re into our inventory node as cloud_user, we’re going to go ahead and create an ansible user for the inventory node too using the same commands as before:
sudo useradd ansible
sudo passwd ansible
I definitely made all of my passwords for this example the same to make it easier on my brain, but as long as you have them documented, you can do whatever you like!
ANSIBLE INVENTORY NODE: Next, what we want to do is edit the /etc/sudoers file on our Ansible inventory node.
The sudoers file on most Linux distributions governs from a system level, what users/groups/applications can use root privileges and under what circumstances. We need to add our ansible user to that folder so it can can act as root, too!
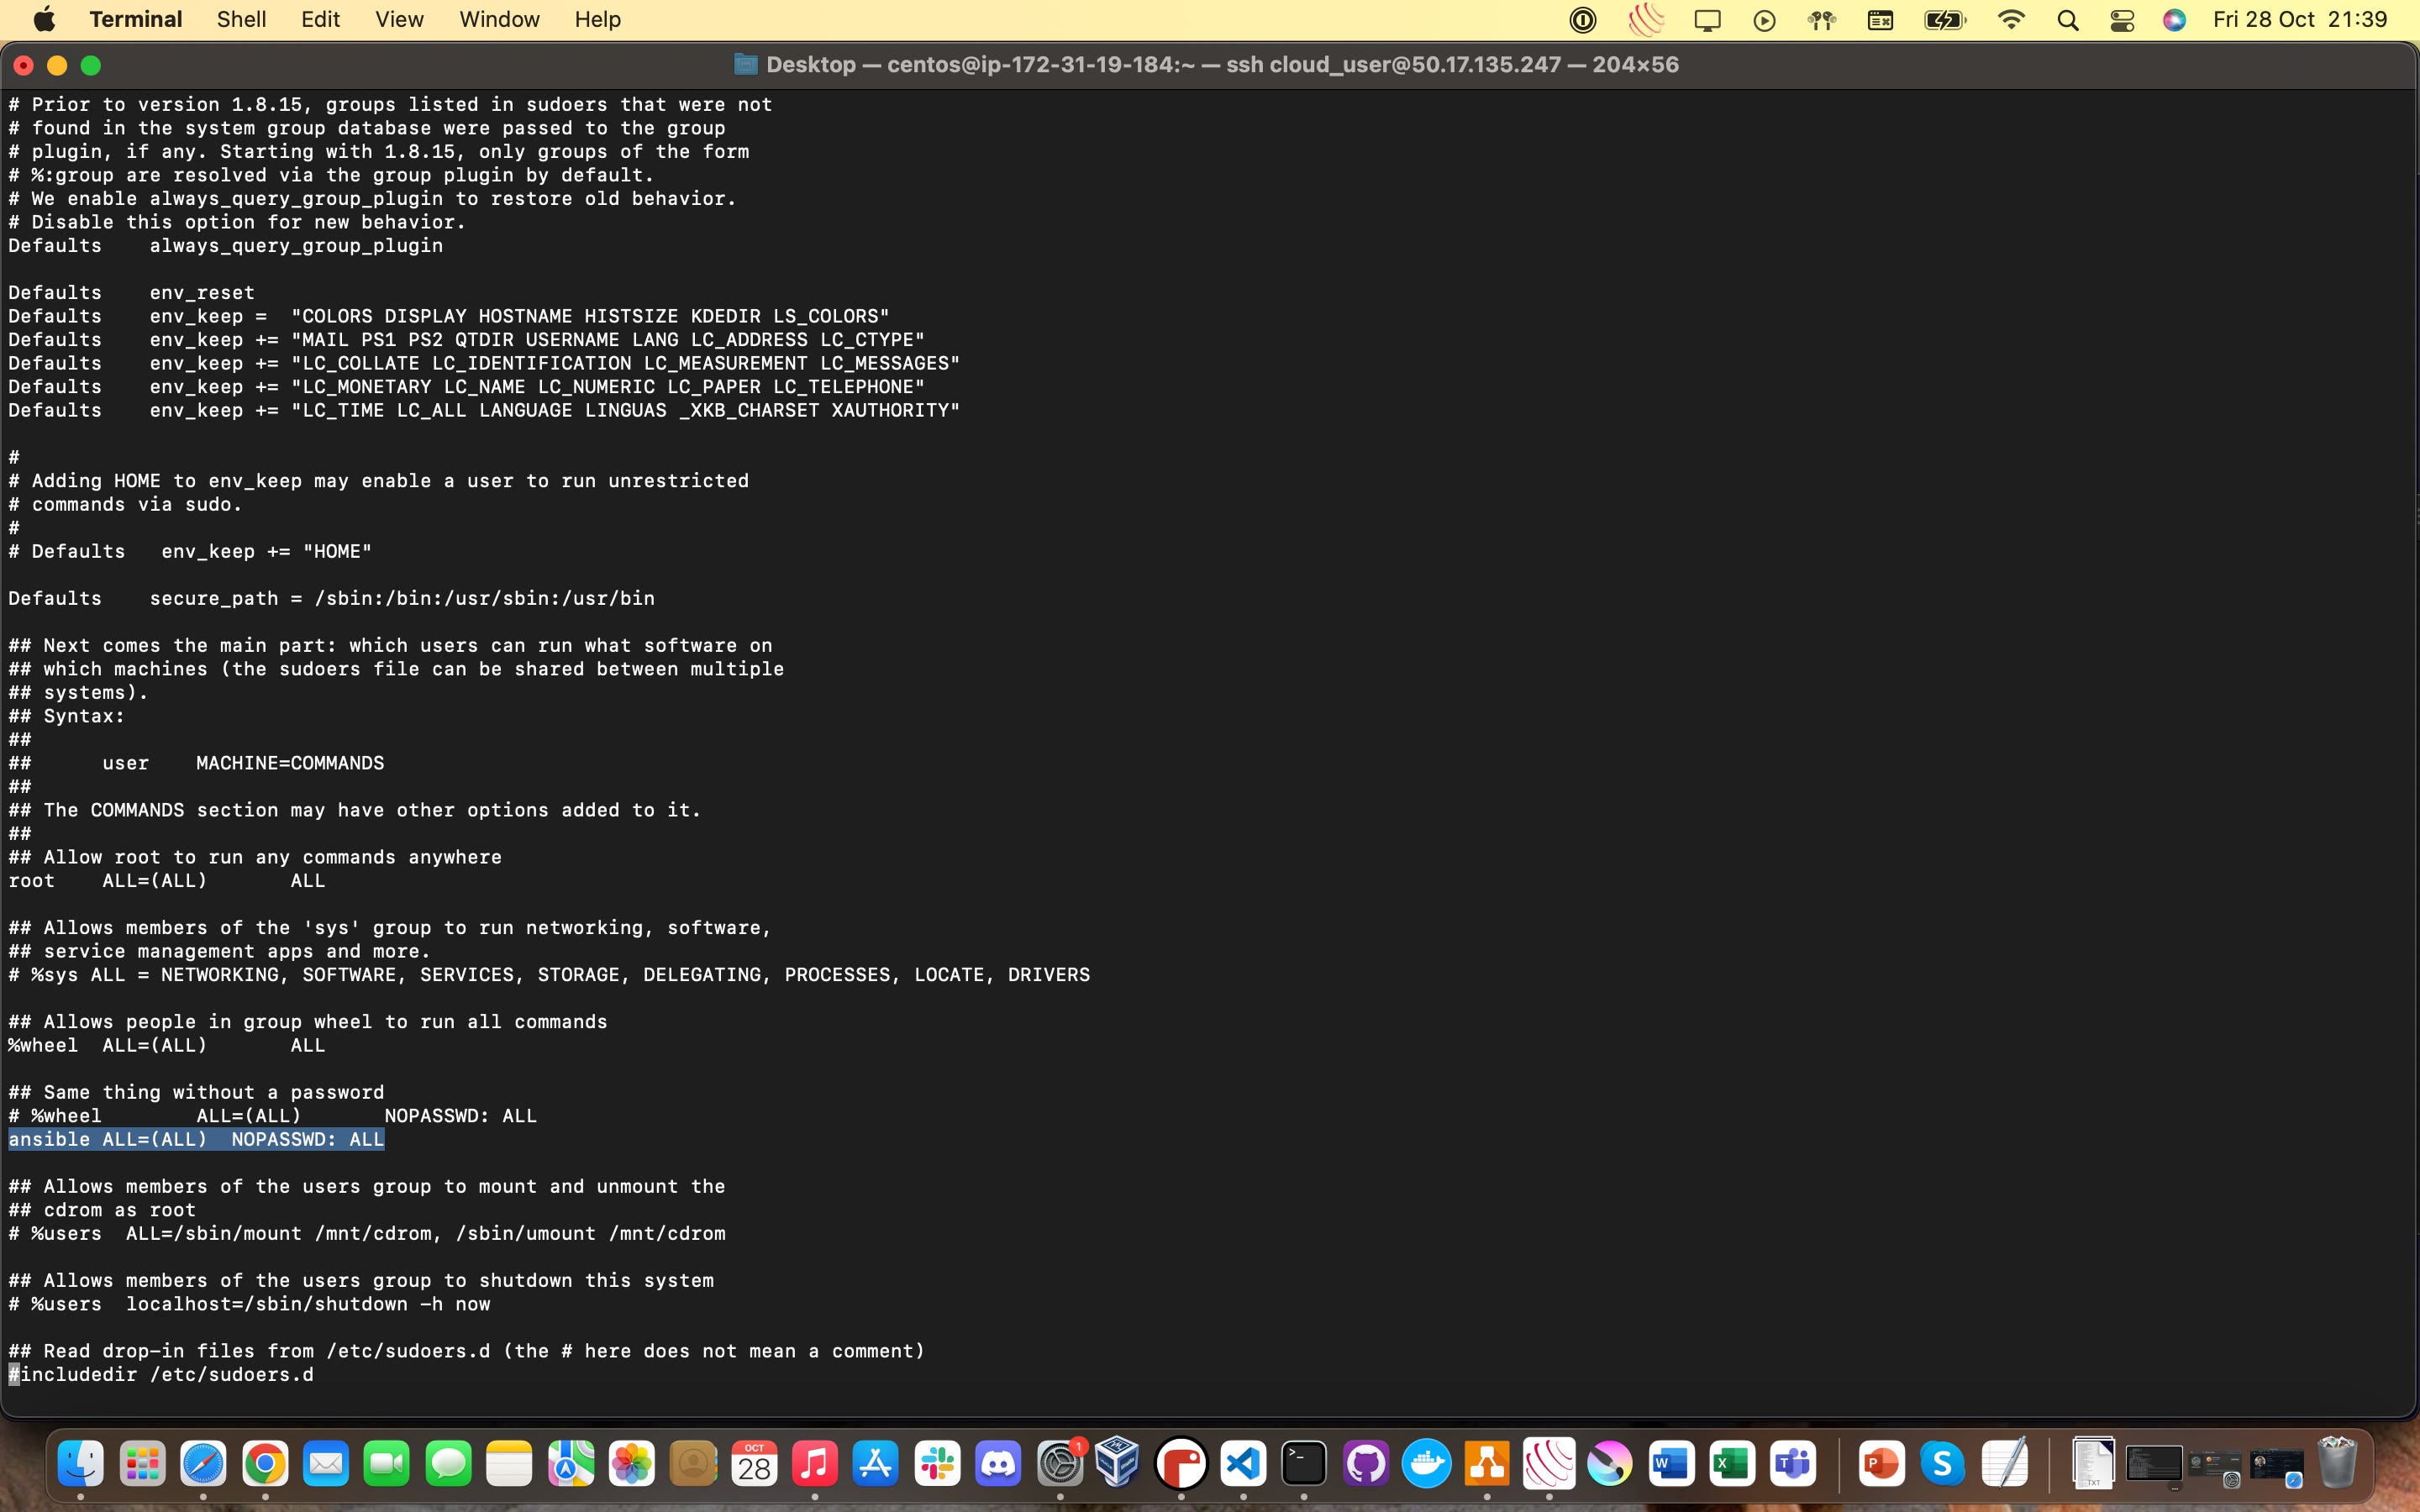
Open the /etc/sudoers file in your text editor of choice (usually nano or vim) and scroll down to the section I’ve highlighted here. Copy in the following text into your sudoers file:
ansible ALL=(ALL) NOPASSWD: ALL
Save and quit!
ANSIBLE INVENTORY NODE: We’re almost there!
All we have to do now is see if our configuration changes worked by doing something with our ansible user that requires root privileges. A good example to use for this is escalating once again to the root user.
You should currently be cloud_user on your inventory node after saving and exiting out of the /etc/sudoers file. Switch to your ansible user on the inventory node by using the following command:
sudo su - ansible
Now, you should be ansible user on your inventory node. To test whether our changed worked, switch to root user on your inventory node, using the following command:
sudo su -
You should not be prompted for a password at all and you should now be root user!

Repeat Steps 6-15 for every extra server you want to manage through Ansible!
Congratulations! You’ve now installed Ansible on a cloud-hosted control node server and configured it to be able to act with root privileges on a second cloud-hosted inventory node server (even more if you spawned multiple inventory nodes)
At this point, we’re able to move on and start trying to actually use Ansible. That’s what the next F**k it, We’re Learning Ansible guide is going to be all about!