

Picking Up Python: Setting up a Cloud Test Server with EC2 To Practice On
This was actually way more fun that it sounded - highly recommend it!


So, I’m following along with the Introduction to Python Development course on A Cloud Guru, as part of the DevOps Learning Path . One of the cooler things I’ve learned to do from that course was not just installing Python via a download or package manager - but instead by compiling and installing it from scratch!
Provisioning the CentOS 7 Test/Playground Server
First things first, we need something to install Python 3.7 on in the first place - we’re gonna use this as out test and playground server.
CentOS 7 is a free distribution of Linux that will allow us to run all the commands we want - so we’re gonna go with that. However, there are two possible ways you can get yourself a cloud-based CentOS 7 server, depending on whether you have access to the A Cloud Guru Cloud Playground or not.
(Full disclosure: Cloud Playground only comes I believe with a Personal Plus paid subscription to A Cloud Guru, but I can tell you that the cost is heavily outweighed by the benefits)
Method 1: Launch an EC2 instance via the AWS Management Console (No ACG subscription option)
If you haven’t got one already, sign up for a Free Tier AWS account here. They’ll want a valid credit card but you’re eligible for Free Tier resource usage for a year after you sign up. AWS is the public cloud provider I use (sorry Azure and GCP fans!) but the other two main providers will likely have similar services.
See the search box next to the “Services” button at the top toolbar? Click into that search box and type in “EC2”. An option will appear detailing Amazon EC2 and you’ll want to click it. Once you do, you’ll be granted with this window below:
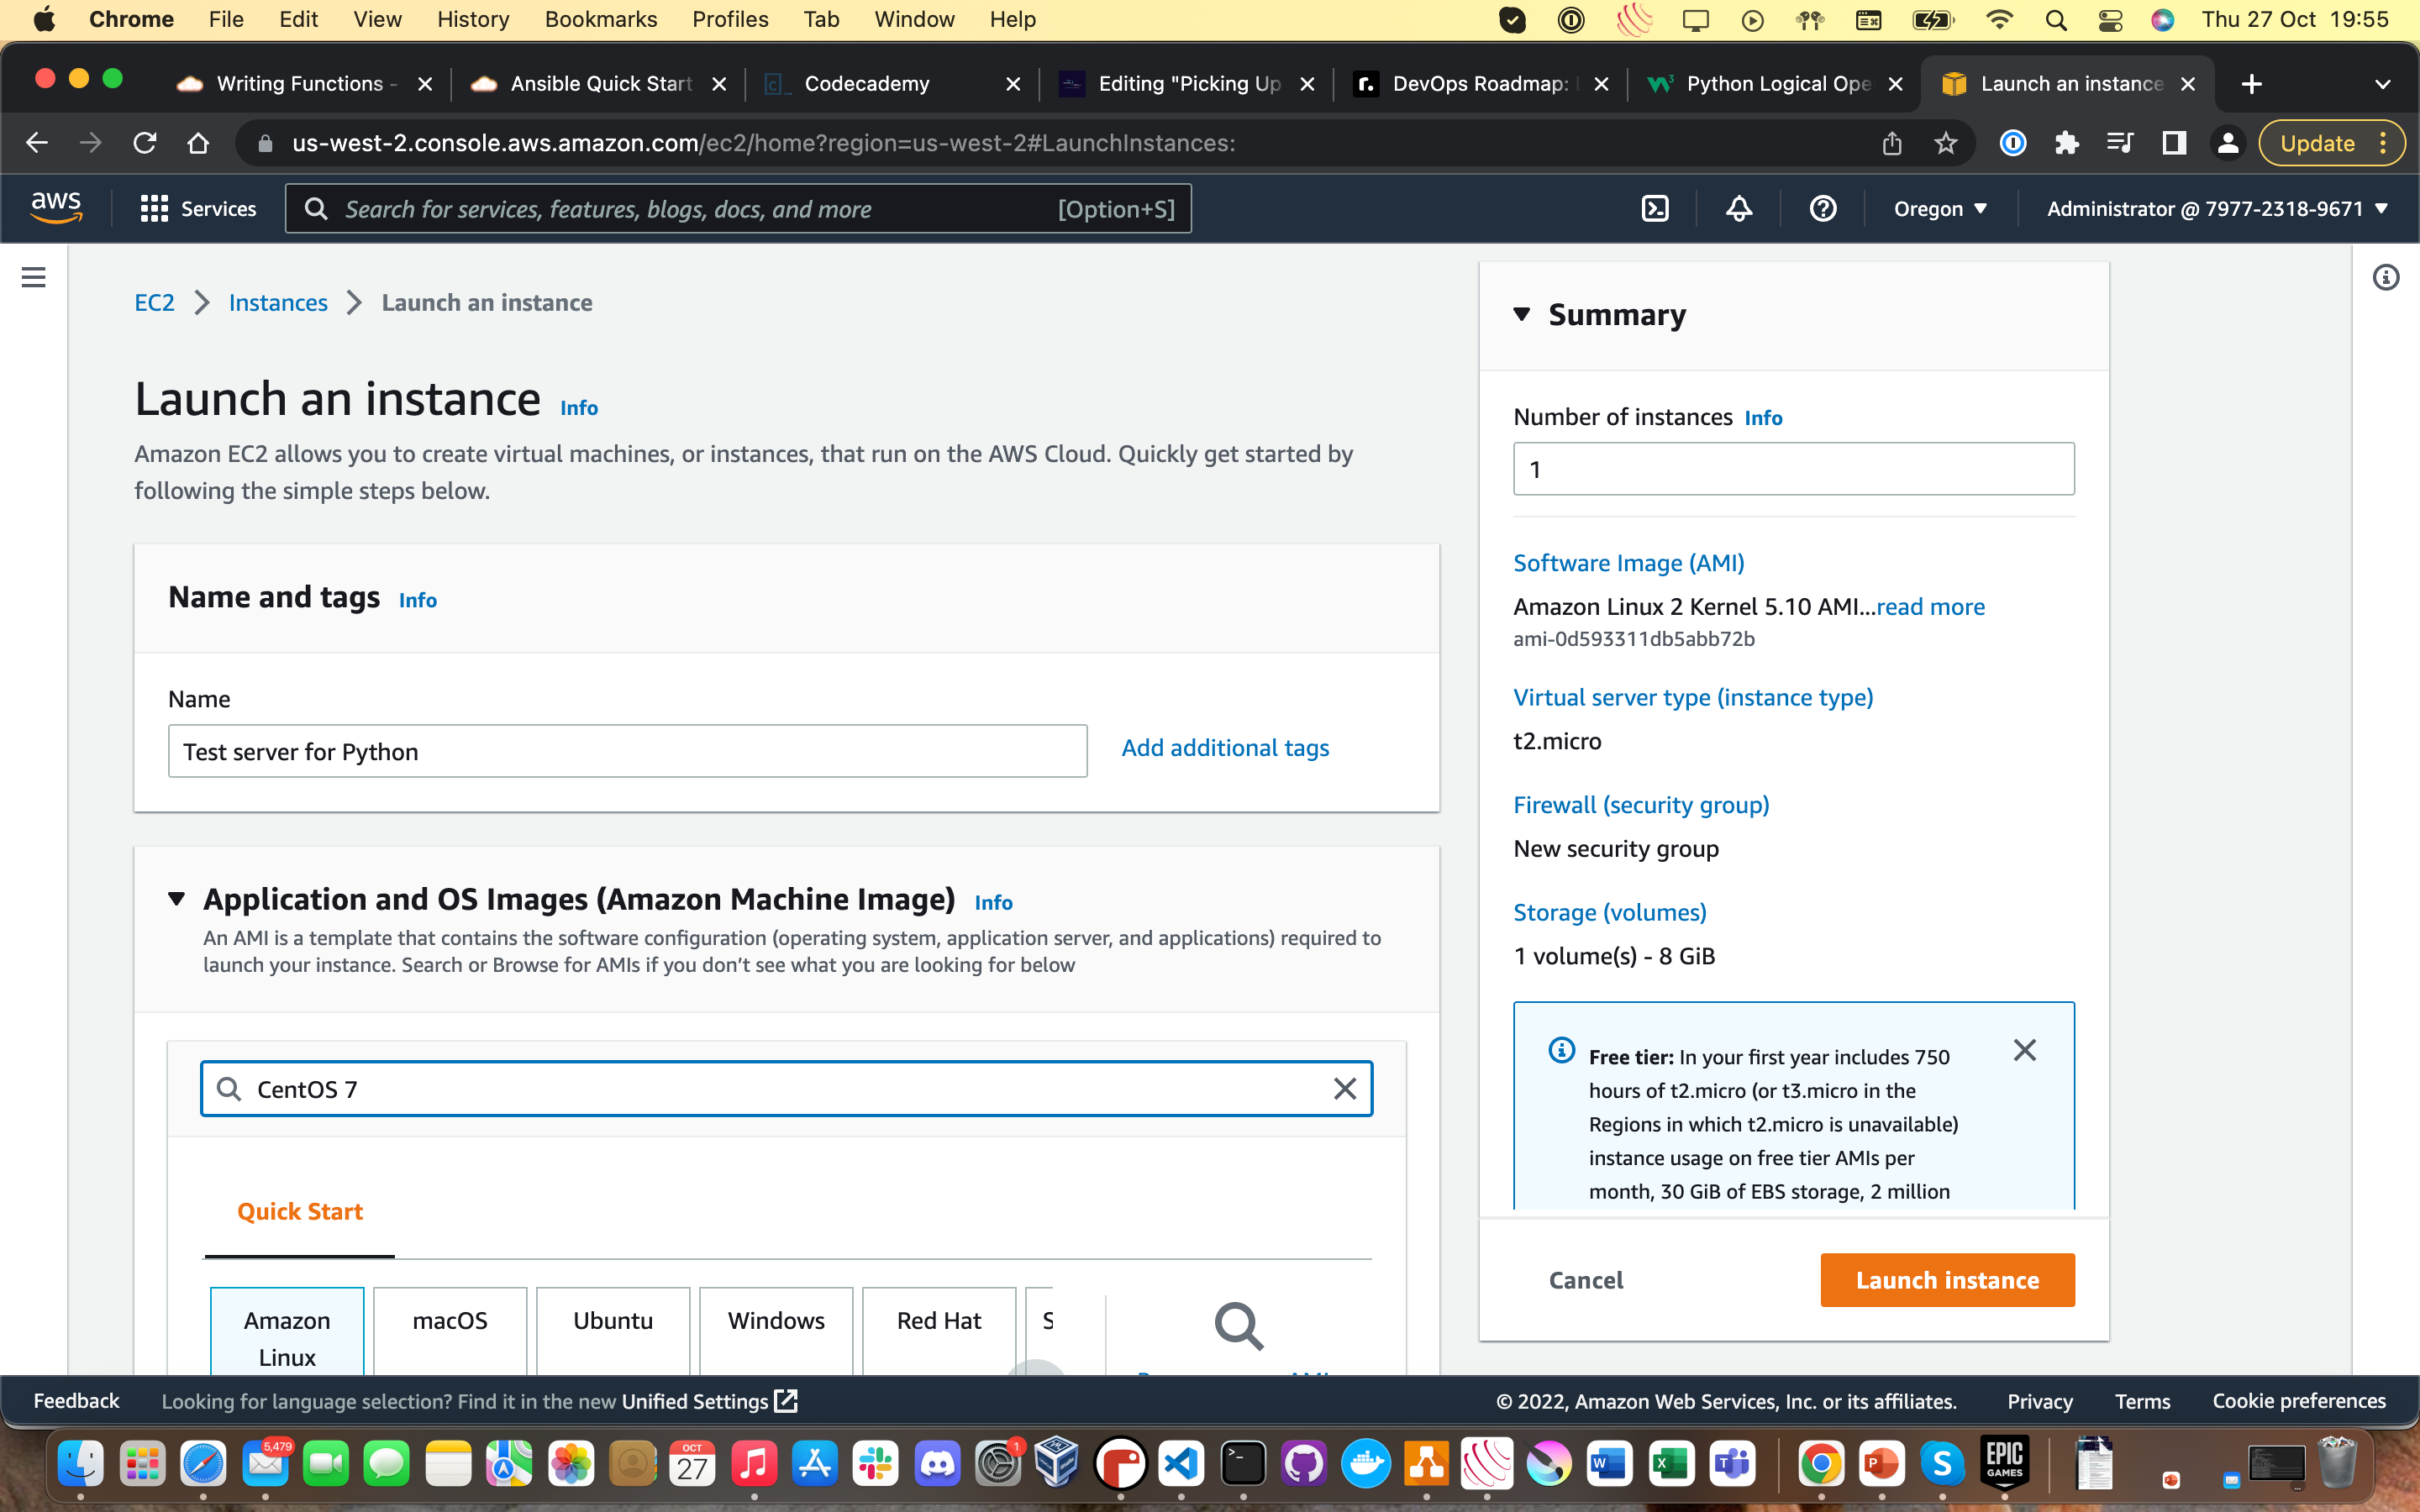
Type in “CentOS 7” into the search box underneath “Application and OS Images (Amazon Machine Image). Hit Enter and you should be greeted with this window:

This AWS Marketplace shows you all of the Amazon Machine Images (AMIs) that are available to act as the operating system for our EC2 server. Next step is easy enough. Click “Select”!
You’ll be greeted with a summary pop-up that details prices etc. You want to head over to “Pricing”, then the “Free Tier” section. Then, hit the drop down menu on the first option and you’ll see something along these lines:
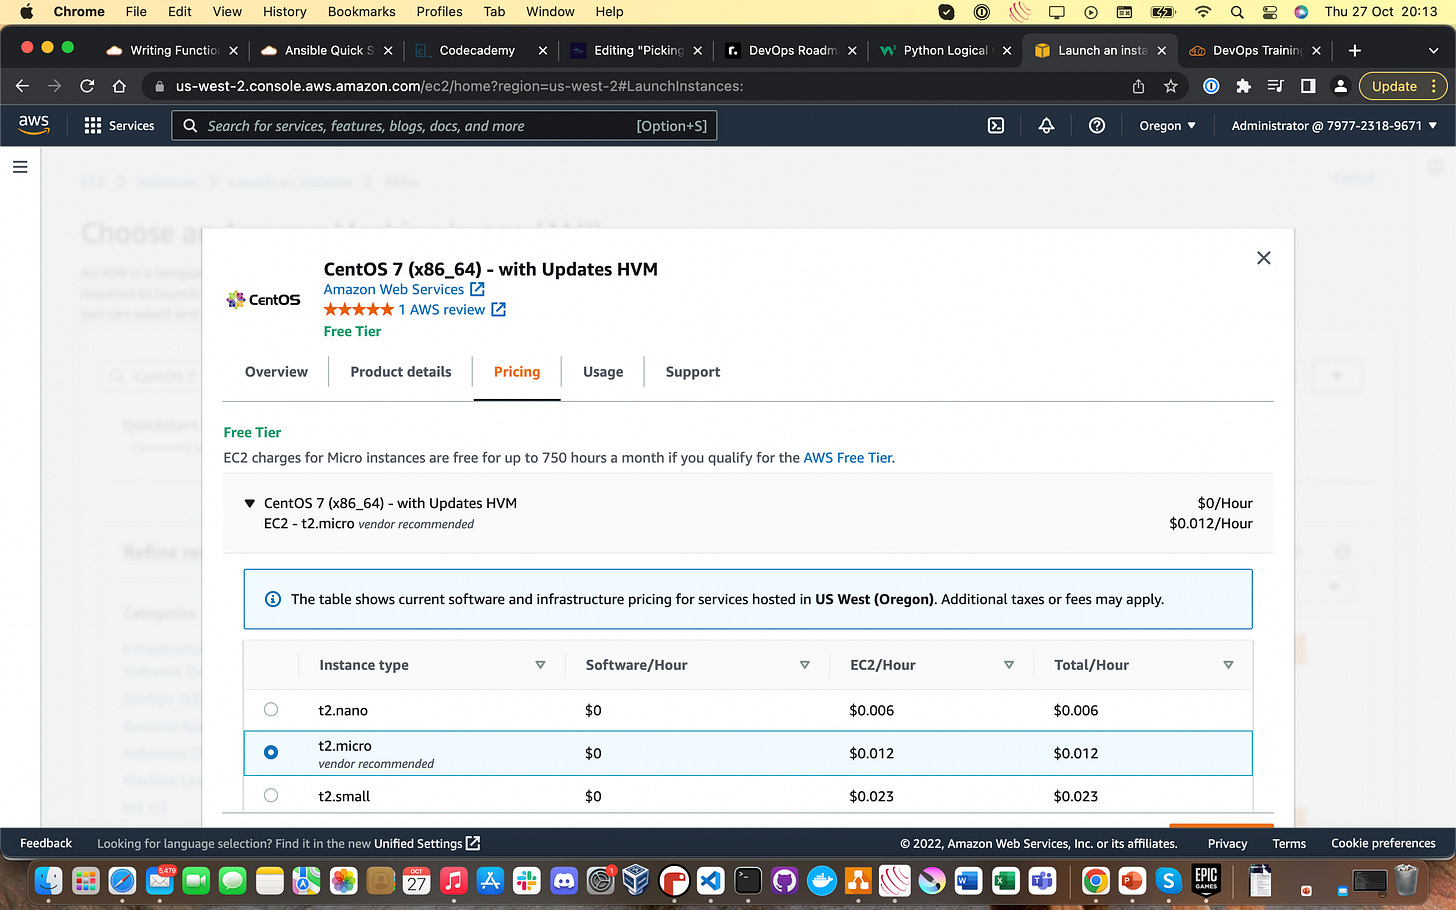

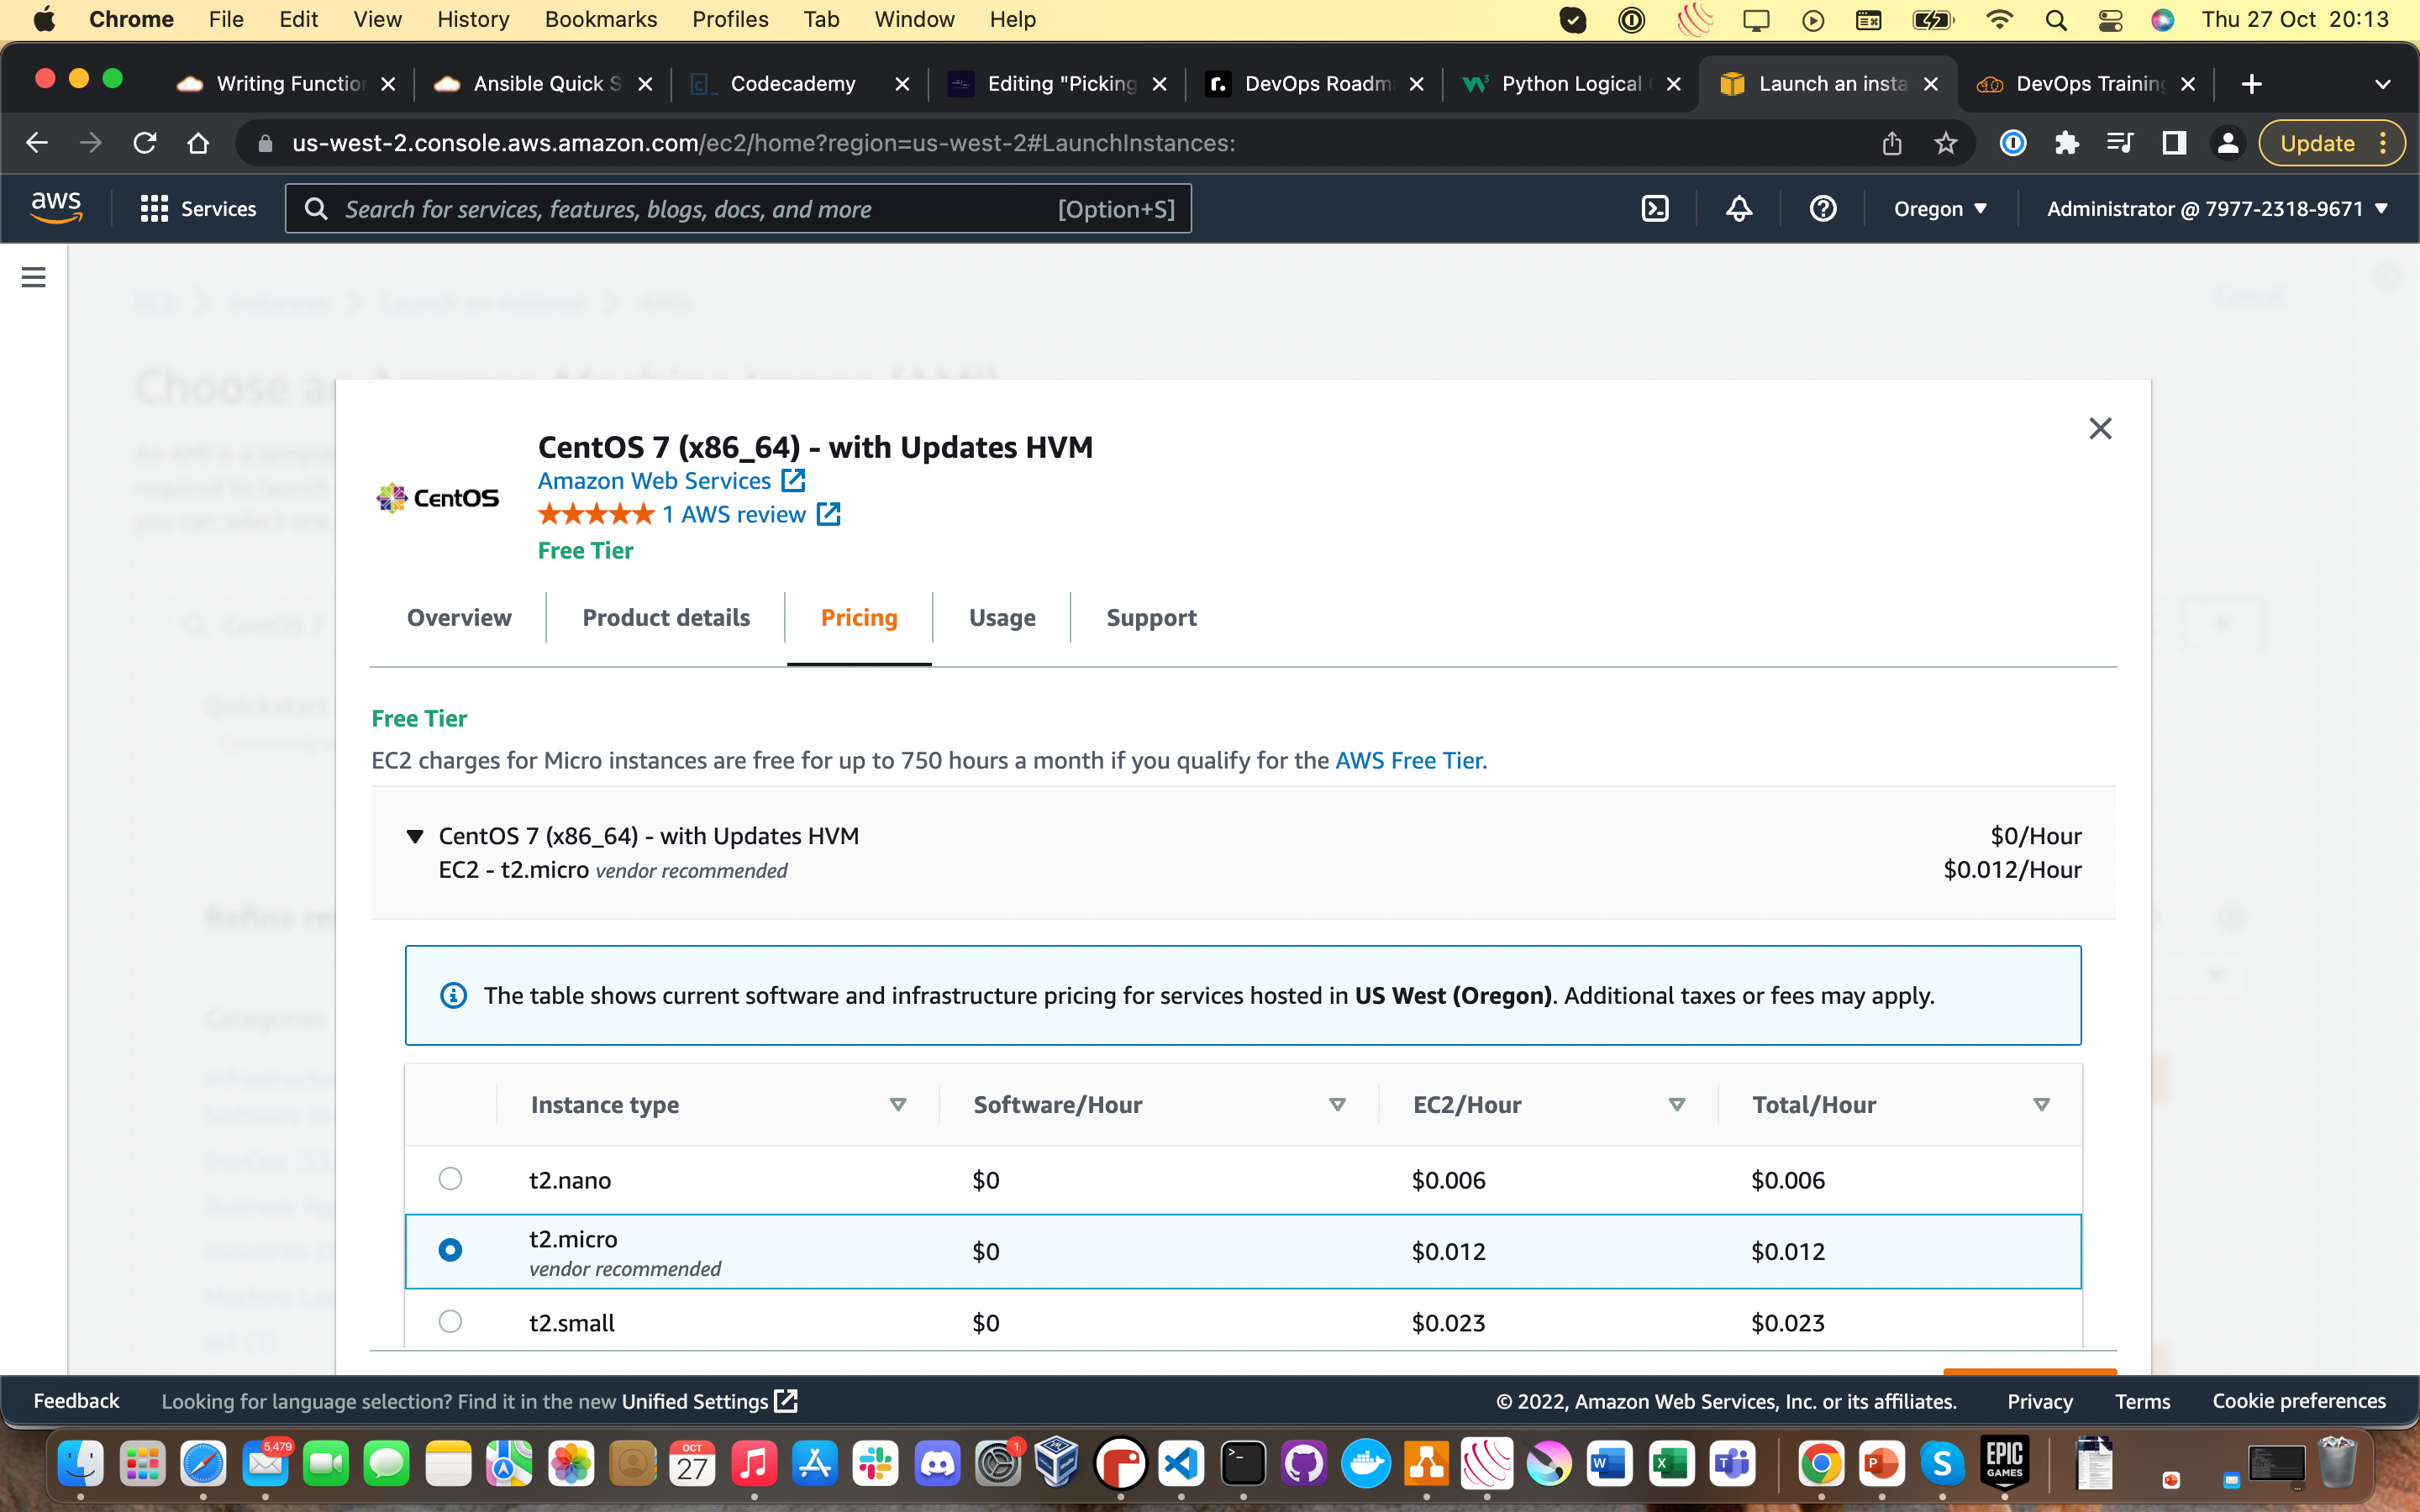
6. These instance types represent the size of the processor and relative “engine” our test server will have. Our workload here is very light and will happily run on a t2.micro instance type. This instance type is Free tier eligible but as I’m out of Free Tier time, you can see it’s still extremely cheap to run when you do have to pay for it!
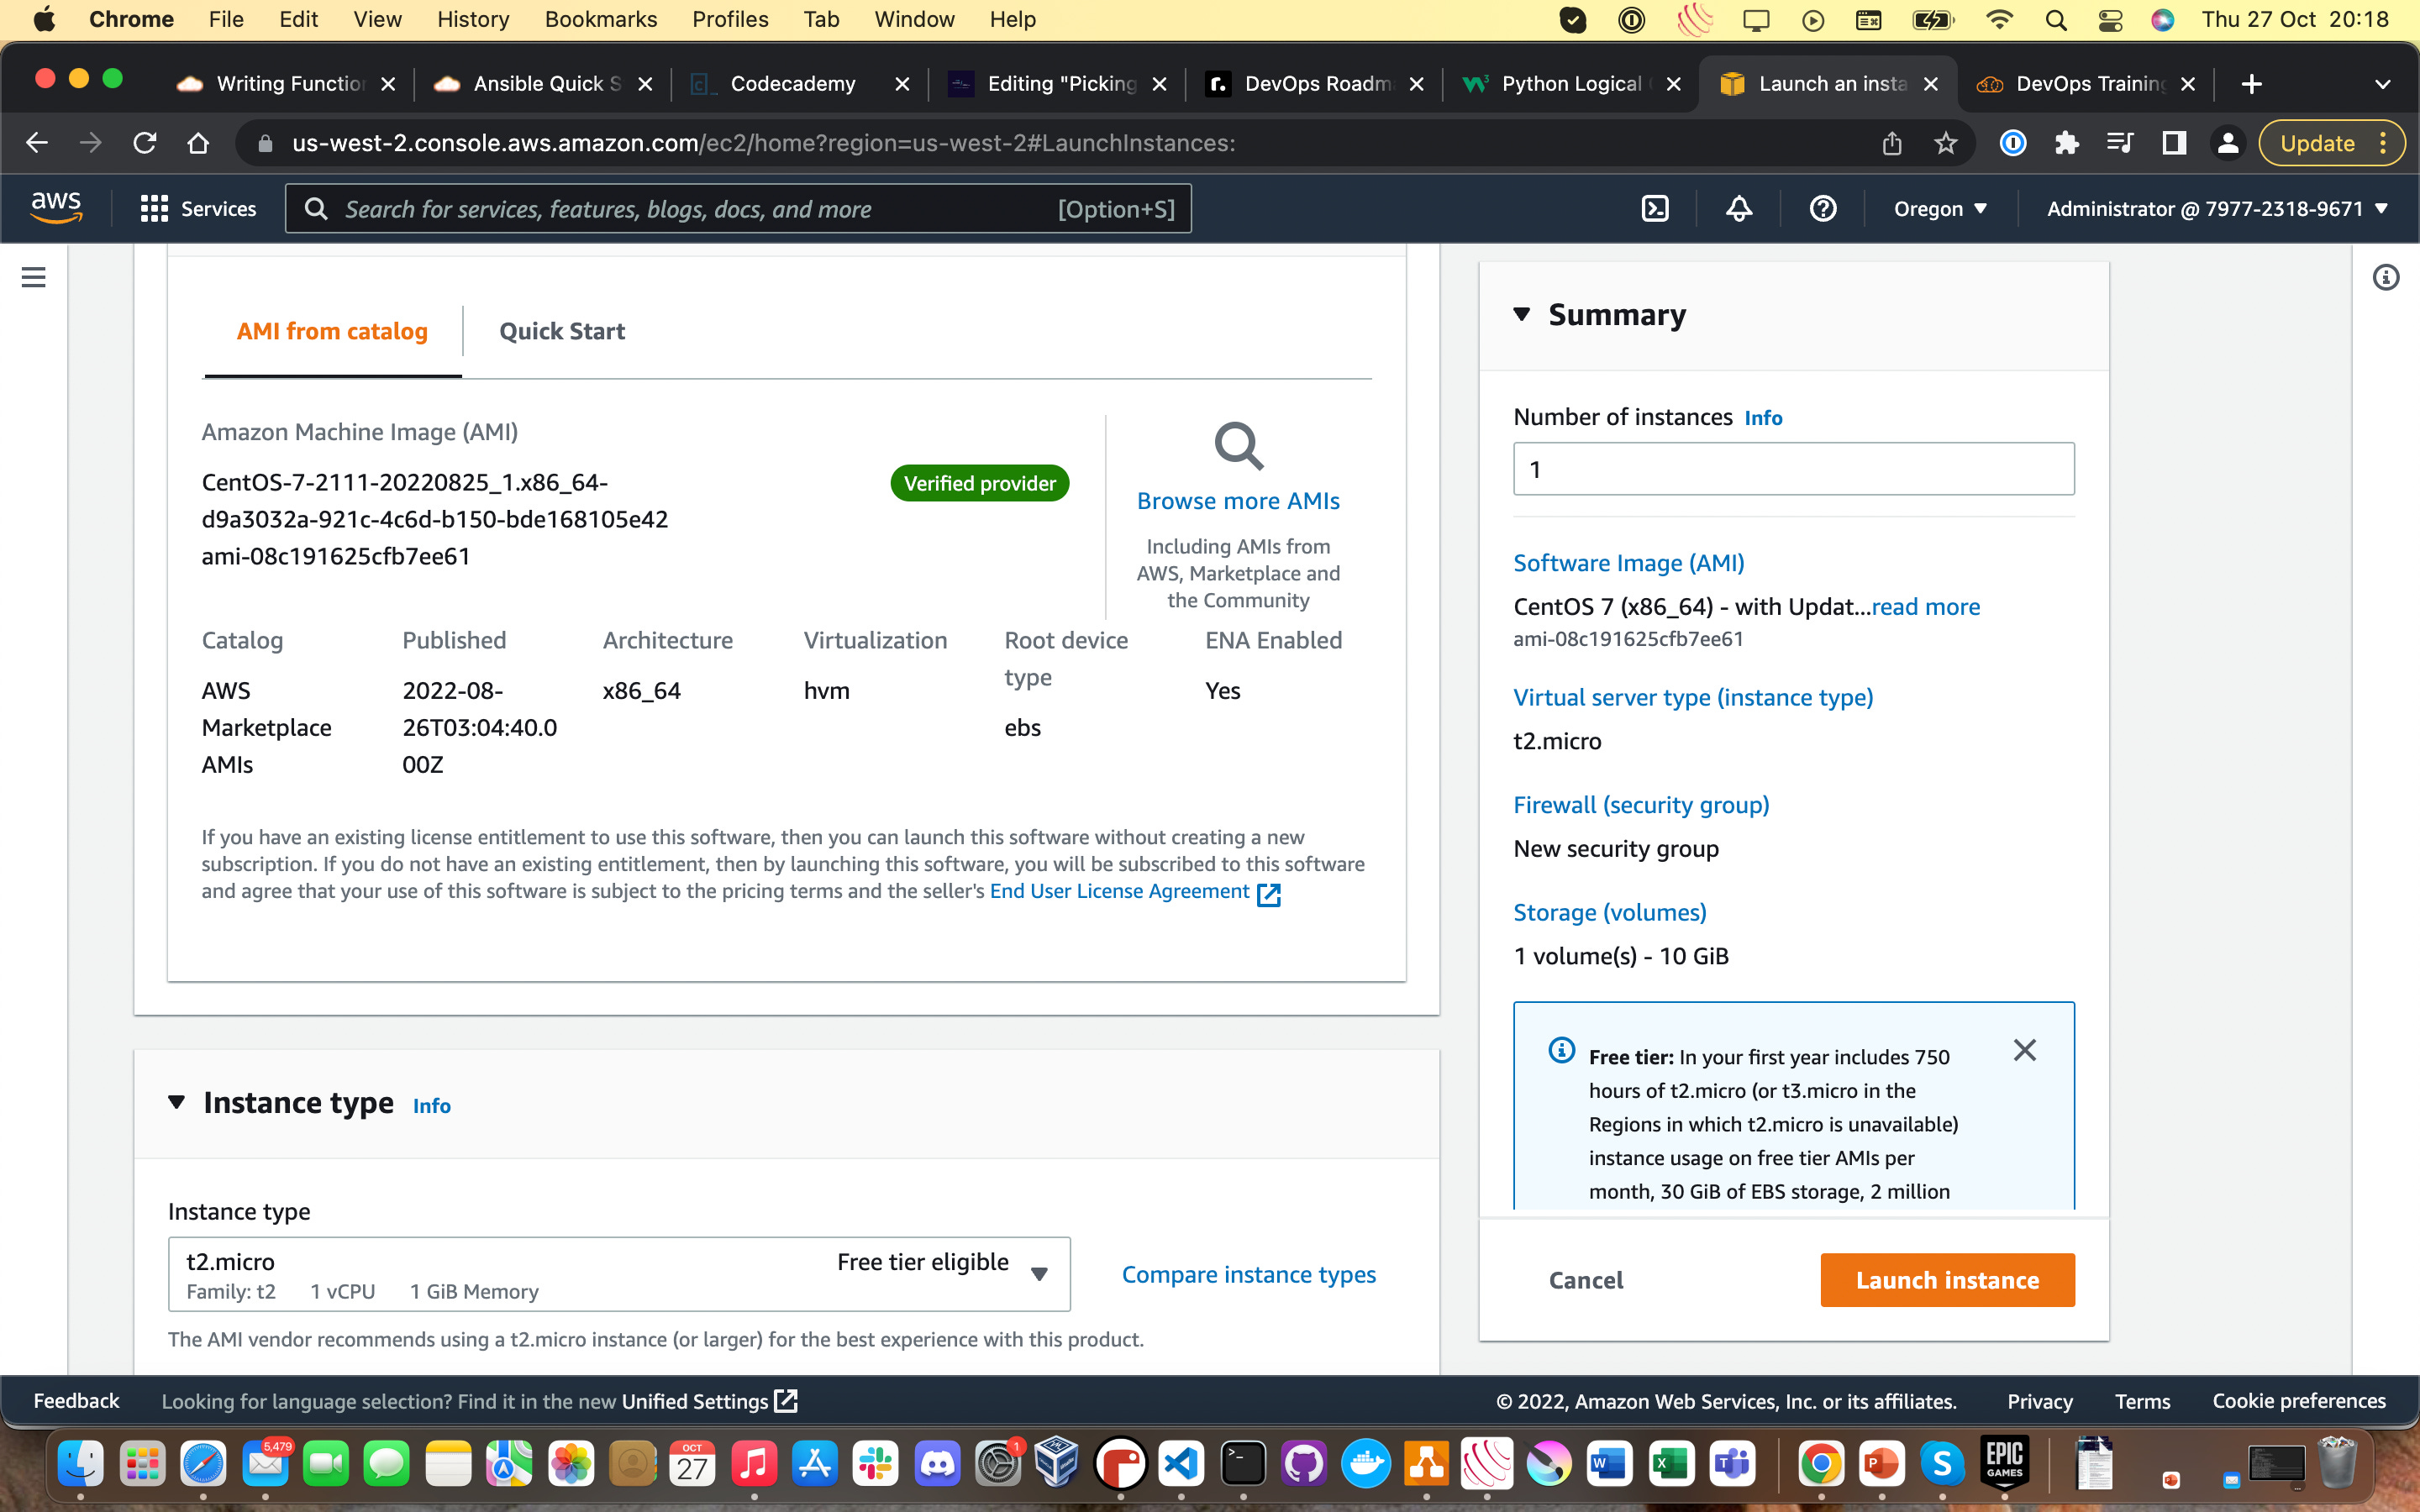
Click t2.micro and then the “Continue” button to select our CentOS 7 AMI running on a t2.micro instance type. Man, check us out sounding like we know what we’re talking about!
7. You will then be taken back to the EC2 dashboard and you’ll see some of the windows have been populated, like you can see below. Click “Launch Instance”.
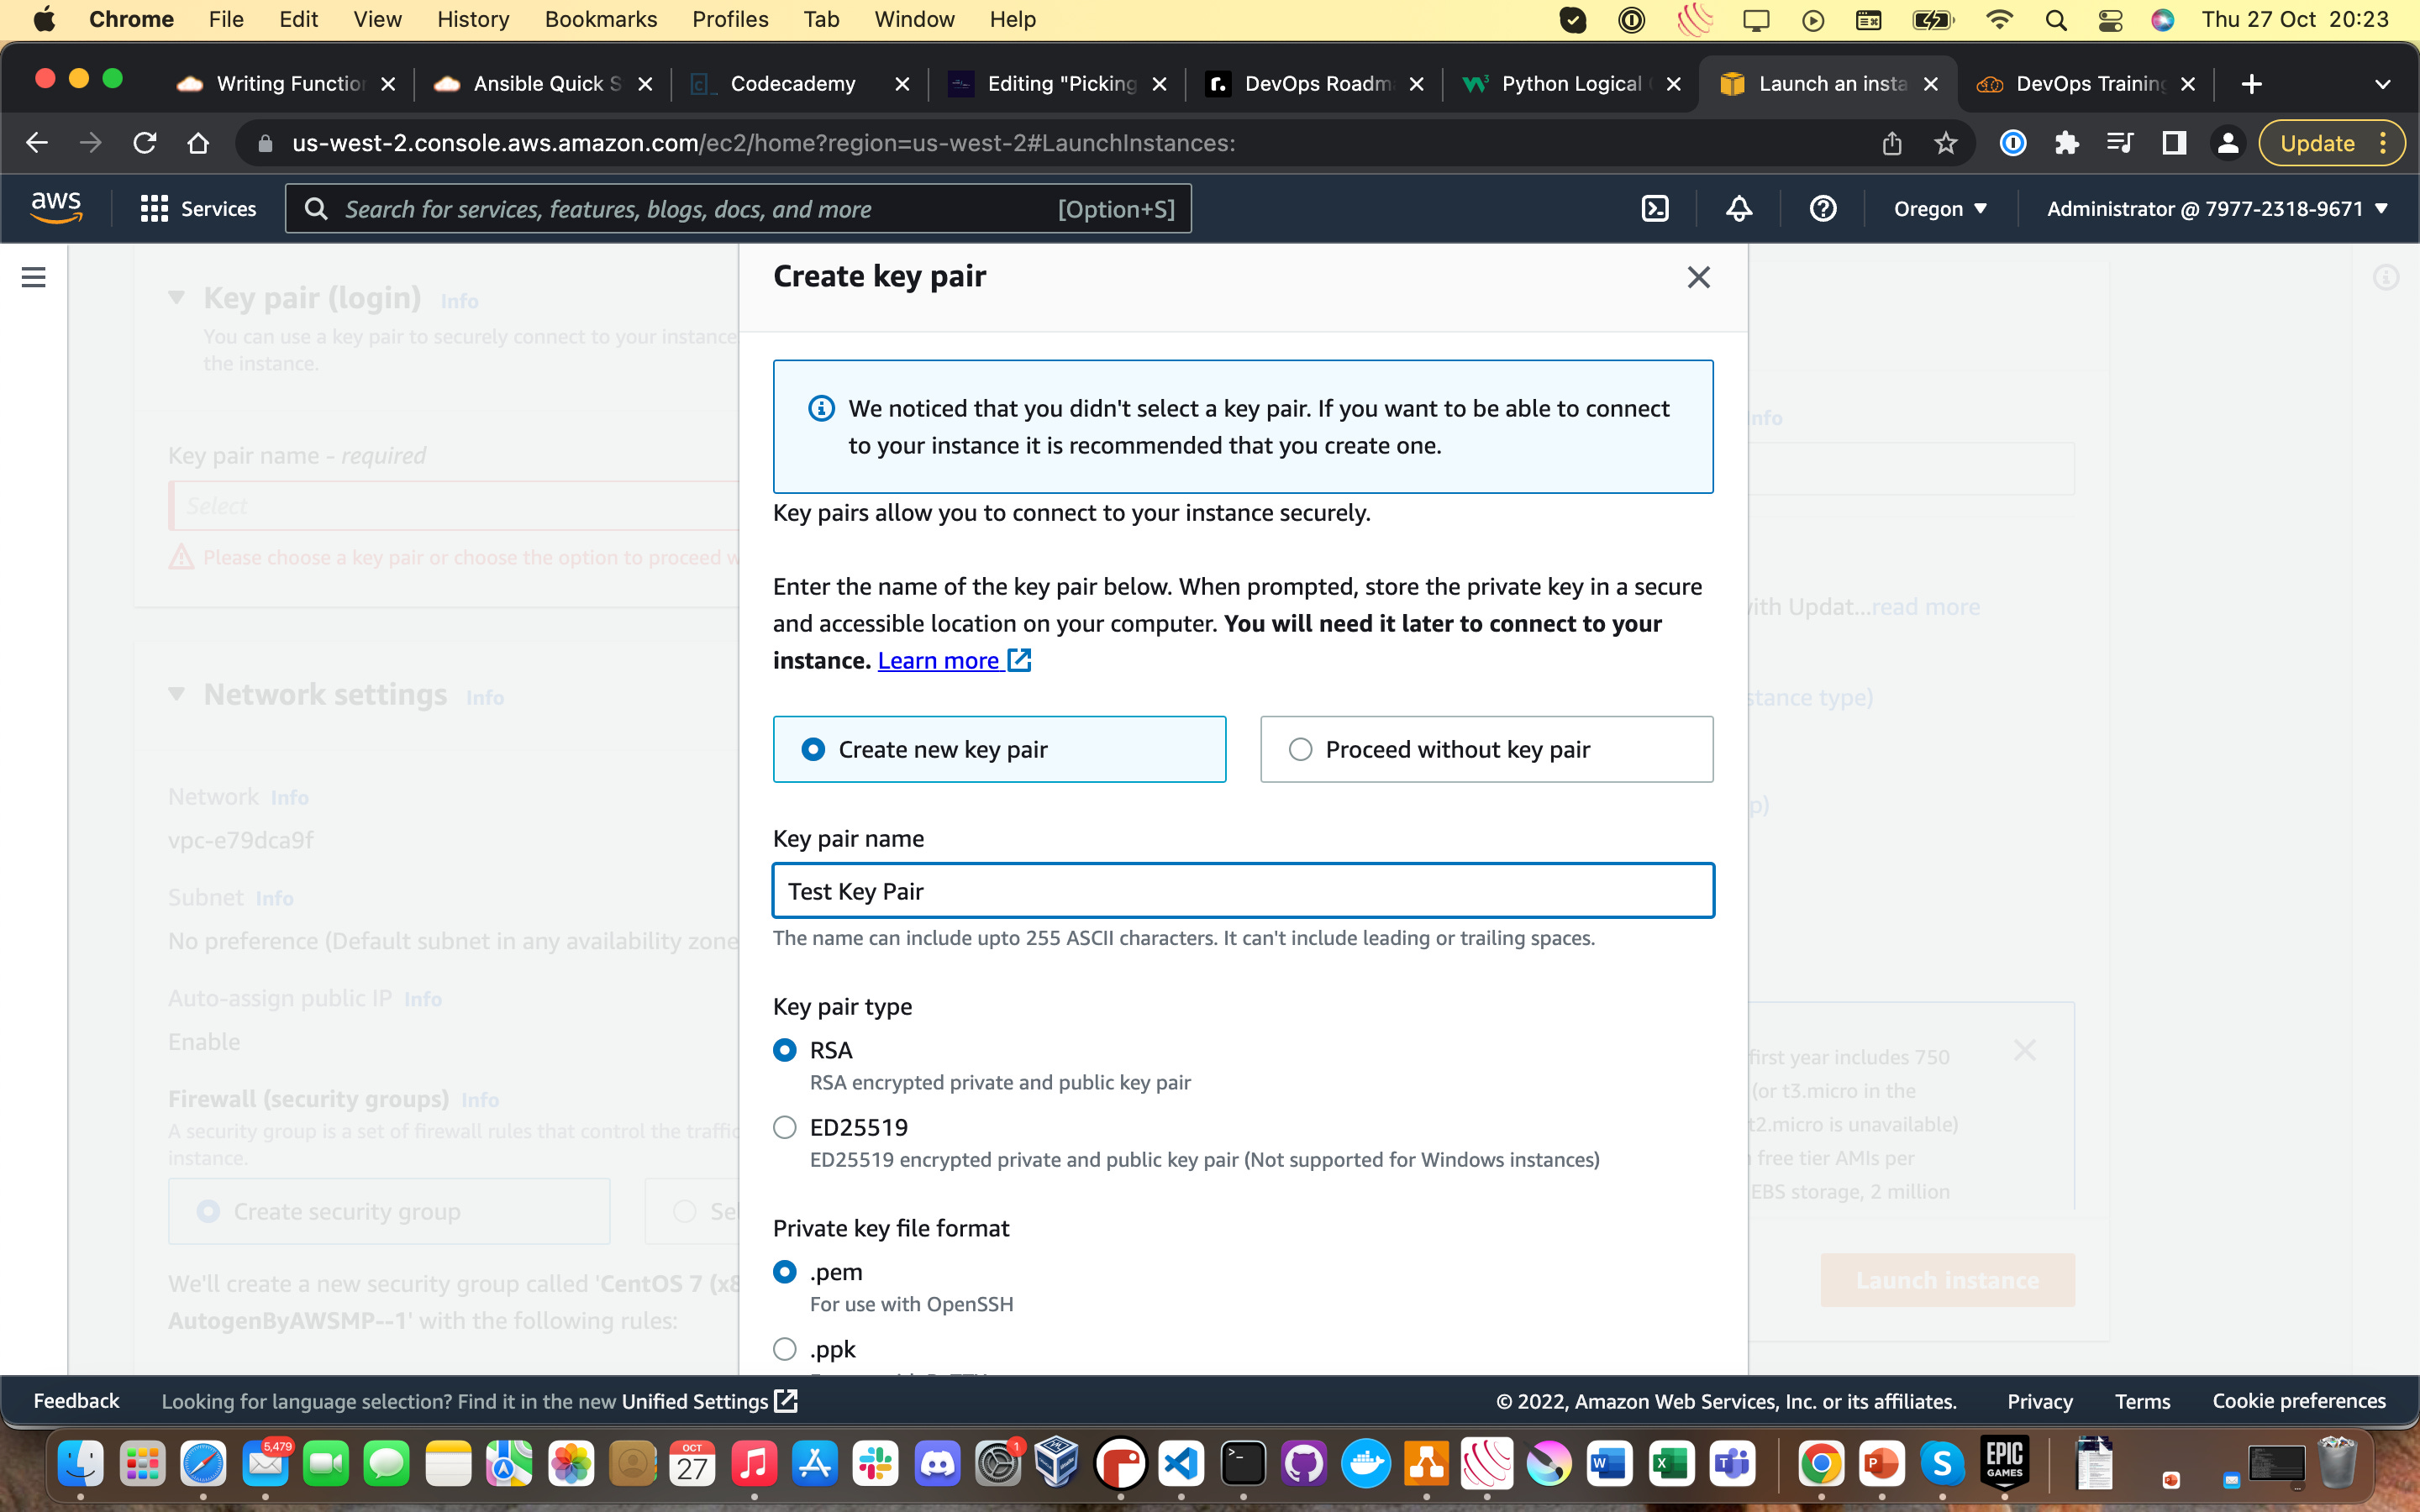
8. You’re then going to get prompted with a “Create Key Pair” prompt window which will look something like below. Give your key pair a name and select the following options if you’re using an SSH client in the terminal to connect rather than a standalone software client like PuTTY.
Download that key pair and keep an eye on where it is, you’ll need it in a minute. Mine is just in my Downloads folder on my Mac:
Click “Continue” or whatever is in the orange box, and you’re almost there!
Go down to “Network Settings” and head down to the “Allow SSH traffic from” setting. Hit the drop down menu and select “My IP” from the options. This will configure network access to your EC2 server to allow only access via SSH from your IP address (i.e your device).
Leave everything else as it is and hit “Launch Instance” again! You’ll know you’ve got it right when you see something along these lines:
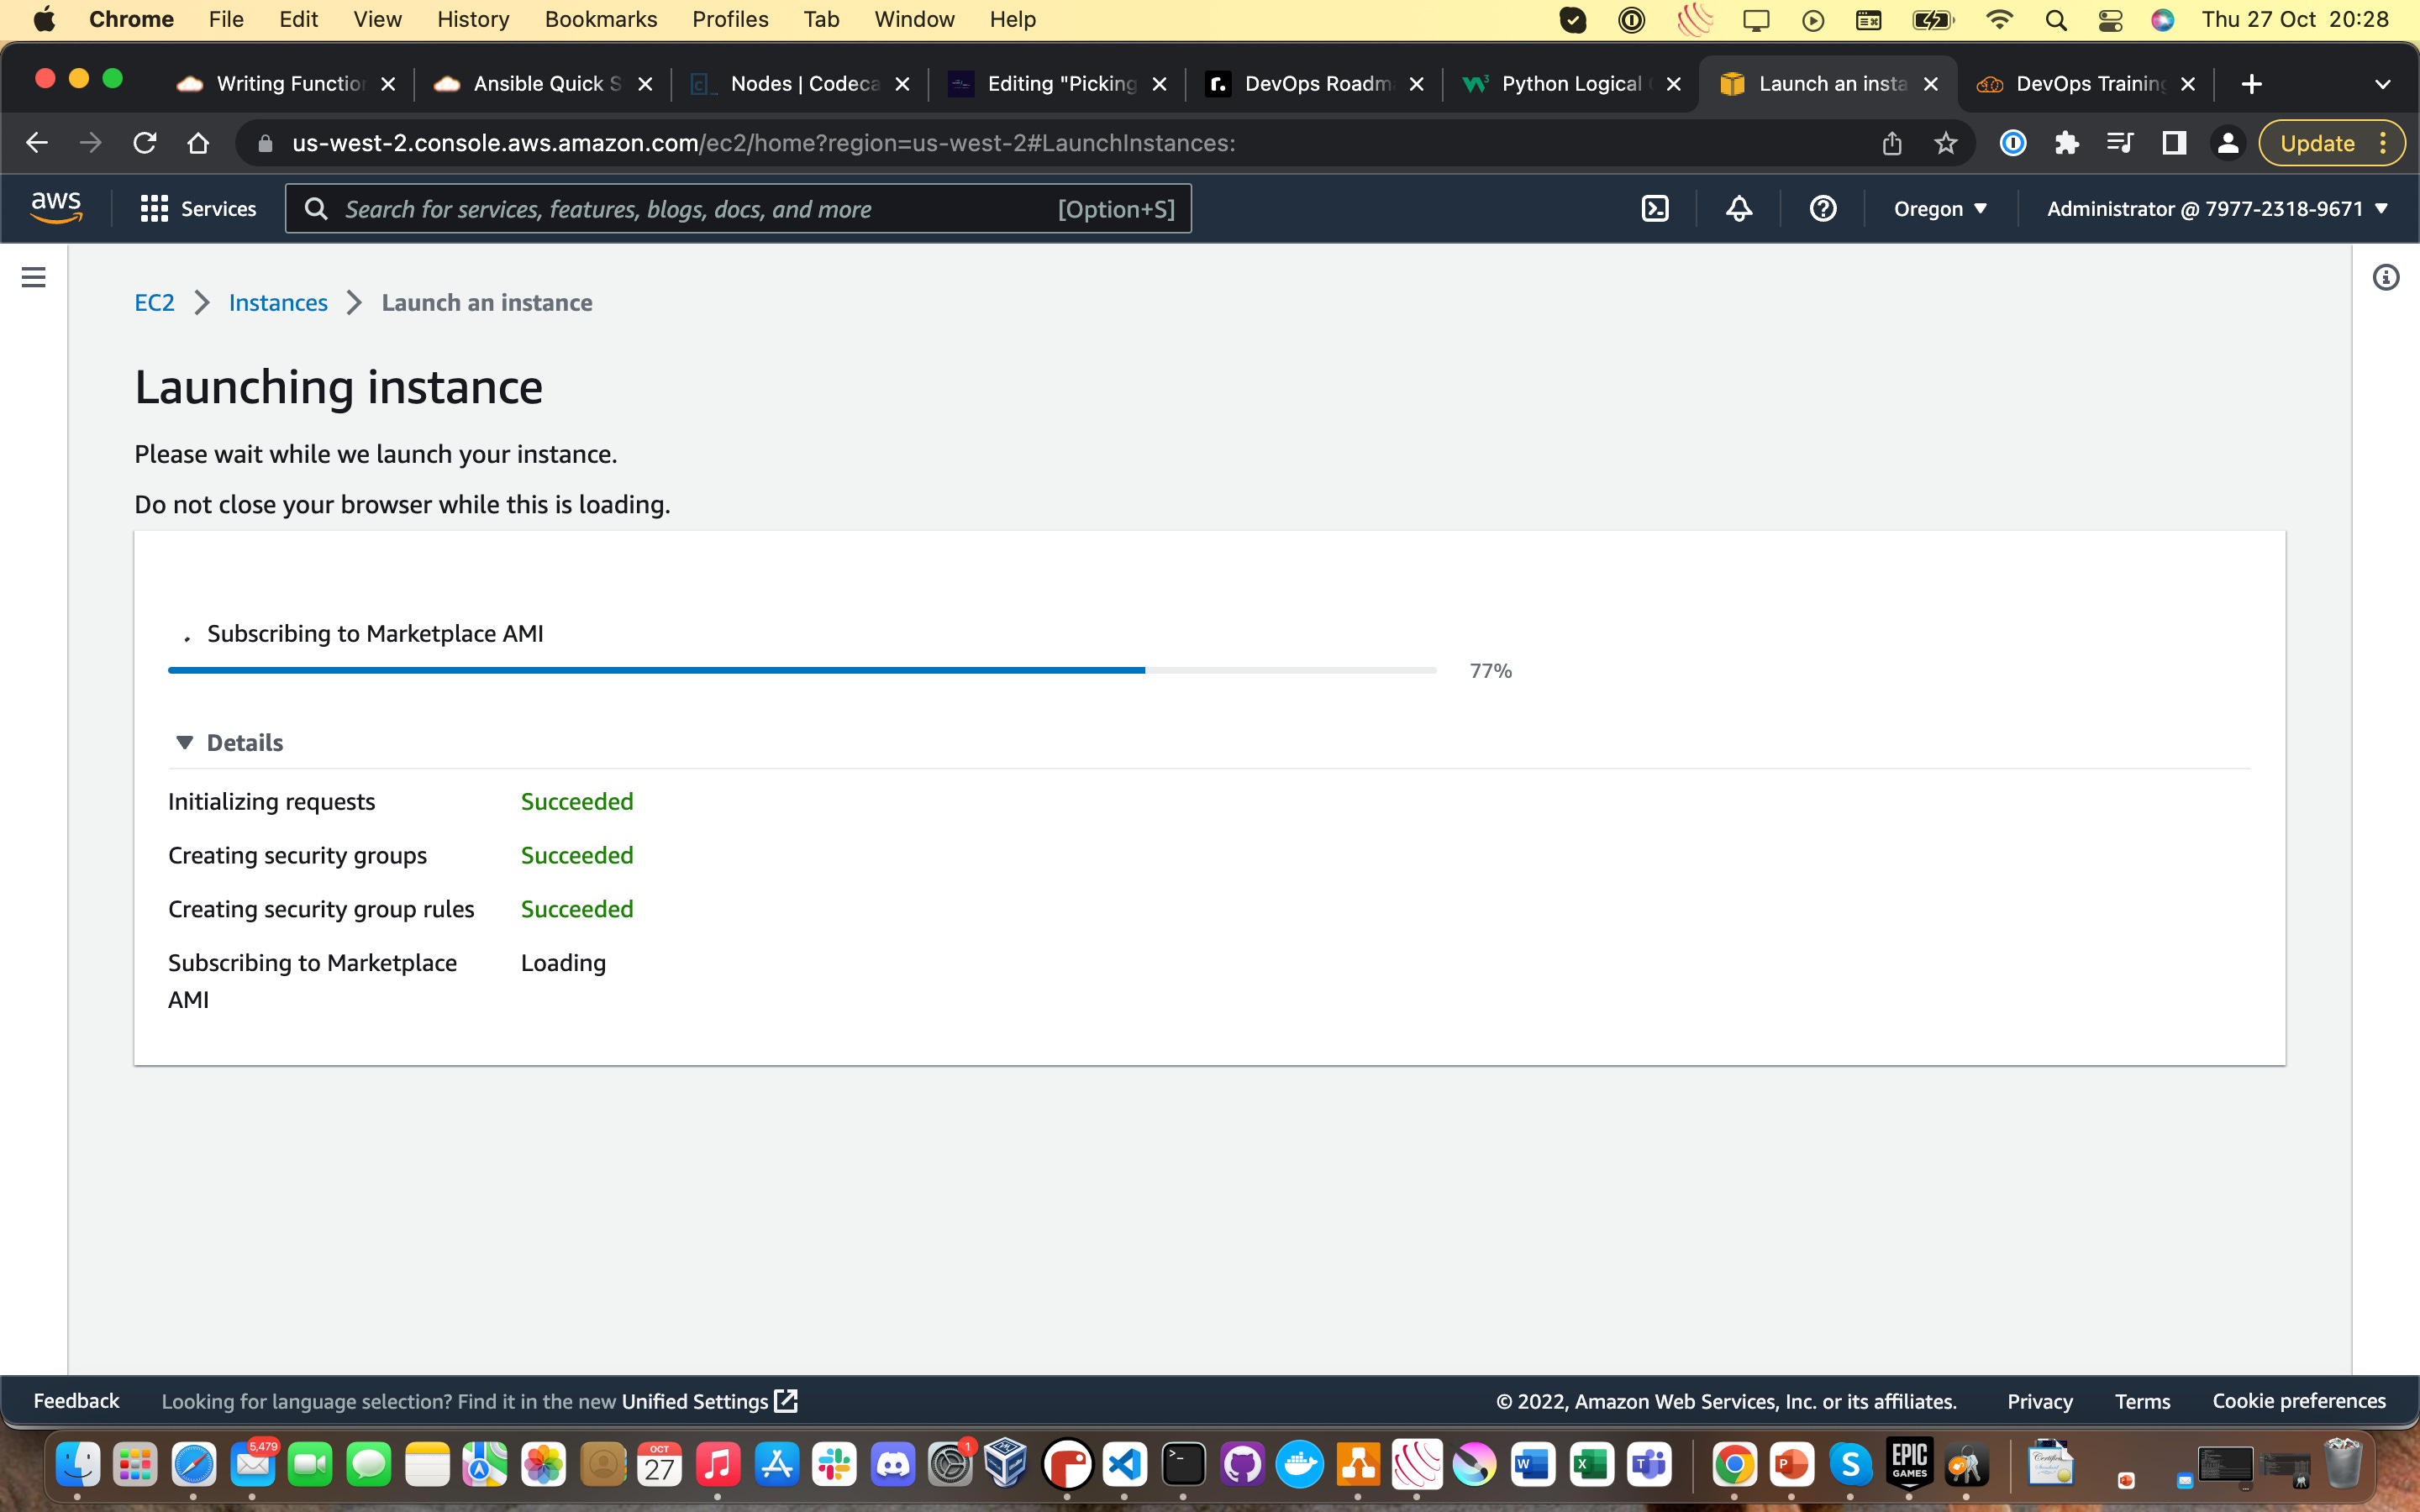
This might take a little while to finish, but eventually you will be able to click on “Instances” on the previous window and be greeted with a “Running” EC2 instance. Check the box and all the networking information will pop:
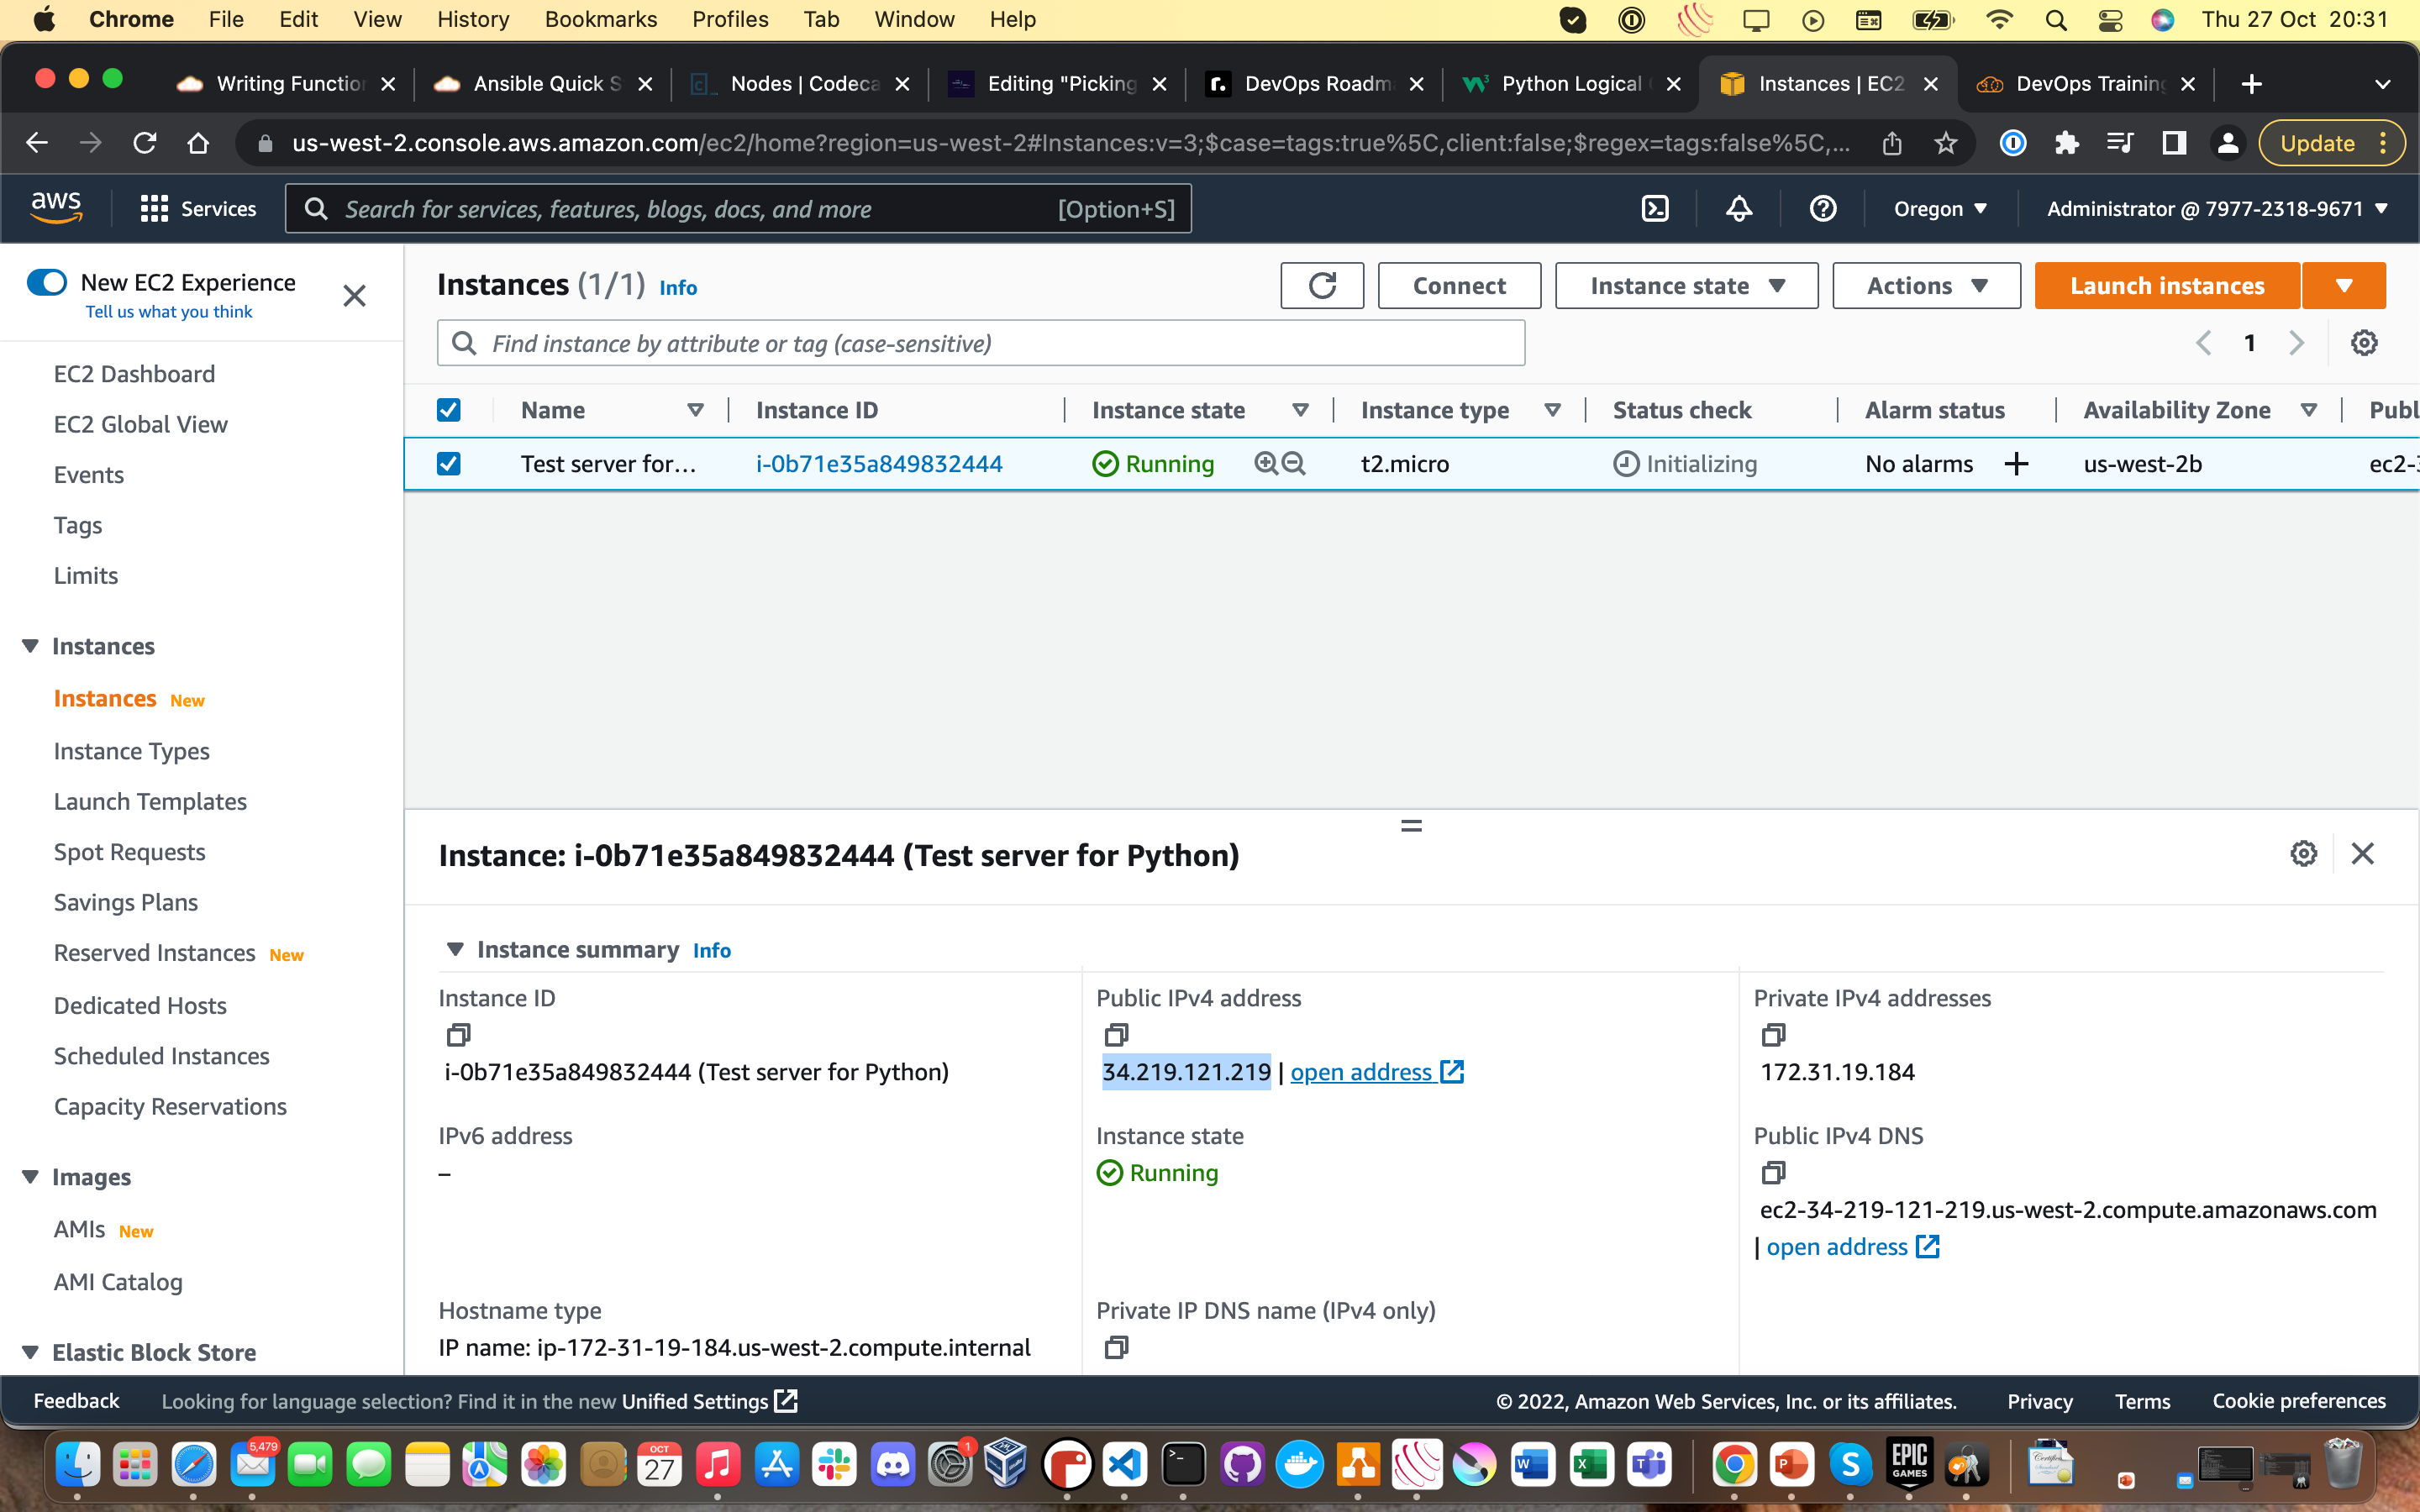
The “Public IPv4 DNS” is what we want here. Load up your terminal (I’m using the native Mac terminal application).
Change directory (cd [folder name] in Linux) to wherever your key pair is stored that you downloaded in Step 8.
Type the following command into your terminal to change the file permissions to your key pair so you can use it to connect over SSH.
sudo chmod 400 [name of keypair].pemOn my machine, my command looked something like this:
matt@MacBook-Pro Downloads % sudo chmod 400 "Blog Test Key Pair.pem"Password: [my sudo password]Now, we’re actually going to connect to our test server. Finally!
Type the following command into your terminal whilst in the folder that your key pair is stored in:
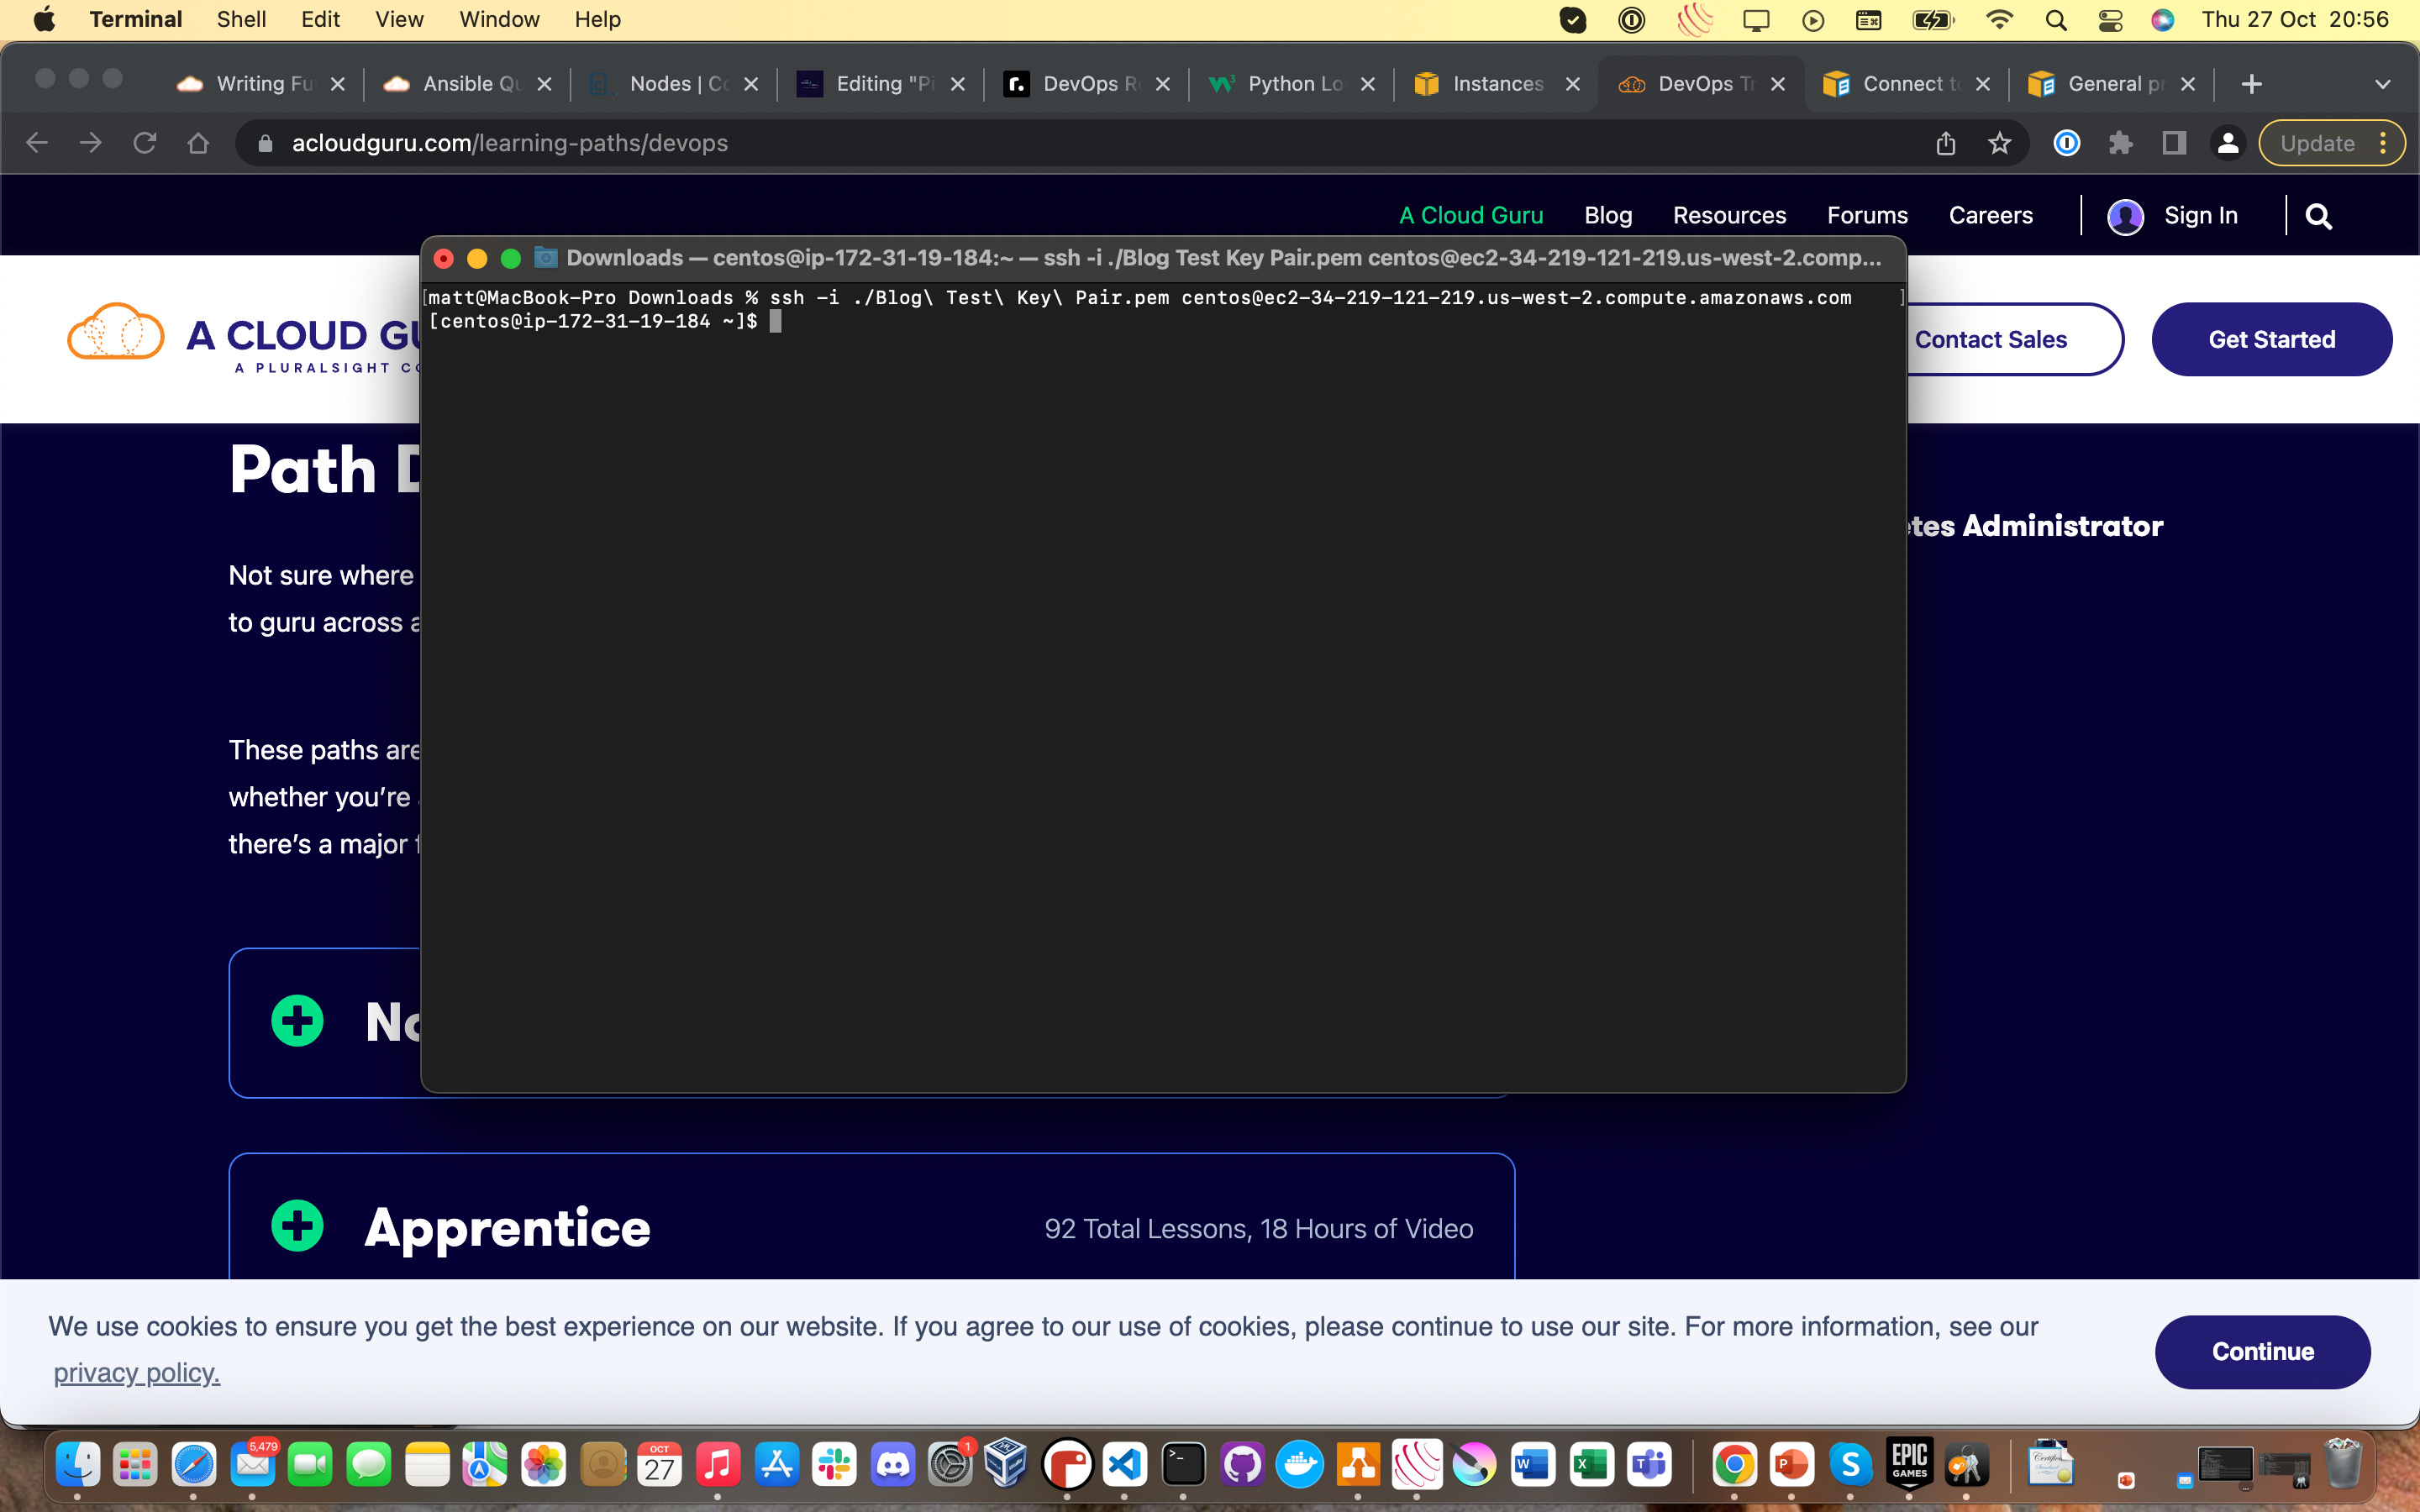
ssh -i ./whatever_your_keypair_name_is.pem user_name@public_IPv4_DNS_name_from_step_11Mine looked something like this with my details. This server doesn’t exist anymore, so don’t try and break into it!
matt@MacBook-Pro Downloads % ssh -i ./Blog\ Test\ Key\ Pair.pem centos@ec2-34-219-121-219.us-west-2.compute.amazonaws.comThe usernames you’ll want to use for a CentOS server is either centos or ec2-user.
You’ll get prompted for a “do you accept the fingerprint?”-type question in the terminal - just type in “yes” and hit Enter.
Give your SSH connection a few seconds to set itself up and bang! - you’re connected to a brand-new CentOS 7 EC2 test server that you provisioned yourself in AWS!
Your terminal should look something like this now:

If you want to check your connection works and everything is hunky-dory, type in the commands
whoamito check your username on the server.It was a long time coming, but you are good to go at this point, friend!
Method 2: Using the A Cloud Guru Cloud Playground to provision a Cloud Server (ACG subscription option)
If you do have an A Cloud Guru subscription, this process is WAY easier.
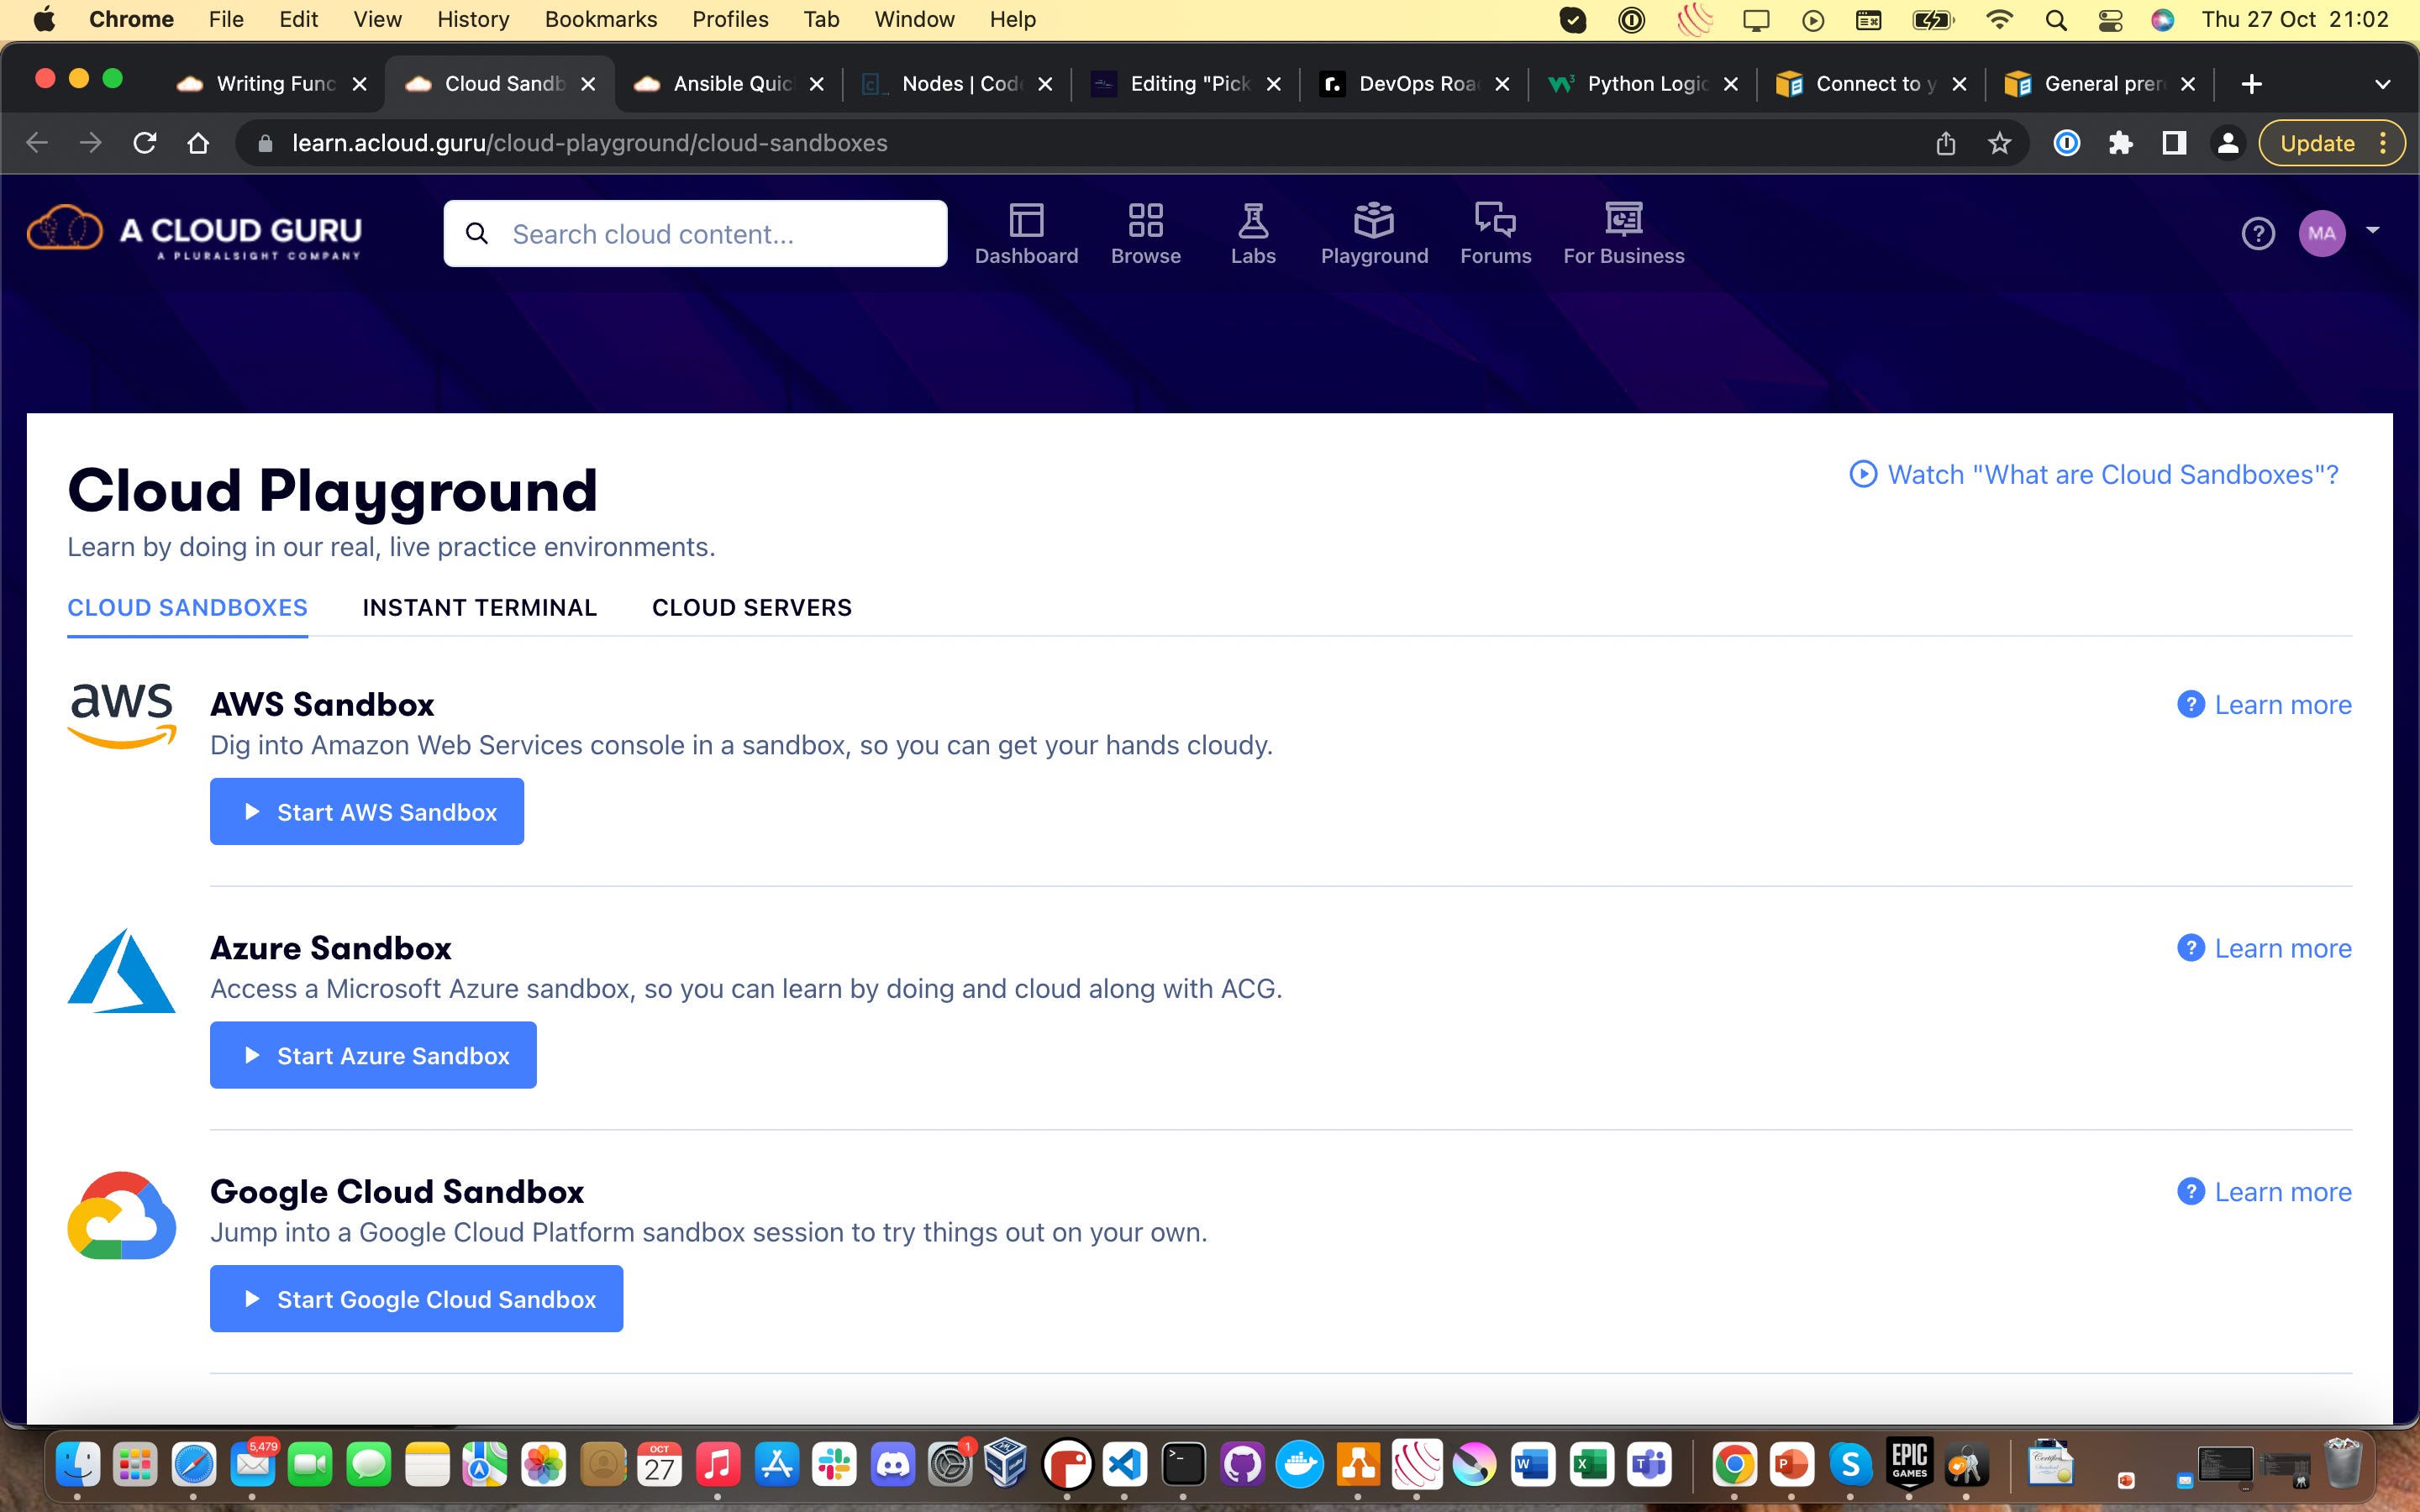
Open up Cloud Playground on A Cloud Guru (it’s pretty clearly signposted on the site’s navbar under “Playground”) and you’ll see a screen like this below:
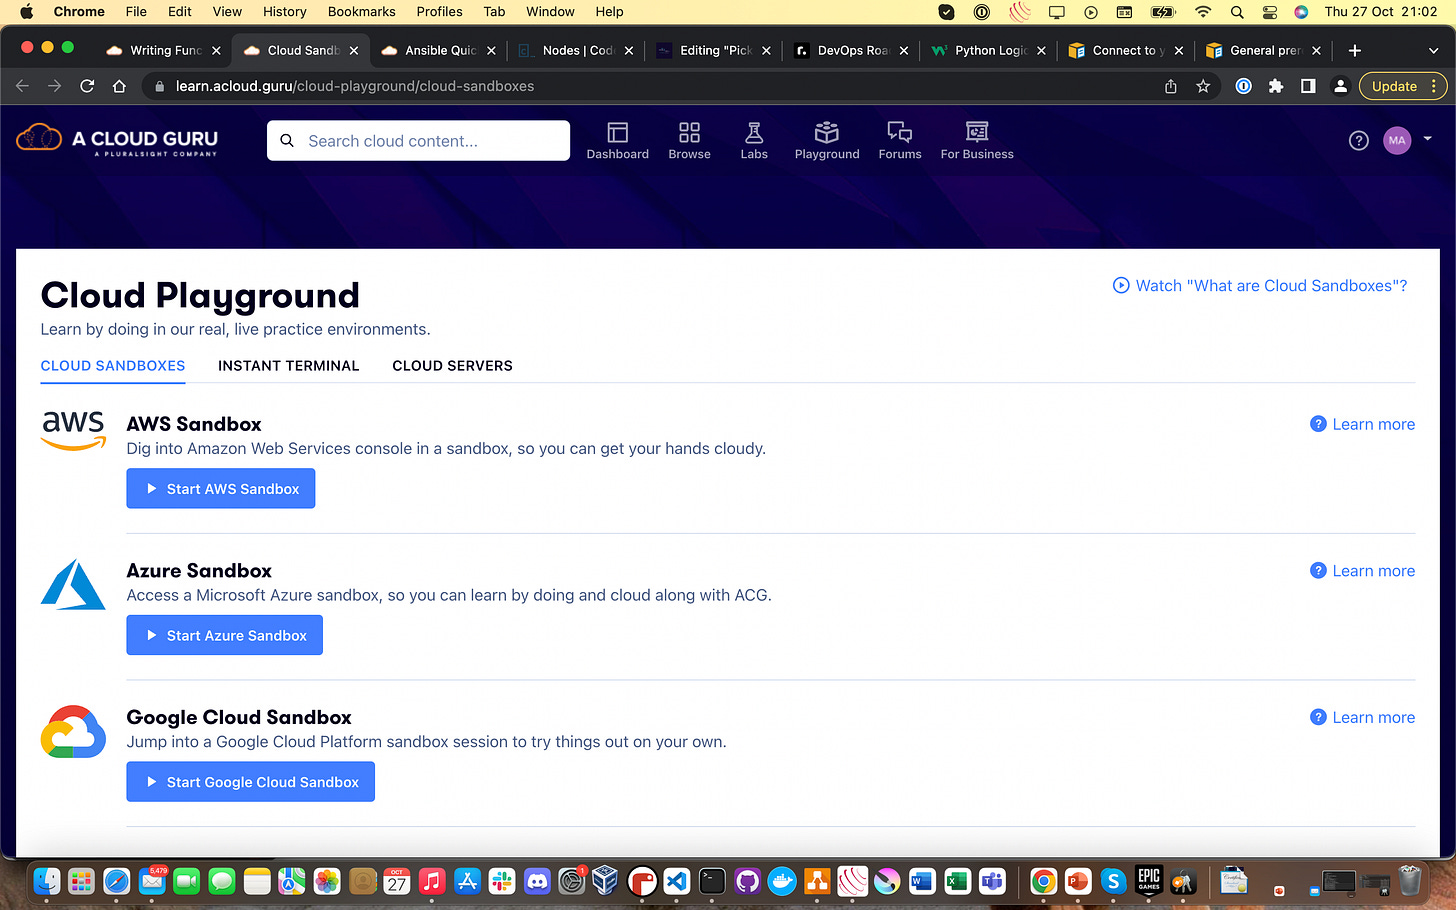
This ALONE is worth the price of an A Cloud Guru subscription that gets you access to the Playground section. You can set up sandbox environments with all three major cloud providers to get real practice under your belt. Click the “Cloud Servers” option and you’ll get redirected to a screen that has an option to “Create New Server”. Click that button and you’ll get a prompt with a bunch of drop-down menus that looks like the screenshot below:
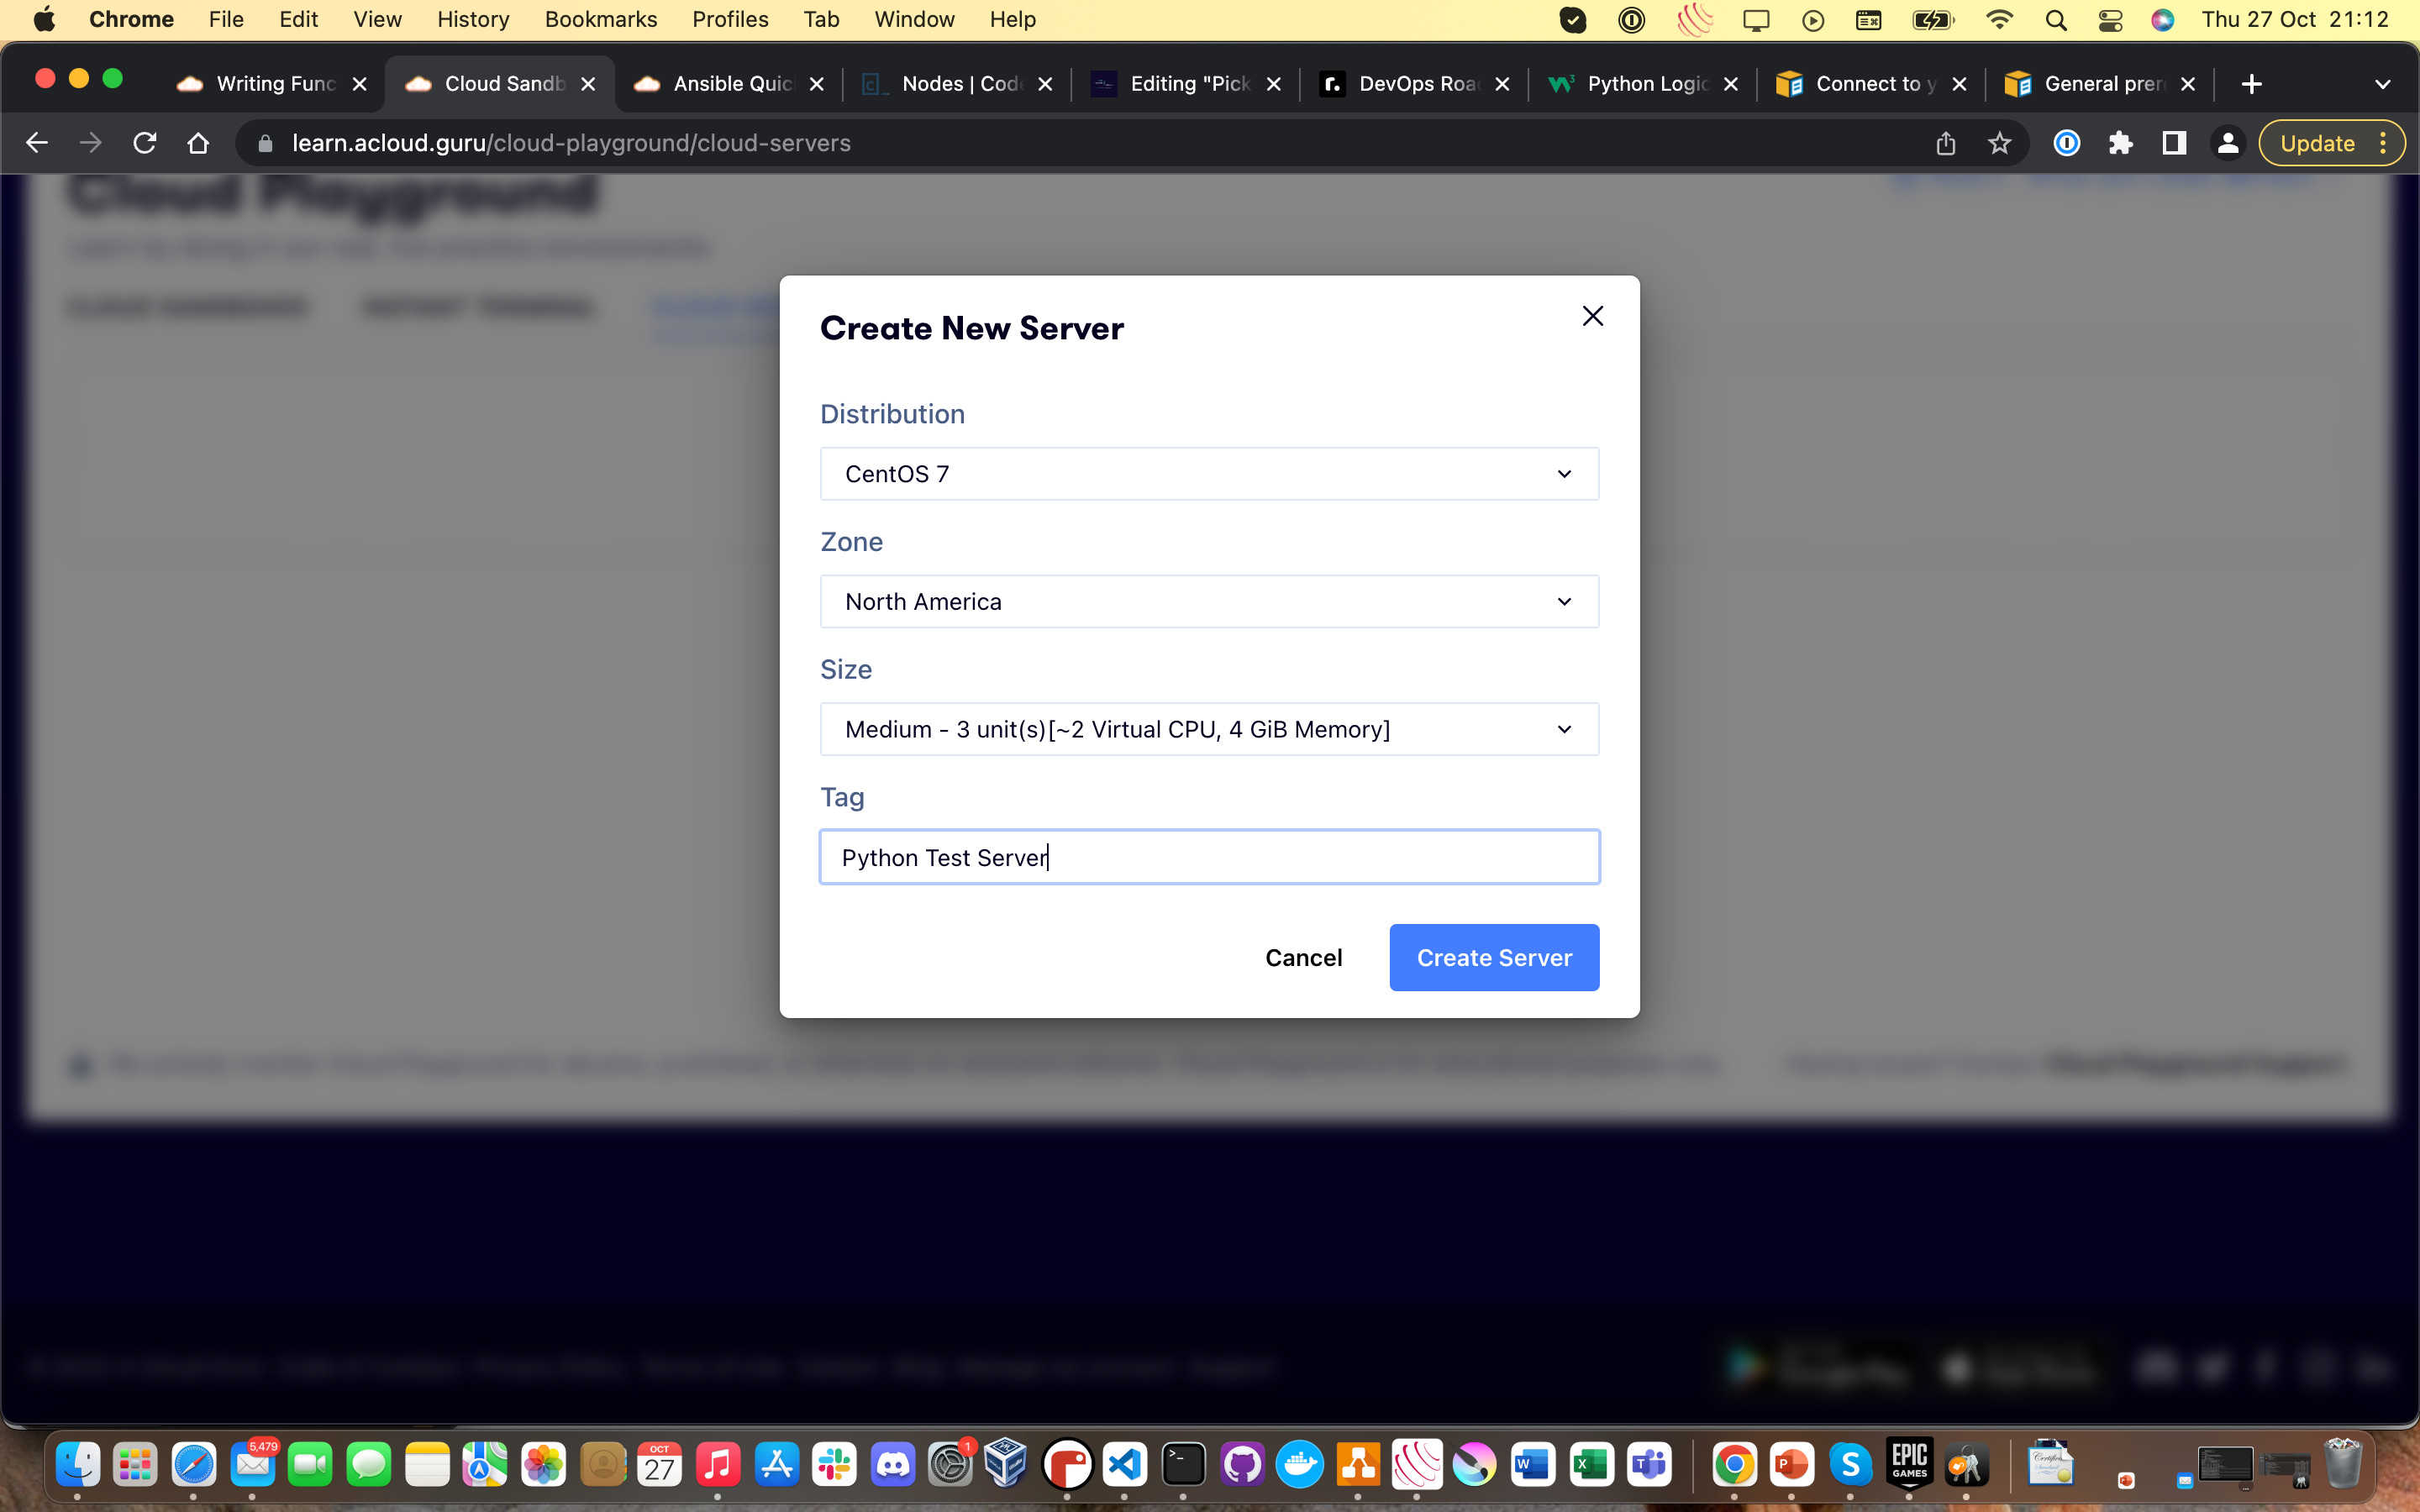
Pick these options above for the purposes of this example. This will be more than enough for what we need to do.
Give A Cloud Guru a few minutes to do its thing and you should be able to hit the little drop-down icon on the right and get something like this:

This means our Cloud Playground server is good to go. Bring up your SSH terminal like we did in the first method and you can connect!
Type in the following command into the terminal using the details from the screenshot (obviously use yours because this server doesn’t exist anymore) and hit Enter:
ssh cloud_user@public_ipv4_address
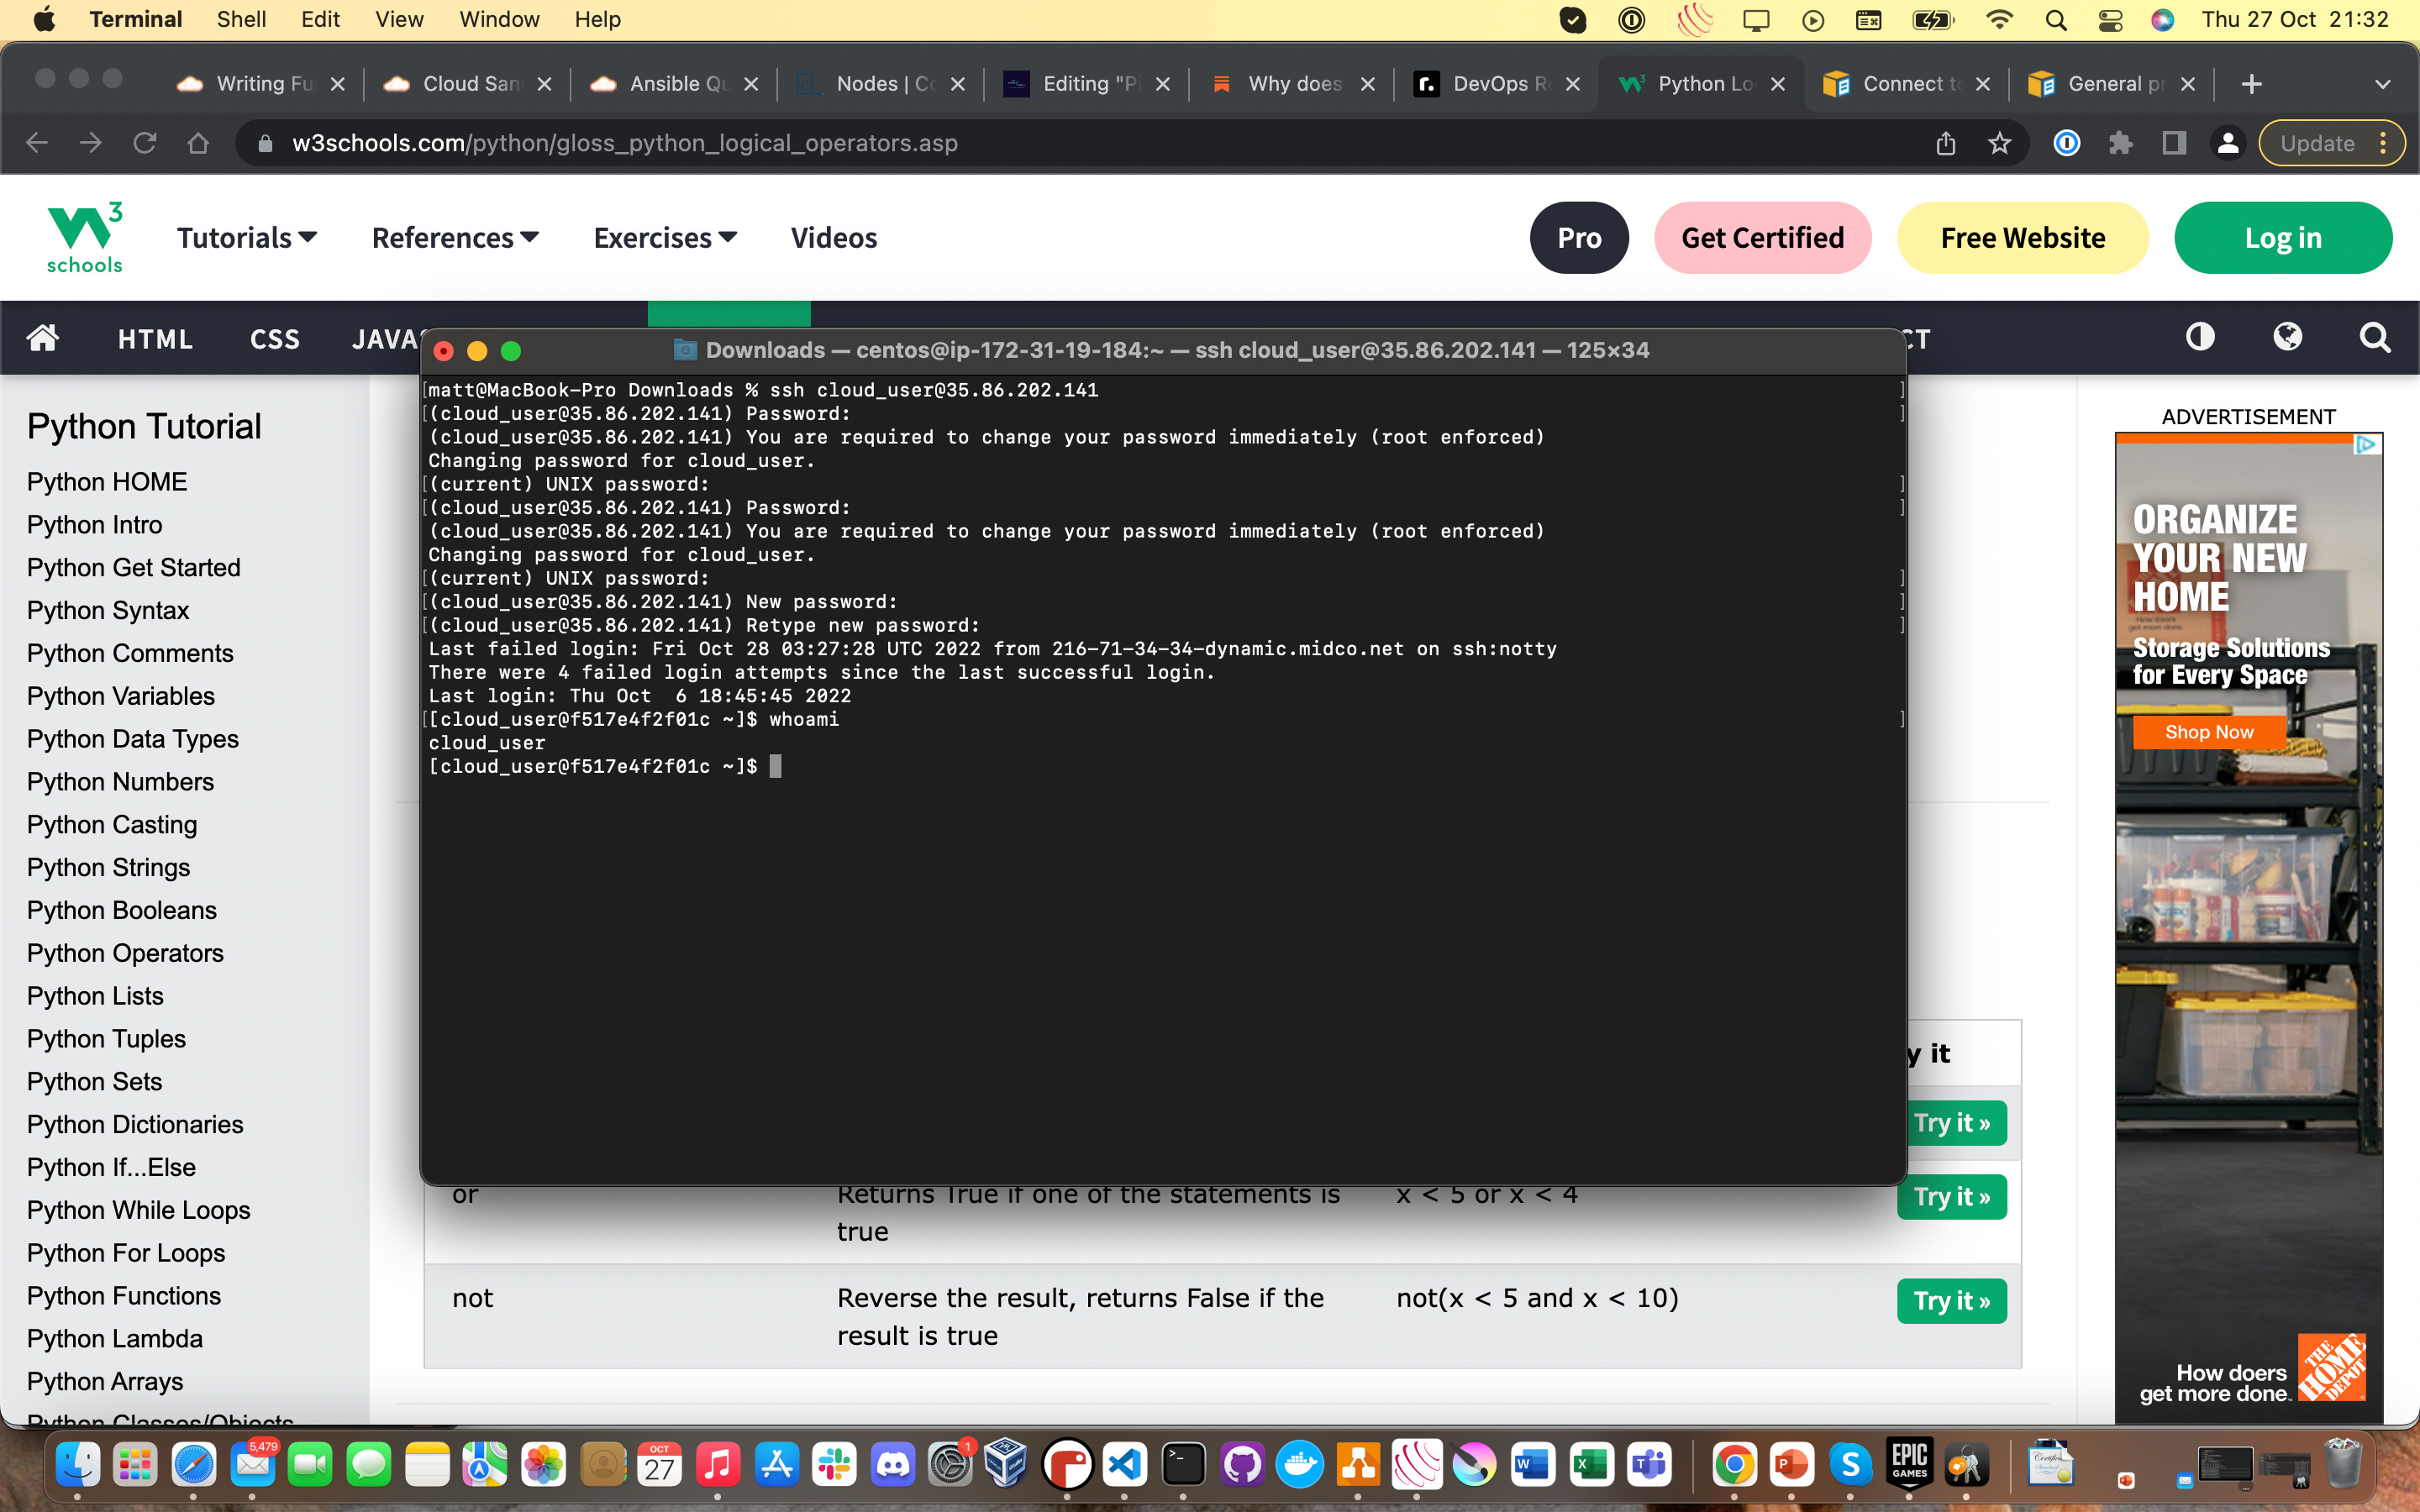
You will get the same prompt as before to accept the SSH fingerprint and prompted for a password - find this in the “Temporary Password” section of the above screenshot. You’ll then need to change that by entering it again and then choosing a new one immediately for yourself.
After that though, you should be fully connected and your terminal should look something like this:

You are officially good to go, with a Python test server (albeit a temporary one) provisioned into AWS. These servers will have an end date where they get spun down and deleted.
Congrats! You have now got yourself a reliable method of spinning up a cloud-hosted server on which to practice anything you like!